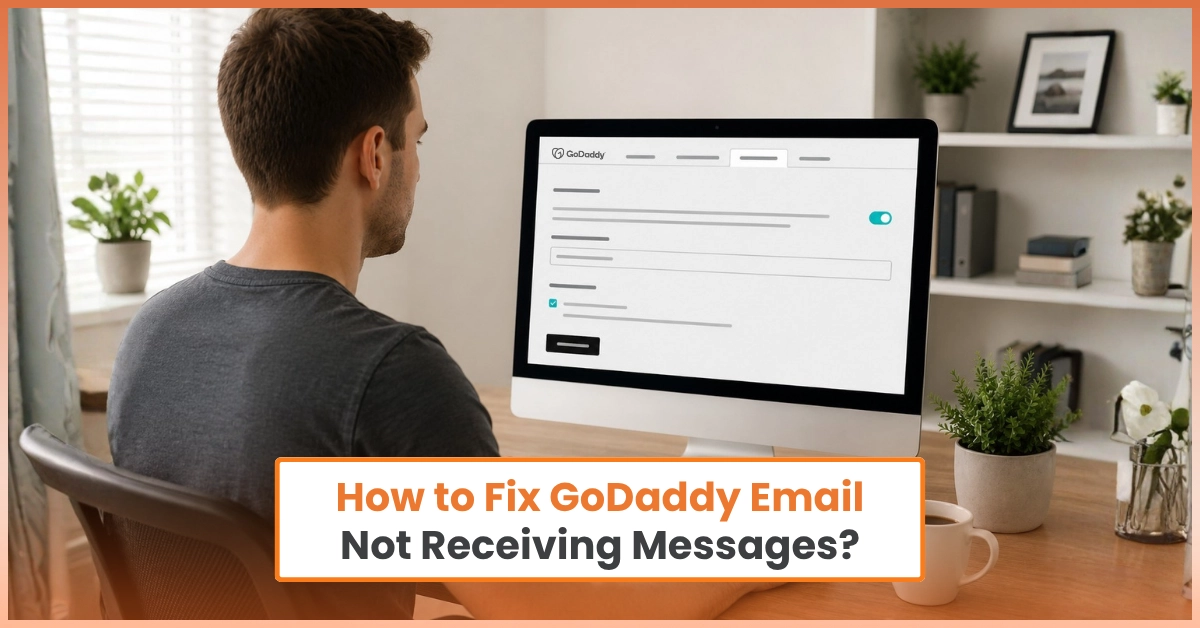
• FACING ISSUE WITH YOUR EMAIL ?

Having issues adding/setting up GoDaddy Business Email to iPhone?


  • 1
  • 2
  • 3
  • 4

Q1: Let us know, since how long have you been facing this error/issue:

Add/Set Up GoDaddy Professional email to iPhone


Logging in to your GoDaddy business email on your iPhone ensures that you stay connected at all times, get instant notifications, and reply to important messages quickly, anytime and anywhere.

If you are unfamiliar with the process of setting up GoDaddy business email accounts on your iPhone, this step-by-step guide will assist you in adding your GoDaddy email to your device. Whether you are managing work-related email or maintaining personal connections, here will enable you to access your GoDaddy account easily on your iPhone. 

Step 1: Accessing Mail Settings

  1. Open the Settings app on your iPhone.  

  2. Scroll down and find the option called Mail. Tap on it.  

  3. Look for Accounts and tap to open it.  

Step 2: Adding a New Email Account

  1. Tap on Add Account.  

  2. Select Other from the options.  

  3. Tap on Add Mail Account.  

Step 3: Filling in Account Information

  1. You will now need to fill in the information needed in the boxes that appear.  


 Field What to Fill
 Name The name that people will see when you send them emails.
 Email Your complete business email address.
 Password The password for your Business Email account
 Descriptions   This is just a note to remind you which account this is for. Only you can see it, so it's for your eyes only.


Step 4: Configuring Mail Server Settings

  1. Click on the Next tab. 

  2. Make sure you select the "IMAP " option. It’s a method your email app uses to access your email from a server. When you use IMAP, your emails stay on the server, and your app shows a copy.

     10. After that, fill in the following details under the Incoming Mail Server.

           a. Host Name: Enter “imap.secureserver.net” 

          b. User Name: Enter your full Business Email address. 

          c. Password: Input your email password


  1. After filling in the fields for Incoming Mail Server, fill in the other field for Outgoing Mail Server. 

         a. Host Name: Enter “smtpout.secureserver.net” 

         b. User Name: Enter your full Business Email address. 

         c. Password: Input your email password

Step 5: Finalizing Setup

  1. Tap on Next

  2. Your iPhone will take some time to check your settings. Choose the apps you want to use with this email account. You have to select at least Mail.

  3. Finally, click on Save to complete the setup. 

Email Support
4.5/5

71 Votes

Help Email Tales provides services to help email users have the best experience with the email service they are using. The company has no affiliate partnerships with any email brands such as AOL, BTinternet, Yahoo Mail, iCloud, Xfinity, Outlook, Webmail, and others. We have a certified team that works hard to create content that revolves around solving simple to complex email issues, like email failing to work on certain devices, problems with IMAP and POP, problems while sending and receiving emails, how to create an email account, etc. All content presented on the website has been created after in-depth research. 

In addition, you can contact us with any queries or concerns you may have. We show transparency in everything, whether it's our approach to fixing the issue or methods to assist users in making the most of their specific email service. 

Please note Help Email Tales is not associated with any of the email brands in any way. The only relationship we have is with our customers using the website and our service. Our customer service is open all the time to fix email user troubles related to major email brands. Email users can find the information on the website useful in solving their various types of email issues. Apart from this, they can seek assistance from our customer service.

Rate Us!

4.5/5   71 - votes.
Back to Top