If you’re having trouble setting up your GoDaddy email, you’re not alone. Many users face challenges during the setup process due to unfamiliar interfaces, DNS misconfigurations, or simply missing steps. Whether you're trying to configure your GoDaddy email on Outlook, Gmail, or Apple Mail, it’s important to follow the correct procedures. We’ll walk you through the step-by-step instructions and ensure your professional email works smoothly for your business or personal use.
Setup a Professional Email in Outlook (Android)
If you already have a Microsoft Outlook account, skip Step 2. If not, you need to install the app first. To install the Outlook app on your Android, start with step 1 below.
Step 1: Install Microsoft Outlook
-
On your phone, launch the Google Play Store.
-
In the search bar at the top, type Microsoft Outlook.
-
Then, you will see the Microsoft Outlook app appearing in the search results below. Click on the Install button to install the app.
-
Once the app is installed, click on the Open icon to launch the app on your phone.
Step 2: Open Microsoft Outlook
-
Open the Outlook app on your Android phone.
-
Tap the menu icon (three lines or your profile picture) at the top left.
-
Tap the gear icon to go to Settings.
Step 3: Add Professional Email to Microsoft Outlook
-
If this is your first time using the app, tap Add Account or tap Add Mail Account.
-
Type in your email address, then tap Continue.
-
The app might take you to the Accounts found page. If you find your email address mentioned in the list, check the box next to your listed email and tap Continue. If not, tap Skip These Accounts.
Step 4: Setup IMAP and Enter Your Details
-
Choose IMAP.
-
Now type in the following:
- Password: The password for your email
- Your name: What you want people to see when you email them
- Description: You can type something like Work Email or your company name
-
Then, hit the Checkbox.
Step 5: Setup Email Settings
-
After that, enter the details of the Incoming Mail (IMAP) settings as described below. However, if your Outlook is able to detect the settings automatically, just jump to the next step.
- IMAP Host Name: imap.secureserver.net
- Port: 993
- Security: SSL/TLS
- Username: Your email address
- Password: Your email password
-
Also, enter these Outgoing Mail (SMTP) Settings:
- SMTP Host Name: smtpout.secureserver.net
- Port: 465
- Security: SSL/TLS
- Username: Your email address
- Password: Your email password
-
If it asks if you want to add another account, just tap Maybe Later.
-
Your email is now set up in the Outlook app, and you can send and receive messages easily.
Setup a Professional Email in Outlook (iPhone/iPad)
Before you follow the steps, make sure you have already downloaded the Microsoft Outlook app on your iPhone or iPad. If you already have an Outlook app on your phone, skip to step 2. If not, follow step 1 below.
Step 1: Install Microsoft Outlook
-
On your device, open the App Store.
-
Then, search for Microsoft Outlook in the search bar at the top.
-
In the search result below, you will find the app with the name (Microsoft Outlook). Click on the Get button to install the app.
Step 2: Add Professional Email to Microsoft Outlook
-
Open your Outlook app, enter your Professional Email address, and then click Add Account.
-
Type your password, name (this could be your name or your company’s name), and a description (like your email type).
-
Tap on Sign In.
Step 3: Setup Email Settings
-
If Outlook doesn’t automatically find your email settings, you will need to enter them manually as given below. If it finds its email settings automatically, move to Step 4.
-
For Incoming Mail (IMAP):
a. IMAP Host Name: Type in imap.secureserver.net
b. Port: Enter 993
c. Security Type: Select SSL/TLS
d. IMAP Username: Enter your full email address
e. IMAP Password: Enter your email password
-
For Outgoing Mail (SMTP):
a. SMTP Host Name: Type in smtpout.secureserver.net
b. Port: Enter 465
c. Security Type: Select SSL/TLS
d. SMTP Username: Enter your full email address
e. SMTP Password: Enter your email password
-
After that, click on Sign In.
Step 4: Complete the Email Setup
-
If this is your first email account in Outlook, it will ask you whether you want to add another account. If you don’t want to add one right now, just tap MAYBE LATER. If you already have other accounts, you should go straight to your inbox.
-
Now your email is set up on your iOS device, and you are ready to use it.
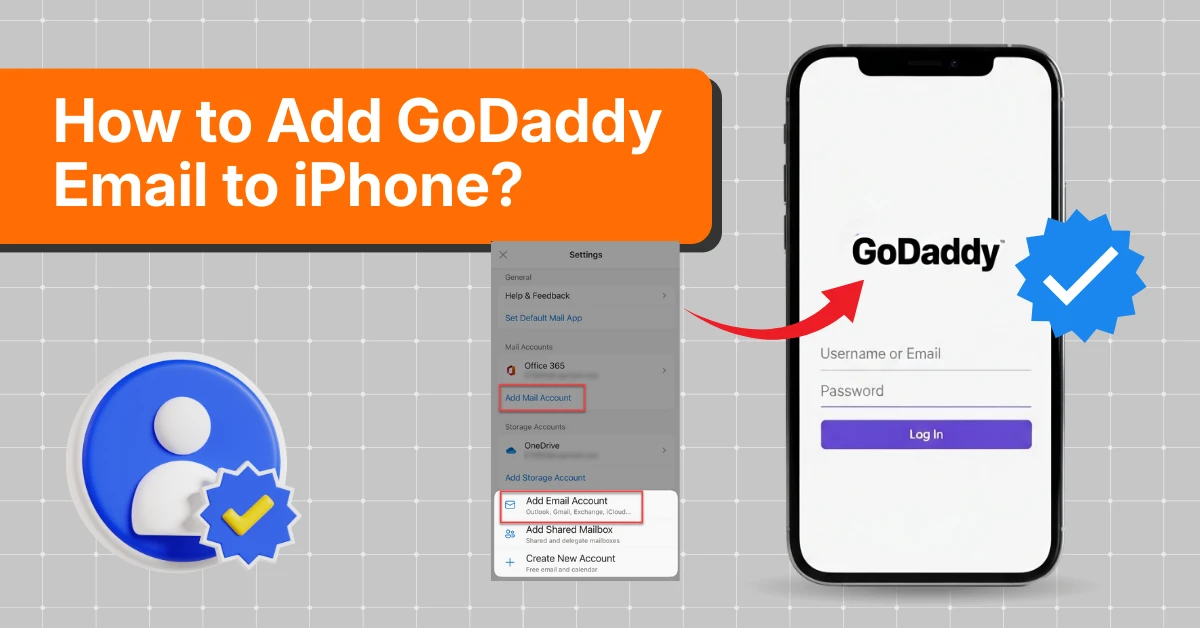
Setup a Professional Email in Apple Mail (iPhone/iPad)
-
Launch the Settings app.
-
After that, select Mail and click Accounts. Depending on your iOS device version, you may need to select Passwords & Accounts instead.
-
After that, select Add account and then, select Other.
-
Click the Add Mail Account option.
-
Input the following details and click the Next button.
a. Name: Enter your name here.
b. Email: Enter your email address here.
c. Password: Enter your email password here.
d. Description: Enter a description, such as Business Email.
-
Ensure you have selected IMAP under the New Account section.
-
Now, under the Incoming Mail Server section, fill in the following fields:
a. Host Name: imap.secureserver.net
b. User Name: Your email address
c. Password: Your email password
-
Then, under the Outgoing Mail Server section, fill in the following fields:
a. Host Name: smtpout.secureserver.net
b. User Name: Your email address
c. Password: Your email password
-
Next, hit the Next button and click the Save option.
-
Your Professional Email is now set up on your Apple Mail app.