How to Do Xfinity Comcast Email Settings on iPhone?
- 0
- 885
Do you want to manage your Xfinity emails more effectively? This can be made possible by setting up your Xfinity email settings on your iPhone. This not only makes your email more manageable but also keeps you organized and in control by syncing your emails across various devices. You can ensure easy access to the same emails and folders regardless of your device. You can open messages without logging in through a web browser. In addition, this configuration allows for access to various advanced features such as email filtering, automatic replies, and more.
Setting up Xfinity/Comcast email on your iPhone is simple if you enter the correct server settings. Here, we explain step-by-step tutorials on how to set up Xfinity email on iPhone. Read further to learn more.
Potential Issues When Setting Up Xfinity Email on iPhone
Users may encounter a lot of potential issues while setting up Xfinity email settings on their iPhones:
-
App password
-
Configuration issues
-
Network settings
-
Third-party access security
Steps to Set up Xfinity Email Settings on iPhone
Here are all the important steps that can help you set up Xfinity email settings on your iPhone:
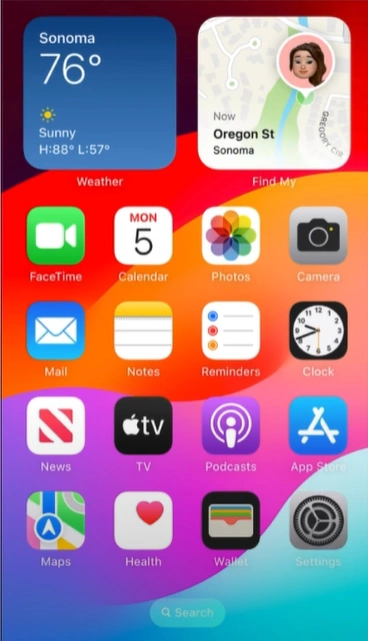
Step 1: From the home screen, tap on Settings.
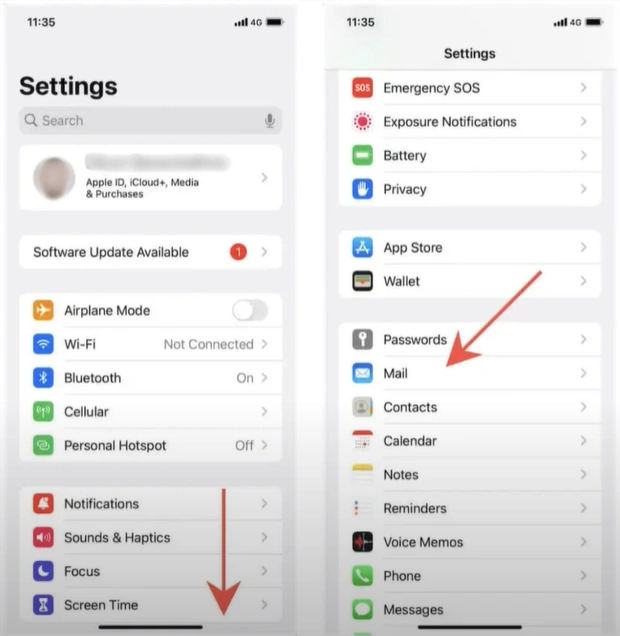
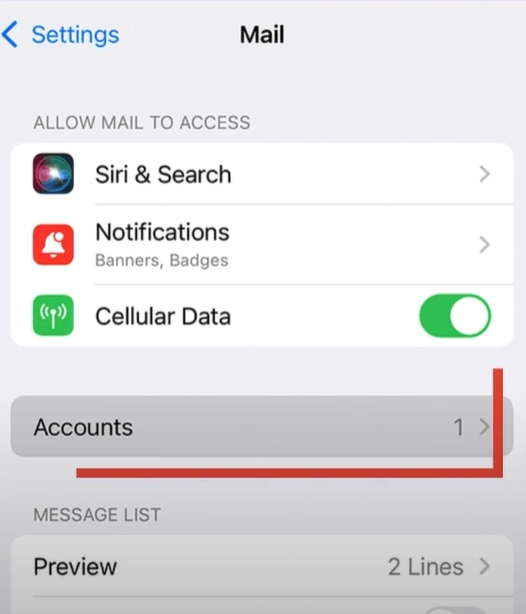
Step 2: Scroll and tap on Mail.
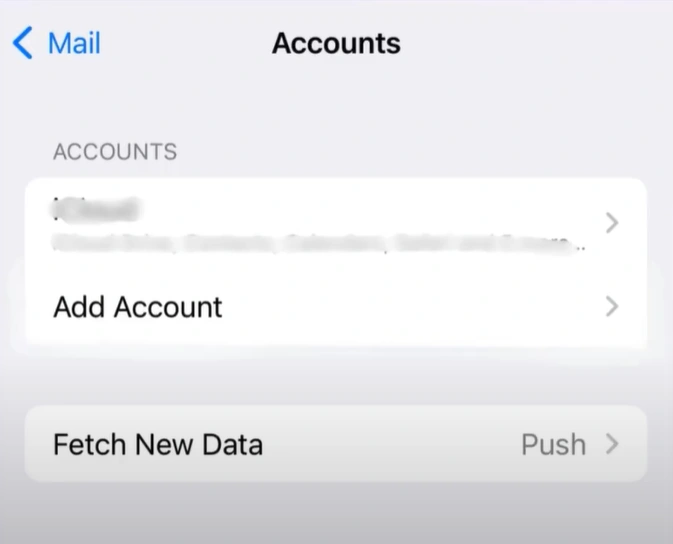
Step 3: Tap Add Account.
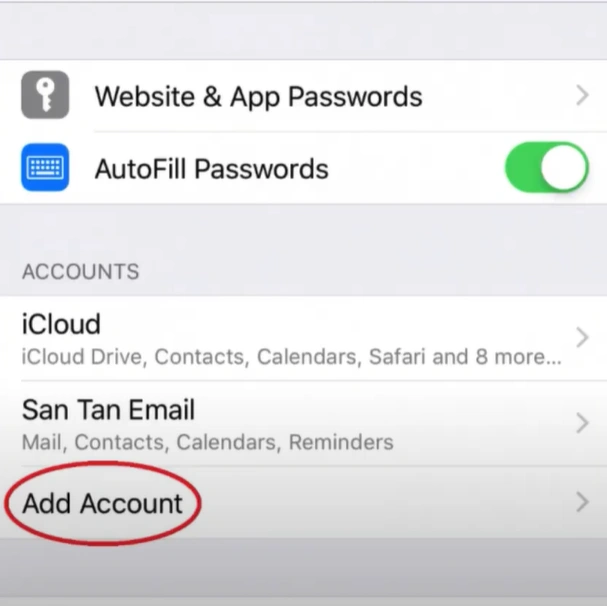
Step 4: Select Other from the list of options.
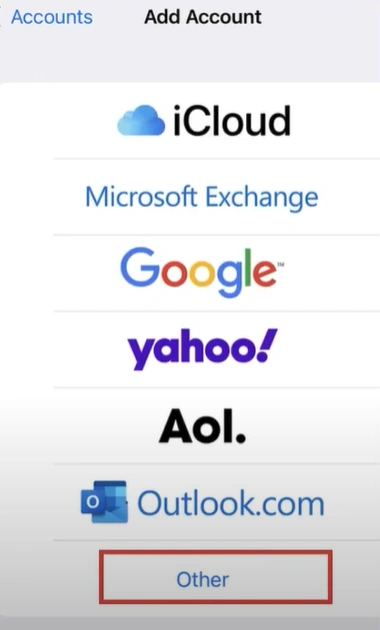
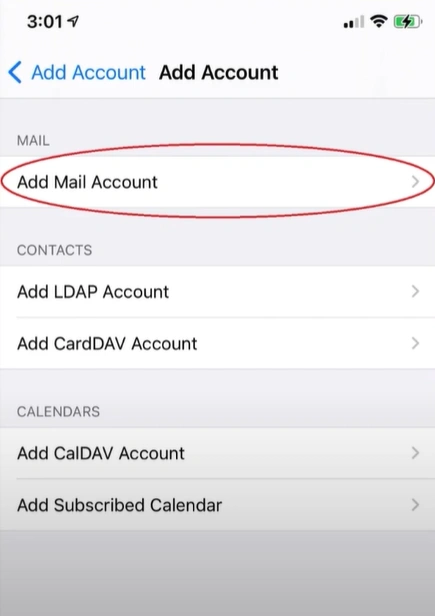
Step 5: Tap Add Mail Account.
Step 6: In the Name field, enter your name, then fill in your Xfinity email address in the Email field.
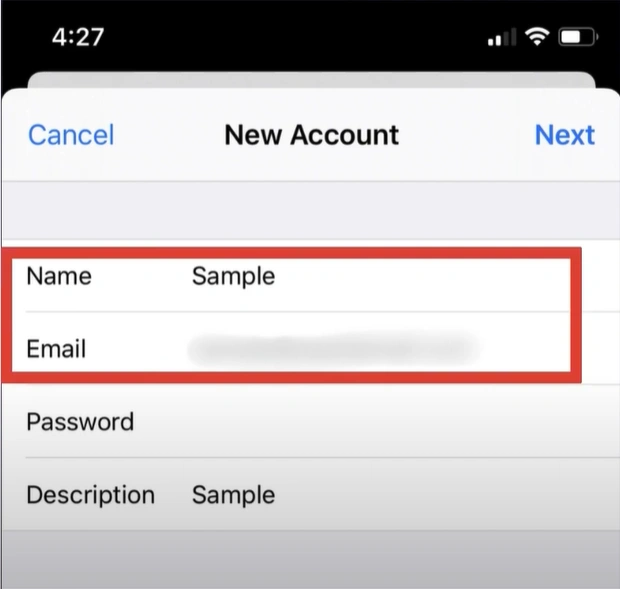
Step 7: Enter the Password and fill in the Description field.
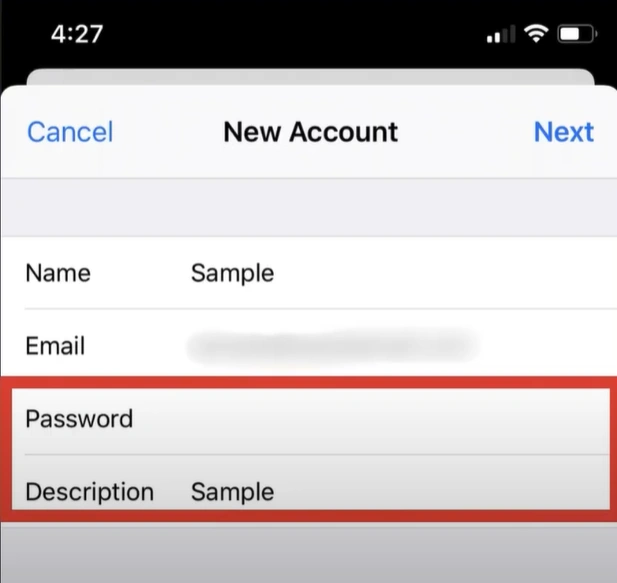
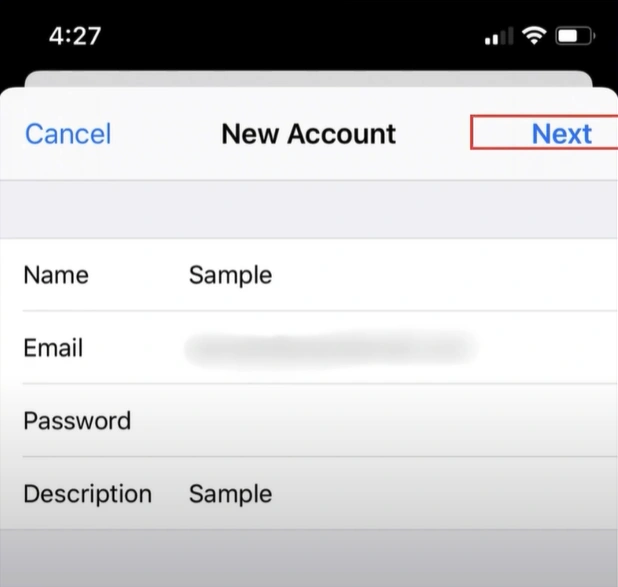
Step 8: Once done, tap Next.
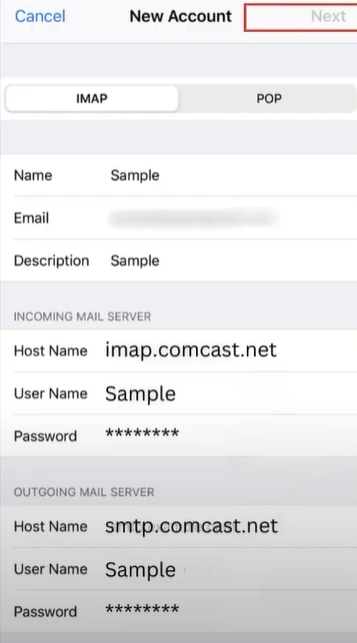
Step 9: Select IMAP, then fill in your Name, Email address, and Description.
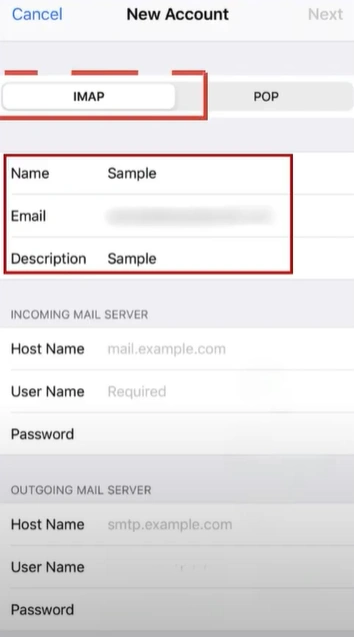
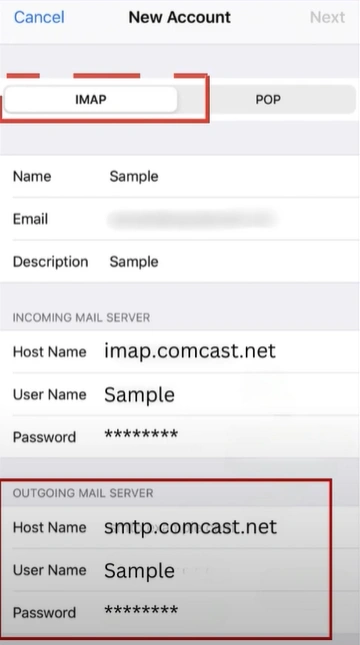
Step 10: In the Incoming Mail Server field, enter imap.comcast.net as the Host Name, enter the email address in the User Name, and fill in the password.

Also Read:- How to Recover Comcast (Xfinity) Email Account
Step 11: In the Incoming Mail Server field, enter imap.comcast.net in the Host Name field, then enter the email address and password, respectively.
Step 12: Tap Next and wait for the information to be verified.
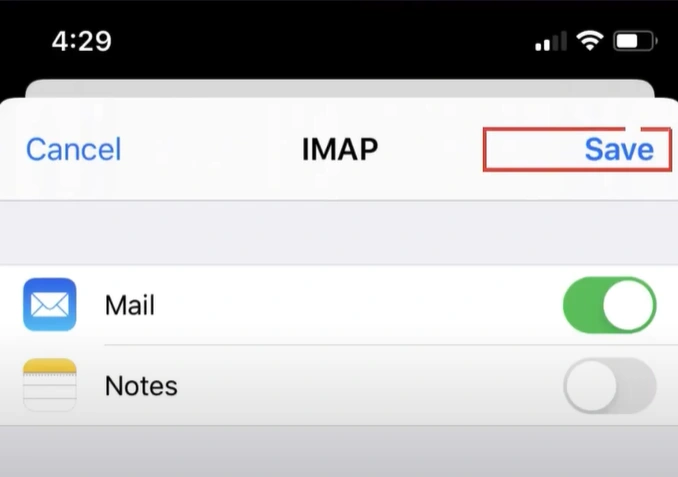
Step 13: Ensure the Mail option is turned on, then tap Save.
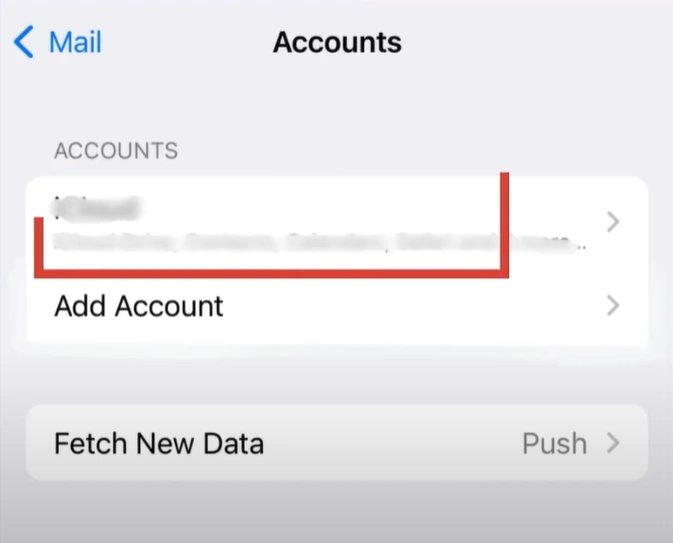
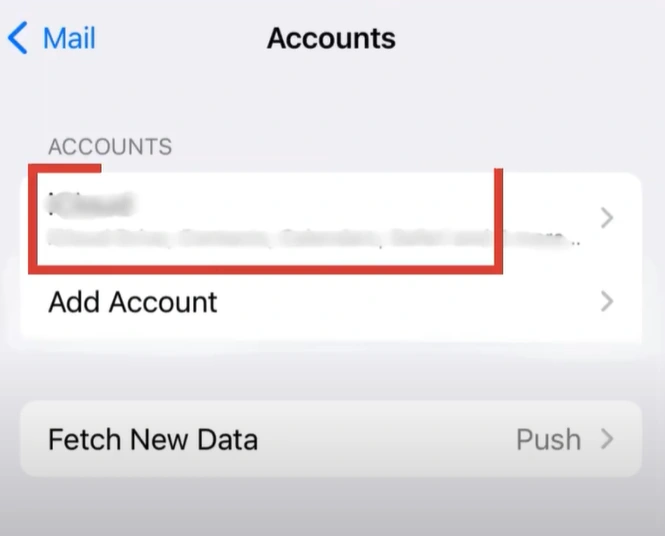
Step 14: Tap on Accounts again.
Step 15: Select the Xfinity Comcast email address you’ve just set up.
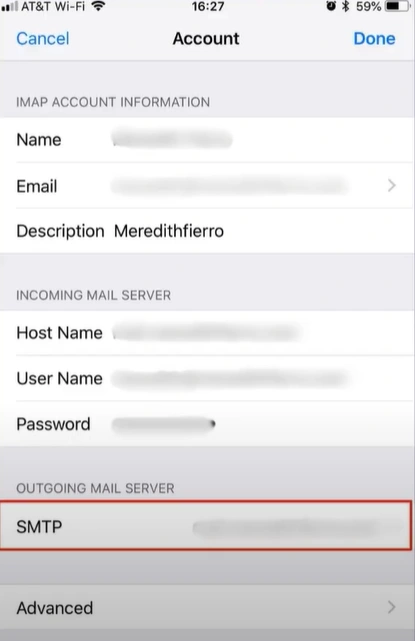
Step 16: Tap the email address in the Account section.
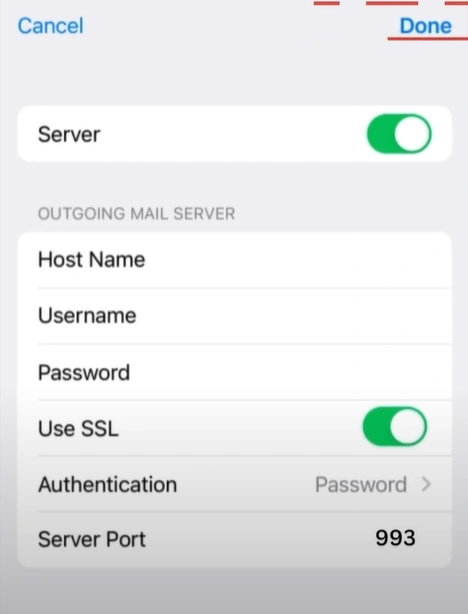
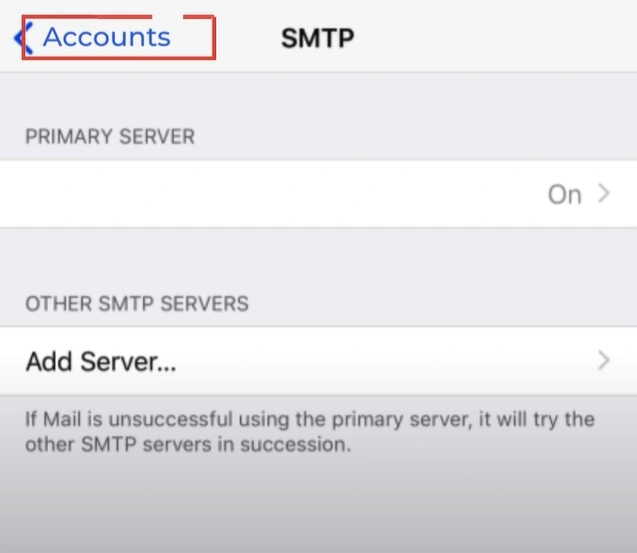
Step 17: Under the Outgoing Mail Server section, select SMTP.
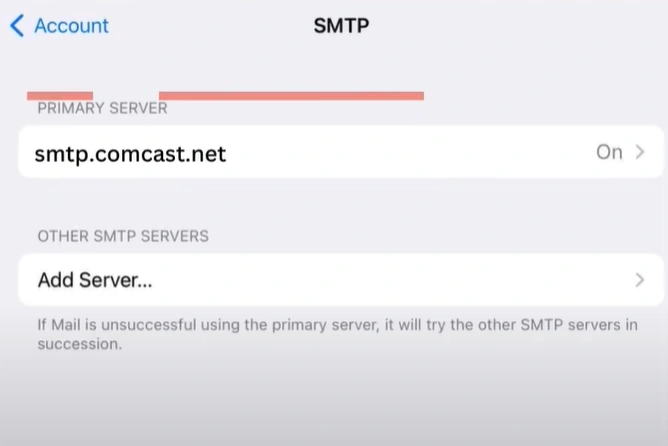
Step 18: Under Primary Server, select smtp.comcast.net.
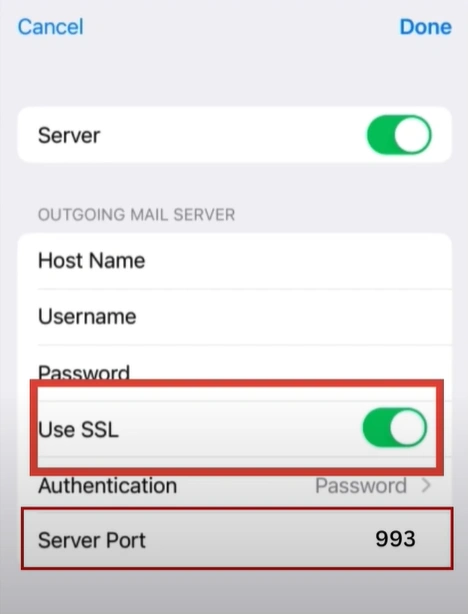
Step 19: Enable Use SSL and set the Server Port to 993.
Step 20: Once you’ve filled in all the details, tap Done.
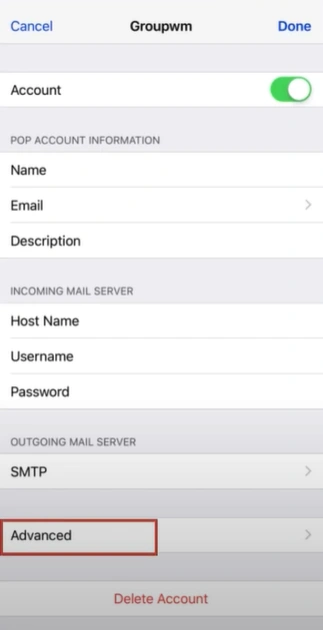
Step 21: Tap Account on the top left side to return to the Account screen.
Step 22: Tap Advanced.
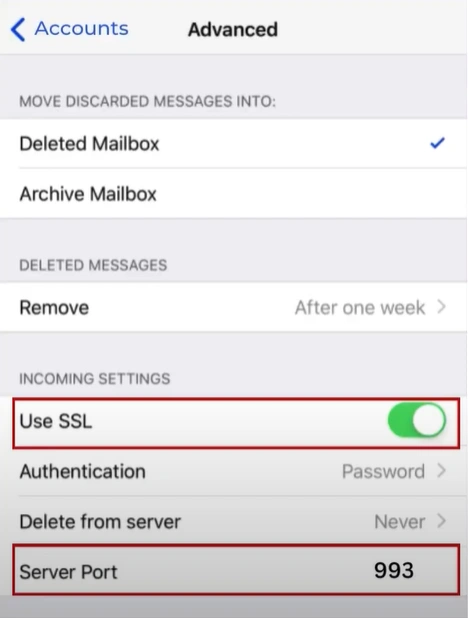
Step 23: Enable the Use SSL option and set the Server Port to 993.
Step 24: Tap Account again, then tap Done.

Step 25: Tap Accounts and the email address will be ready to use.
To Conclude
This guide outlines the steps to set up Xfinity email on an iPhone. Configure Comcast email settings correctly to ensure your email account’s best performance and security. Follow the steps above to tackle the potential issues and complete the setup smoothly.
 Verified Expert