How to Resolve Xfinity Customer's Issues on iPhone/iPad?
- 1
- 1282
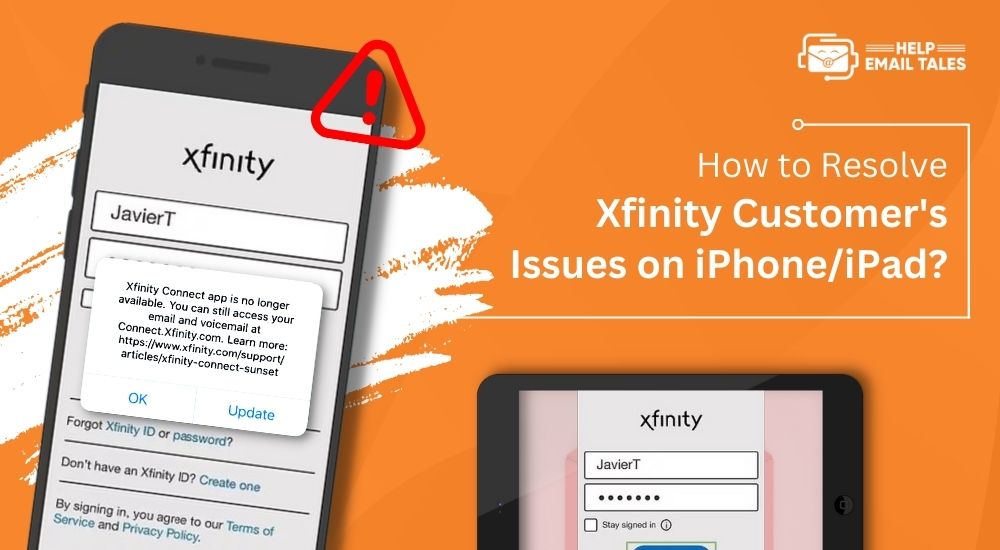
Xfinity email offers top-notch services, and users can add various accounts to the same account. Also, these email services are fast, reliable, and secure. However, users can face multiple issues related to your email. If you want to have a seamless emailing experience, you have to fix this issue as soon as possible. To solve this issue, you need to understand the root cause behind this. Here you will learn the top 9 issues you can face and effective methods to solve them.
Issue 1. I Can't log in to the Account
Here are some effective tips to resolve the issue of can't log in to the Xfinity account issue.
- If you are facing an issue logging in to the Xfinity account on your device, try to use another browser or device to access your account.
- It is necessary to recheck the email ID and password you are using to access your account. (Ensure you are entering the correct email address and password and the characters are in the same case as your registered email.)
- Ensure that you have entered the correct email settings if configuring the Xfinity account to Outlook.
- If the browser is entering the password with autofill, check if it is not entering the old password. Also, you can disable this option and then enter the password once again.
If you are still facing the issue logging into your account, follow the steps below to change the password.
- First, you need to go to the Xfinity login page and click the Forget Password option.
- When you are on the next page, enter the Xfinity ID in its specific field. (You may have to enter the username/email address and click on the Continue option.)
- After entering the username into its specific field, press Continue.
- Enter the CAPTCHA that is given in the field and then confirm it. After the confirmation, you will receive various recovery options, such as:
- 'Send email to your recovery email address.'
- 'Send a text message to the recovery phone number.'
- Then, you have to choose the appropriate recovery option and the Continue option.
- If you do not see any recovery option, you can choose to 'try a different method.' After that, you have to answer the security questions. (These security questions are filled during the sign-up option. Also, you have to enter the Zip code)
- After entering the required questions, click on the Continue option.
- If you enter the correct information, you will be redirected to the password reset page.
- Now, you can enter the new password and the given field in the Continue option.
- After resetting the password successfully, then you will receive a confirmation message.
- Then you can use the new password to log into the account.
Issue 2. Lost/Deleted Emails Recovery
The emails sometimes get stored in the spam folder when you receive them from a new user. Also, you can recover the emails even if you deleted them. The procedure to recover the lost/deleted emails is as follows:
- First, browse the official website of the Xfinity sign-up page.
- After that, use the Xfinity ID and password to sign in to your account.
- Then, go to the Trash folder and right-click on it. (After that, click on the More Actions icon next to the trash folder.)
- Then, choose the Recover Deleted Items option.
- Now, you can choose the emails you want to recover and then select the option Move Selected Items.
- Then, select the folder where you want to restore those messages.
- Finally, you have to select the OK or move option.
Here are some points you should keep in mind when you are trying to recover lost/deleted emails:
- If you want to select multiple emails, then you have to click on the first email in the list; after that, hold the Shift button and select all the emails you want to recover.
- You can recover the emails that are deleted just before the 30 days. Otherwise, they will completely disappear from the account.
Issue 3. IMAP & POP Related Issues
The steps to solve the IMAP & POP related issues are as follows:
- First of all, you are required to open the sign into the Xfinity account.
- Then, go to the configured account and right-click on it.
- Next, click on the Properties option.
- When you are in the properties window, click on the Server tab. And check if 'My incoming mail server is showing POP3 server.
- After that, head to the Advanced tab.
- Under Delivery, see if the 'Leave a copy of messages on server' checkbox is selected. You have to select the checkbox if it is not selected.
- Then, click on the OK option.
- Furthermore, move to the Live Mail page and select the Add Email option under the account tab.
- When you are on the Add your email account, enter the ID and password of Xfinity(Comcast).
- Then inspect the Manually Configure server settings checkbox and choose the Next option.
- Now, you have to choose IMAP from the dropdown menu and enter the follow-up server details. Afterward, click on the Next option.
- Server address (incoming): imap.comcast.net and Port 993
- Server address (outgoing): smtp.comcast.net and Port 465
- If the earlier steps are done properly, you will see a window notifying Your email account was added.
- In the last step, click the Finish option to exit from the current page.
Issue 4. Professional Email Issues
Follow the steps below to eliminate the professional email issues in Xfinity.
-
You have to ensure you have not reached the limit of sending emails on Xfinity.
-
Check if you have not blocked the users trying to send emails to your account.
-
You can check the trash or spam folder to see if the emails are getting stored in that folder.
-
Also, you can ask the sender to check if he does not block you.
-
Lastly, and more importantly, ensure you enter the correct email address to send the emails.
If the problem persists, you can contact Xfinity's customer support team for more effective solutions and assistance.
Issue 5. Unable to Receive Email
If you cannot receive any email on your Xfinity email, follow the steps below to resolve this issue.
-
First, you need to browse the sign-in website of Xfinity and log in using the Xfinity ID and password.
-
Next, select the option Users and Preferences.
-
Now, go to the email setting option next to the Spam filter and choose the Edit button. (If the Edit option is not appearing, then probably your around is restricted. Use the primary account to sign in, and the Edit option will be available.)
-
Then, you need to choose the option Disable spam filter option and then click on Save.
-
In the last step, select OK to confirm your action.
Issue 6. Reset Your Account in the Xfinity Email
You can follow the below steps if you want to reset your account in the Xfinity email.
-
Use your Xfinity email ID and password to log into your account.
-
Then, you must select the Account icon and choose the Account and Identity option.
-
Under the Your Information, you need to select the Xfinity ID and Security.
-
Now, head to the Your Information section and click the Comcast email option.
-
At the next step, you have to select the Change email and username.
-
Hereafter, you can enter the new email address and then confirm the password. You have to enter the username field and choose the Save option.
-
Lastly, the confirmation message will appear on the screen.
Issue 7. Email Account Hacked
Below are the steps to get back the Xfinity email hacked account:
-
Firstly, browse the navigation page of Xfinity on any browser.

-
After that, choose the password option from the 'Forgot Xfinity ID or Password.'
-
Next, enter your Xfinity email, user id, or mobile number to get your account.
-
Next, you are required to click on the Continue option.
-
From the below captcha field, enter the code you see.
-
Moreover, you need to give the answers to the security questions you selected during creation. Also, provide the mobile number for account confirmation.
-
You will receive a verification code if you choose an email address or phone number for the identity verification code on your email or mobile number. Then, go to the password resetting page to enter the code.
-
Now, follow the instructions on the screen to create or reset the Xfinity account password.
There are various other steps you can follow to secure your Xfinity account.
-
You should not sign into your account on any unauthentic WiFi connection in public.
-
To protect your applications, make sure you are using powerful protection software.
-
If you have various accounts, then you should use different passwords for each account.
-
You always make sure to visit the safe 'https' address when you are browsing any website.
-
If you receive any suspicious email, then do not open it and delete it immediately.
Issue 8. Set Forwarding to Email
Here are the steps to set email forwarding to the email of Xfinity.
-
Open any web browser on your PC or laptop.
-
Now, visit the sign-up page of Xfinity.
-
After signing into the page, you need to click on the Settings icon in the upper right corner.
-
And then, you are required to click on the Email Settings option.
-
On the left menu, choose the Auto Forward option under Mail.
-
Next to the box of the Enable email forwarding, put the check mark.
-
Now, you have to type the email address where you want to send the email.
-
Click on the check box of Save a copy of forwarded emails if you're going to keep a copy of the forwarded email on your Xfinity Email account.
Issue 9. Multiple Issues in Emails
The below procedure explains the process of solving the multiple issues in emails.
-
Clear the cache of your Xfinity email account.
-
Reset your Xfinity account.
-
Sign out from your account and try to log in again.
-
Change the password of your email.
-
Check for the configuration settings and make sure it is correct.
Frequently Asked Questions (FAQs)
- Go to the Xfinity website and sign into your account.
- Then, click on the Account icon.
- Next, select Check Voicemail or Check Email.
- After that, click on the Xfinity ID and then select Let's Go.
- Enter the password and click on the sign-in option.
- Now, you will be redirected to the Xfinity Email of the voicemail service.
- And the dashboard for Comcast email will open.
- Tap Email or choose Voice to access voice mail.
- Finally, you can open the email or voicemail to read or listen to them.
- Open the Xfinity email app or open it in any browser.
- Click My Account on the upper right side of the screen.
- Next, click on the contact information option.
- And then click on the Edit option.
- Now, enter your mobile number and email into their specific fields.
- In the last step, you need to choose the Save option.


