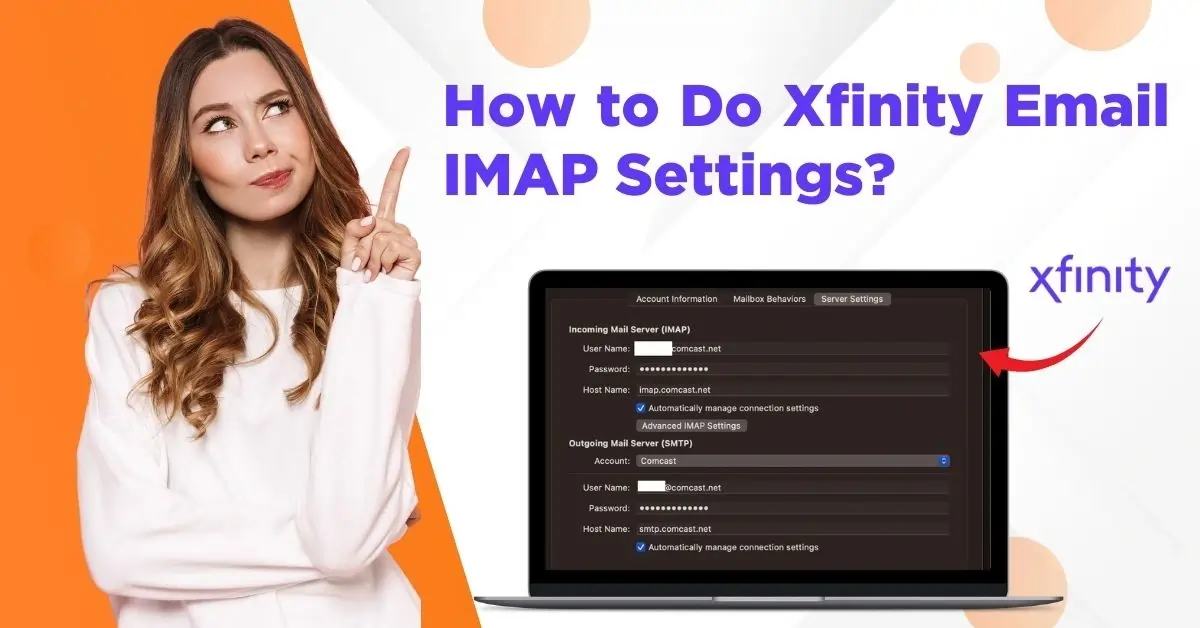
How to Do Xfinity Email IMAP Settings?
- 0
- 657
Using IMAP settings on Xfinity email offers several benefits. IMAP lets emails be synced across multiple devices, giving a convenient experience. Any changes you make on one device will be updated on other devices linked to the same account. Any updates to your emails, like new messages, will be shown in real-time across all devices.
Emails are securely stored on the server, providing a reliable backup even if your device is lost or damaged. Since emails are stored on the server, you can easily search across all emails from any device, ensuring your data is safe and accessible.
Setting up Xfinity IMAP settings is quite simple. Here, we explained in detail. Keep reading to learn more.
Potential Issues When Setting Up Xfinity IMAP Settings
While you try to configure Xfinity IMAP email settings, you may face several potential issues, such as:
-
Third-party access security settings
-
Two-factor authentication (2FA) conflicts
-
Account deletion and re-setup
-
Cache and cookies
-
Password issues
Steps to Perform Xfinity Email IMAP Settings
Use Xfinity IMAP settings to sync your emails across devices. Here are the steps that you should know to do Xfinity IMAP settings:
Outlook
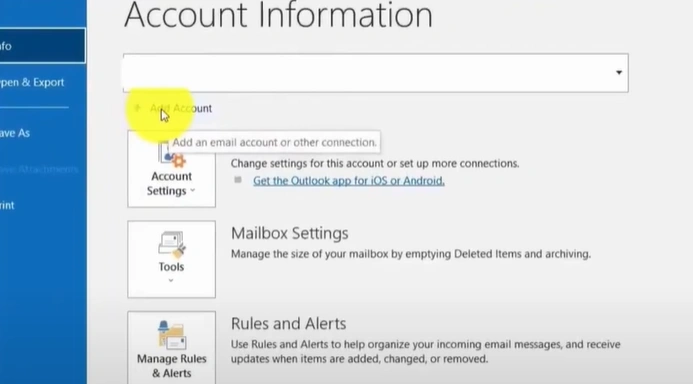
Step 1: Open Outlook mail and go to the File tab.
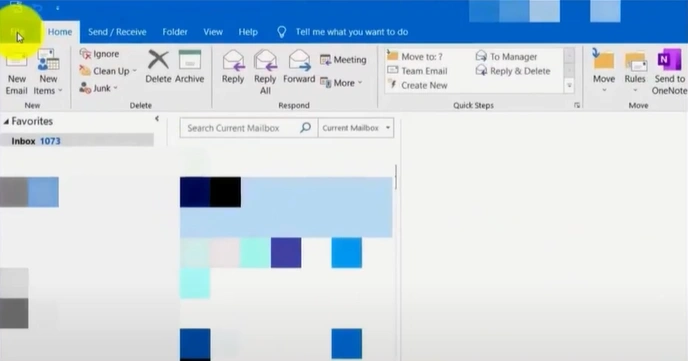
Step 2: Click Add Account, enter your Xfinity mail address, and click Advanced Options.
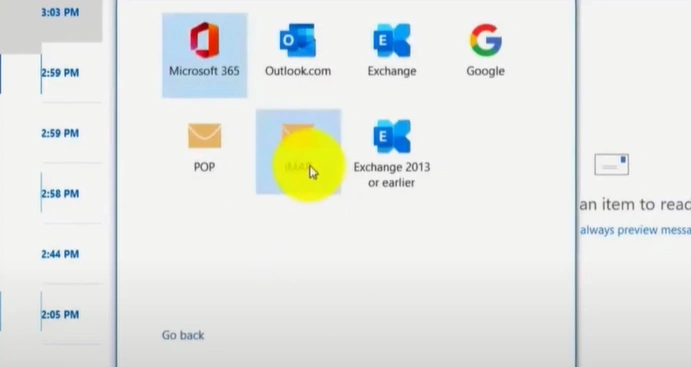
Step 3: Check the Let me set up my account manually option and click Connect.

Step 4: Select IMAP.
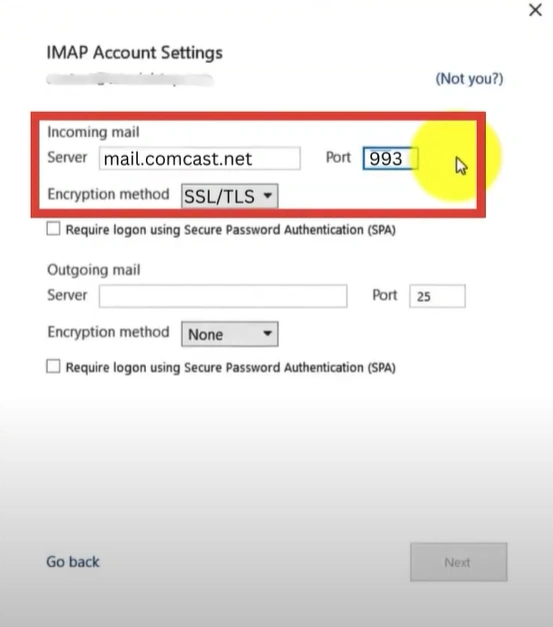
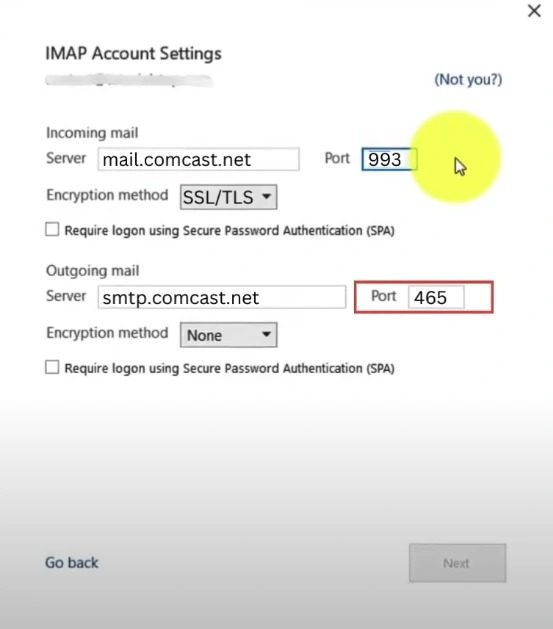
Step 5: Set the Incoming Mail server to mail.comcast.net, the port to 993, and the Encryption Method to SSL/TLS.
Step 6: Now, to set up the Outgoing Mail, also known as SMTP, enter smtp.comcast.net in the server field.
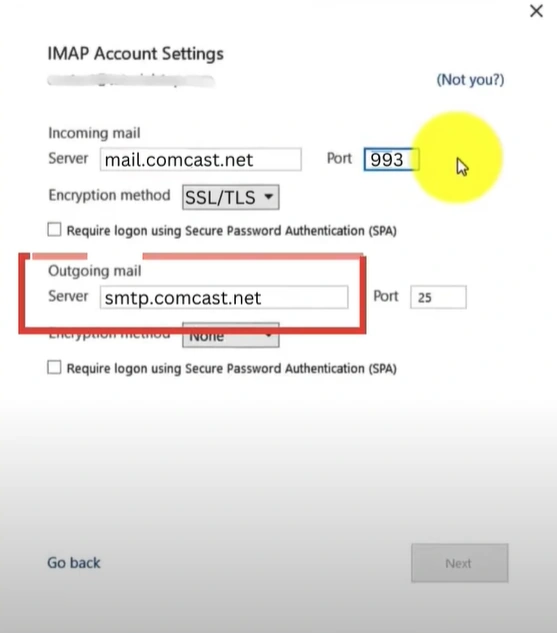
Step 7: Set the Port to 465.
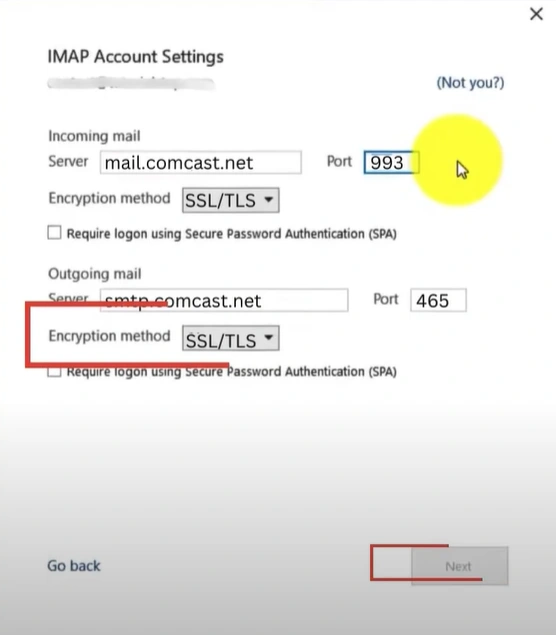
Step 8: Set the Encryption Method to SSL/TLS, then click Next.
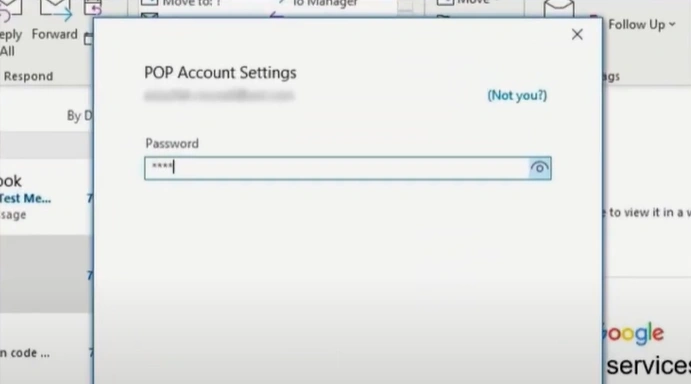
Step 9: Enter the Xfinity email password and click Connect.
On iOS
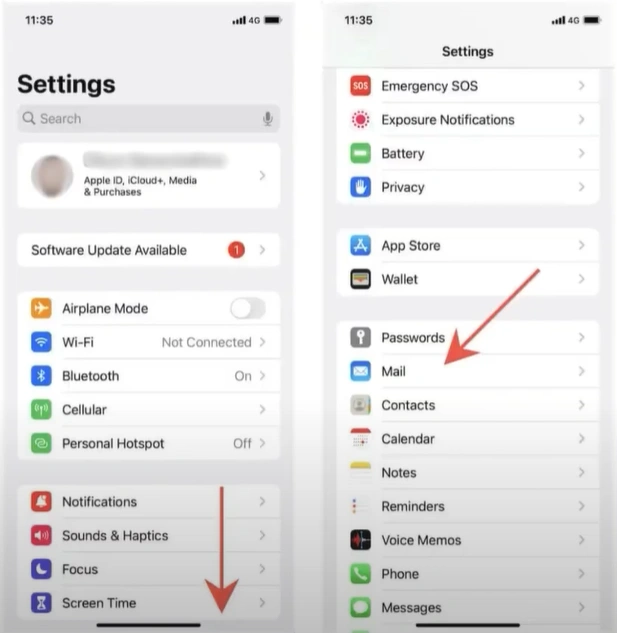
Step 1: From the home screen, tap on Settings.

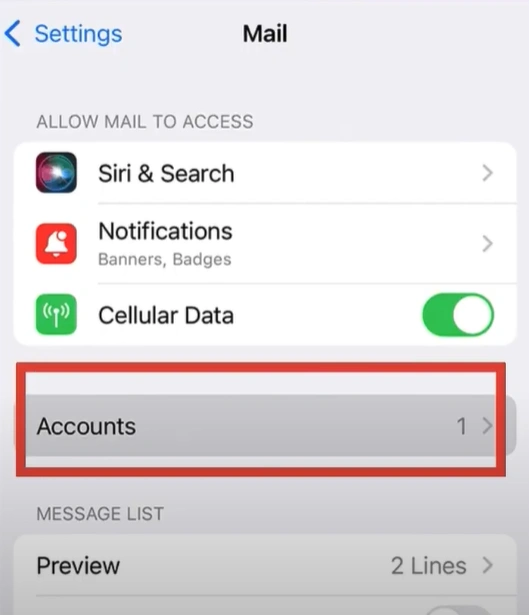
Step 2: Scroll down and tap on Mail.
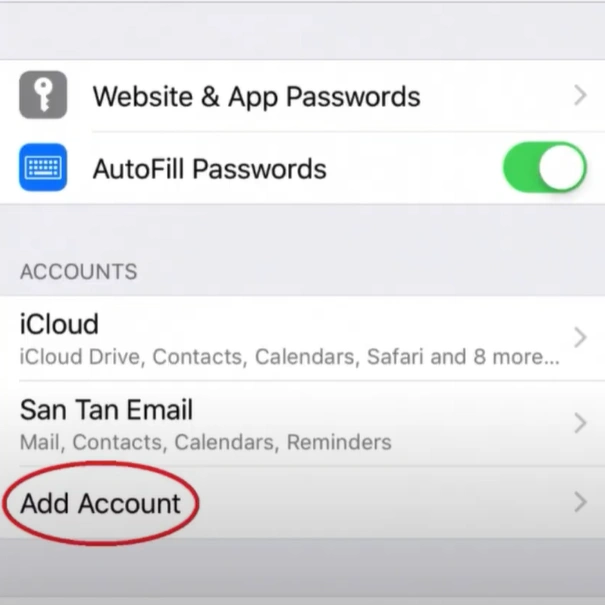
Step 3: Tap Add Account.
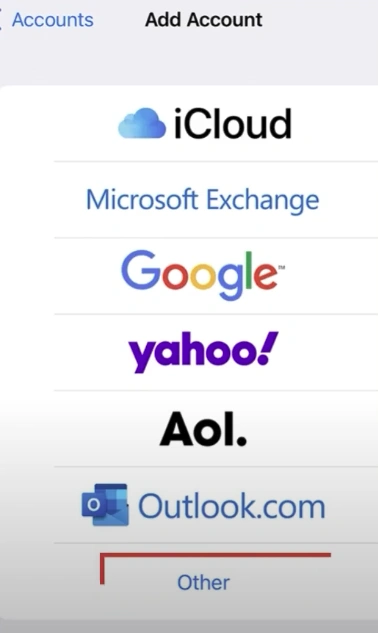
Step 4: Select Other from the list of options.
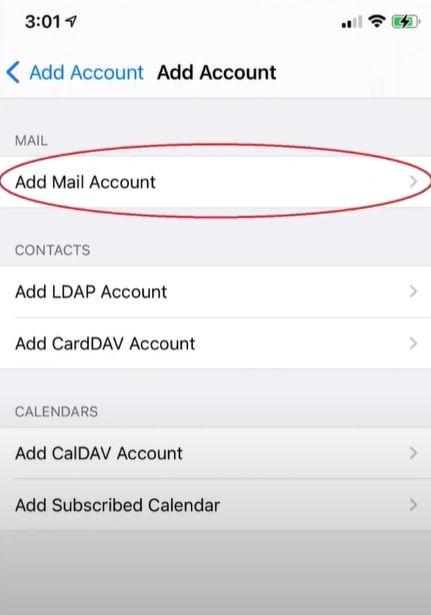
Step 5: Tap Add Mail Account.
Step 6: In the Name field, enter your name, then fill in your Xfinity email address in the email field.
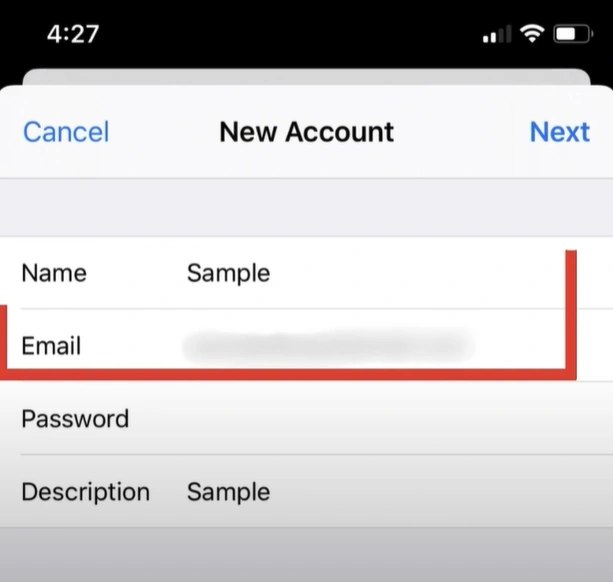
Step 7: Enter the Password and fill in the Description field.
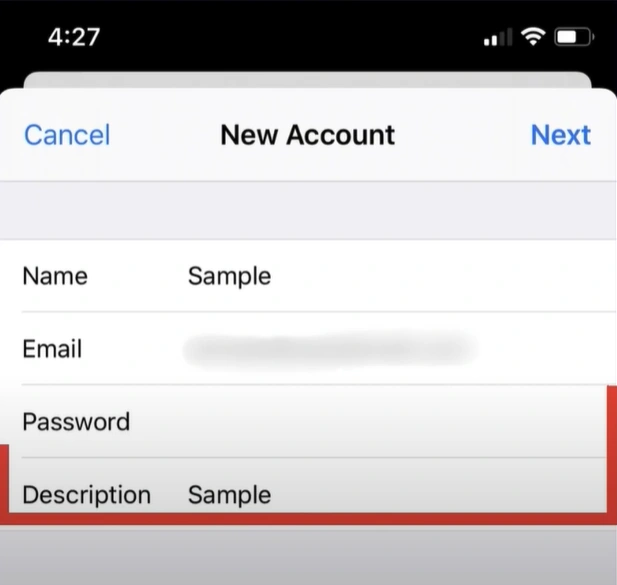
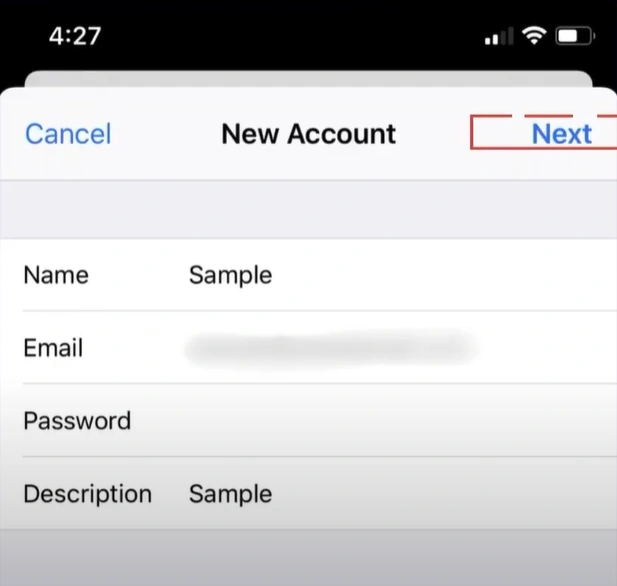
Step 8: Once done, tap Next.
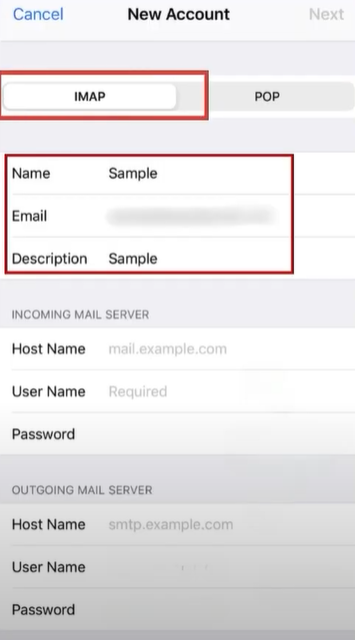
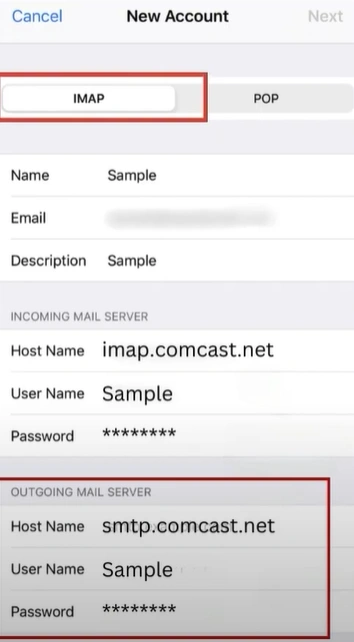
Step 9: Select IMAP, then fill in your Name, email address, and Description.
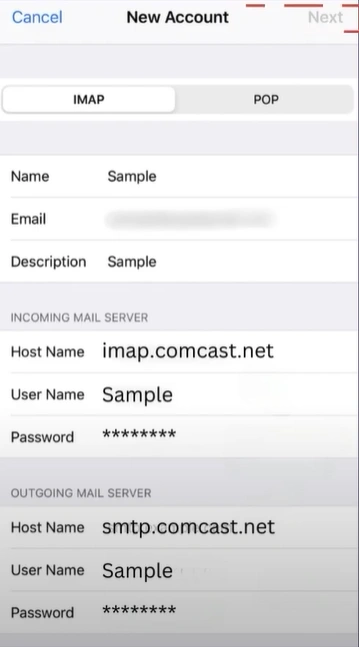
Step 10: In the Incoming Mail Server field, enter imap.comcast.net as the Host Name, enter the email address in the User Name, and fill in the password.
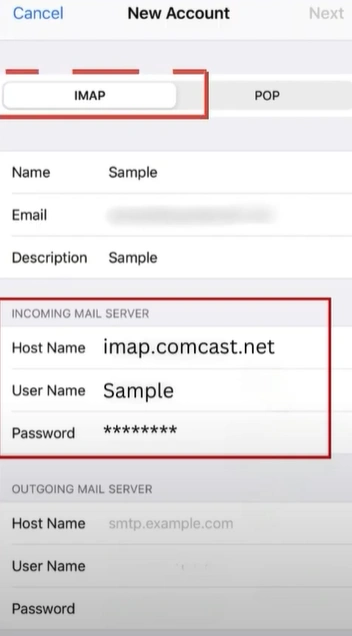
Step 11: In the Outgoing Mail Server field, enter smtp.comcast.net in the Host Name field, then enter the email address and password, respectively.
Step 12: Tap Next and wait for the information to be verified.
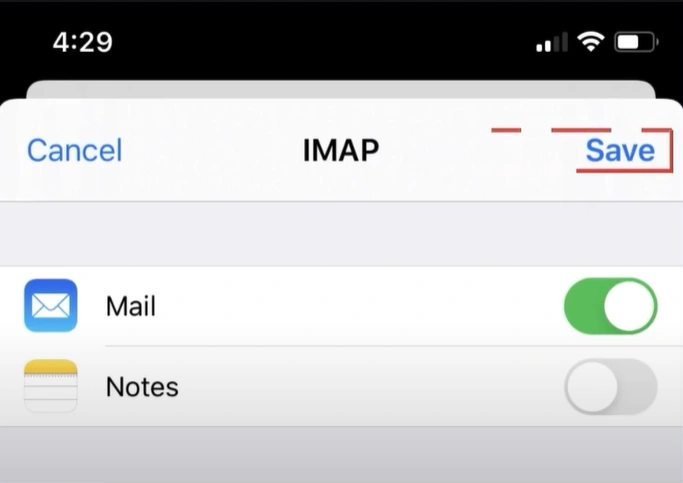
Step 13: Ensure the Mail option is turned on, then tap Save.
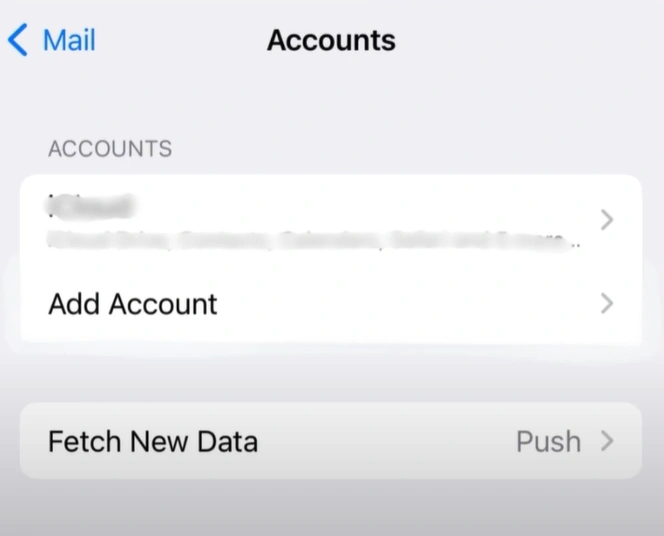
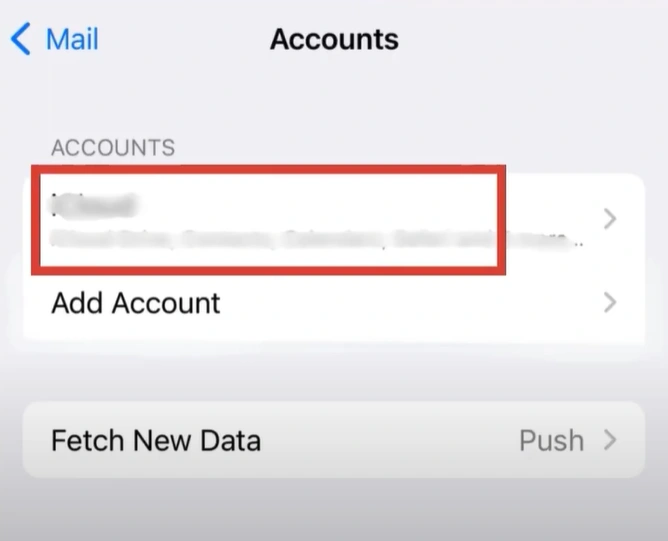
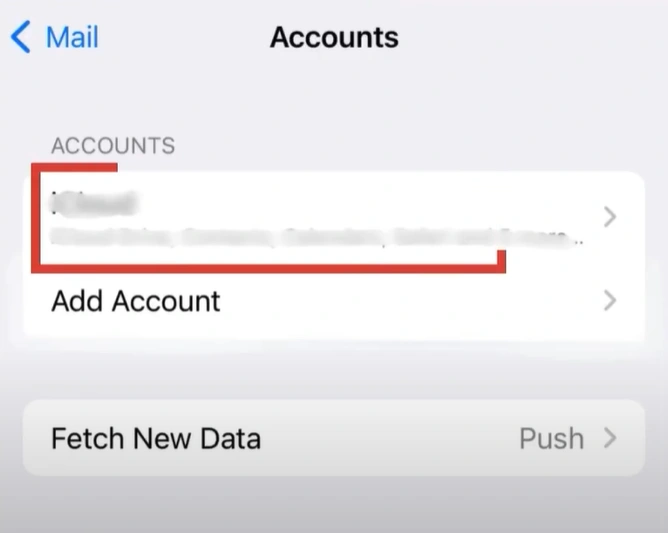
Step 14: Tap on Accounts again.
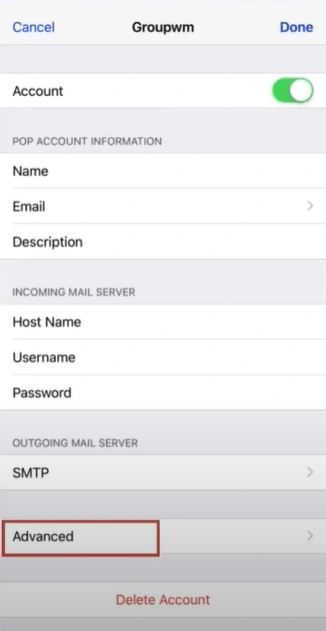
Step 15: Select the Xfinity Comcast email address you’ve just set up.
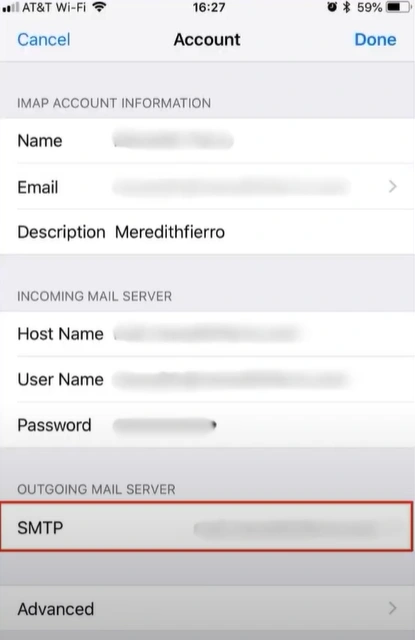
Step 16: Tap the email address in the Account section.
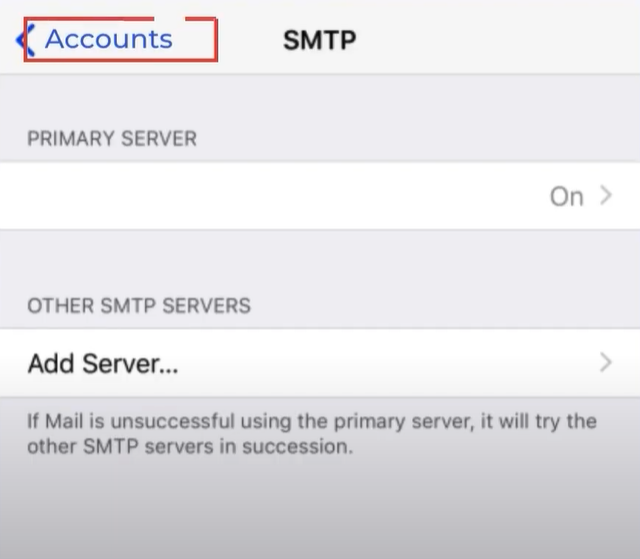
Step 17: Under the Outgoing Mail Server section, select SMTP.
Step 18: Under Primary Server, select smtp.comcast.net.
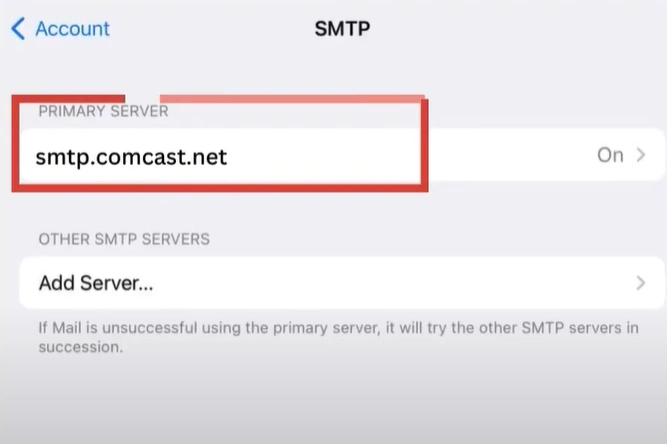
Step 19: Enable Use SSL and set the Server Port to 993.
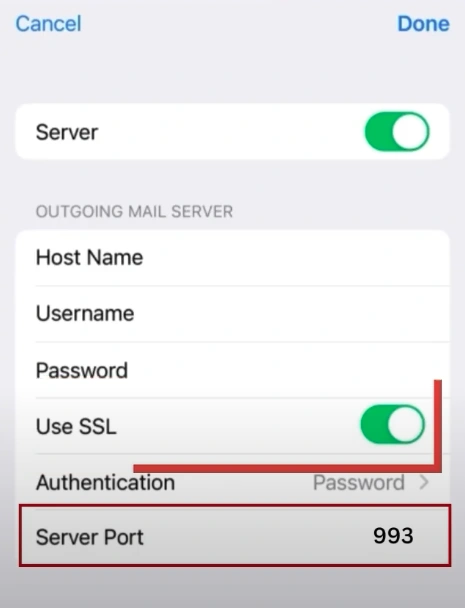
Step 20: Once you’ve filled in all the details, tap Done.
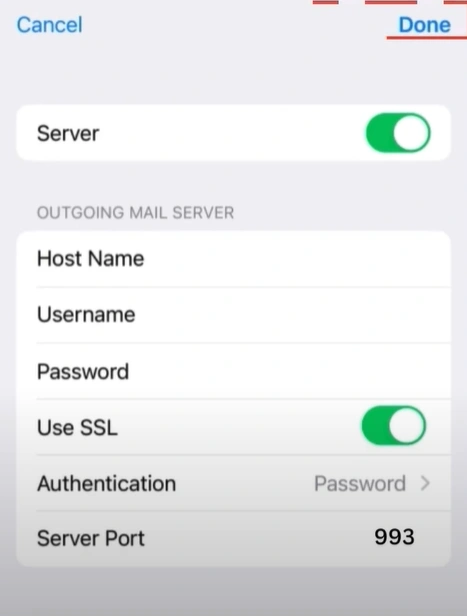
Step 21: Tap Account on the top left side to return to the Account screen.
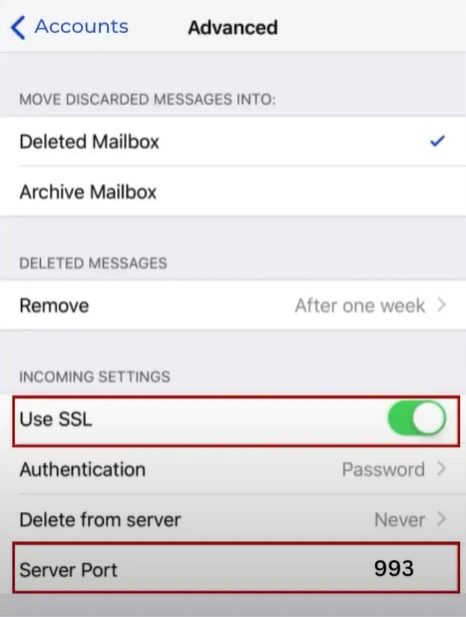
Step 22: Tap Advanced.
Step 23: Enable the Use SSL option and set the Server Port to 993
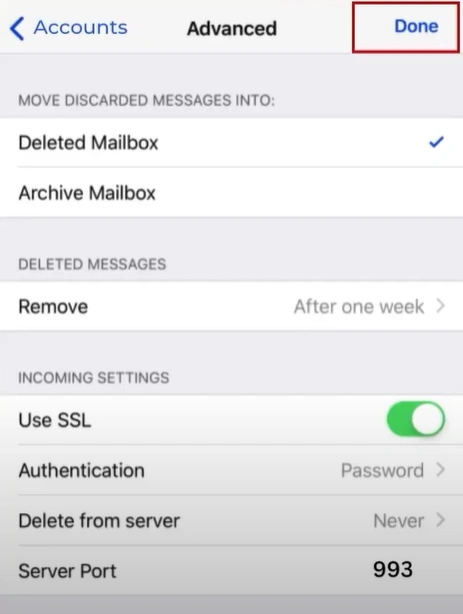
Step 24: Tap Account again, then tap Done.
Step 25: Tap Accounts and the email address is ready to use.
Here, we conclude this guide on how to do Xfinity email IMAP settings. Follow the steps discussed above and address all the potential issues, including third-party access security settings, account deletion and re-setup, and cache and cookies.
 Verified Expert