Latest Blogs
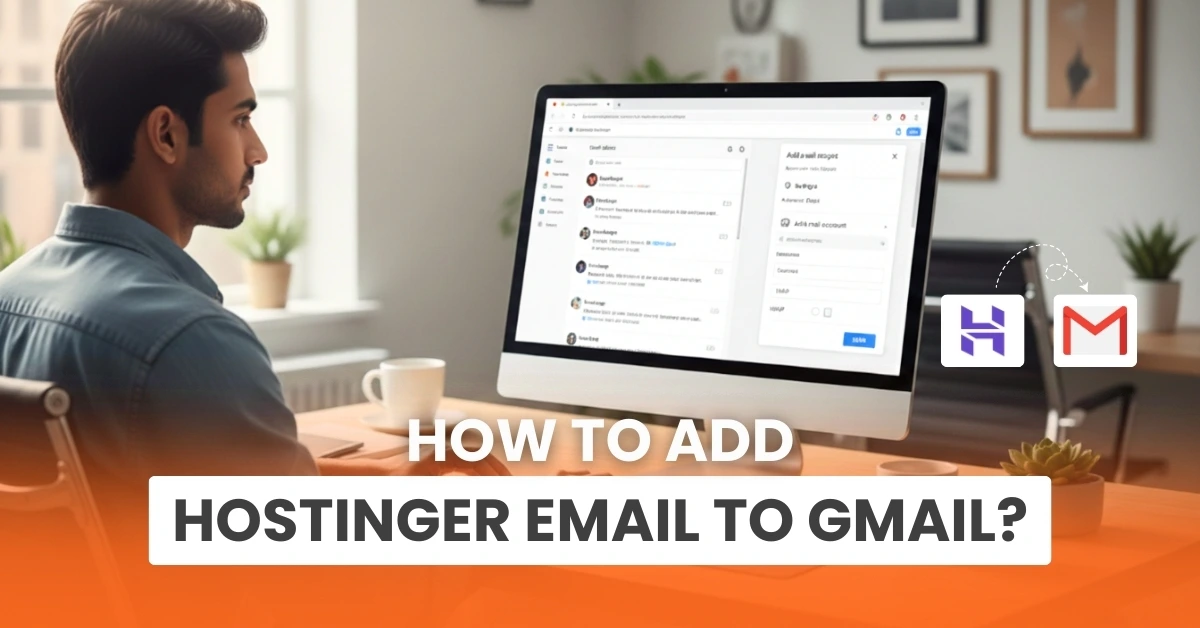
How to Add Hostinger Email to Gmail?
Managing multiple email accounts can become difficult, and while switching between accounts, you may miss an important m.... Read More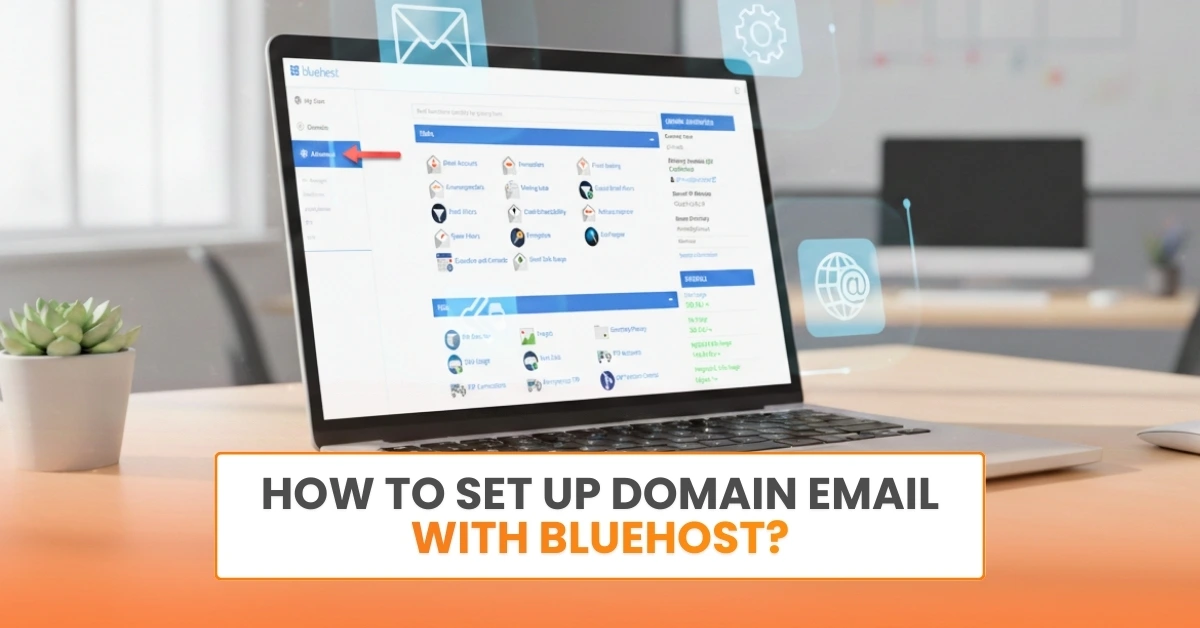
How to Set Up Domain Email With Bluehost?
Do you want to create a professional email matching your business name? You can do that by setting up a domain email wit.... Read More
How to Add a New Email Address to Google Workspace?
Adding a new email to Google Workspace increases productivity, establishes trust with clients, and strengthens your bran.... Read More
How to Recover Hacked Gmail Account?
What causes a Gmail account to get hacked? Gmail users may encounter troubles like losing access to their emails or othe.... Read More