How to Add a Signature in Roundcube Webmail?
- 0
- 753

Simple and clean—that's how I felt after I started using Roundcube Webmail, as it offered an intuitive interface compared to other platforms I had used before.
I was comfortable with the basics, but there was one feature that I was not aware of: adding an email signature. When sending any email, I used to manually type out my name and contact info at the bottom each time. One day, I set my coffee down, rolled up my sleeves, and explored how to add a signature in Roundcube Webmail.
Honestly, it took me a few moments to figure it out, especially navigating the settings menu for the signature option. Adding a signature is easy. Let me walk you through the process I discovered.
Common Issues When Adding a Signature in Roundcube Webmail
When you are trying to add a signature in Roundcube Webmail, there are chances that you may face certain issues, such as:
-
Link issues
-
Compatibility issues
-
Image display issues
-
Signature not appearing in reply or forwarded emails
Note: Always test the signature by sending a message to yourself. View it on multiple devices or email clients. You must use HTTPS links and properly hosted images. Enable the “HTML signature” option if you are using formatted content or images.
Steps to Add a Signature in Roundcube Webmail
Here's how you can add a signature in Roundcube Webmail using the steps I discovered. Follow the instructions that are mentioned:
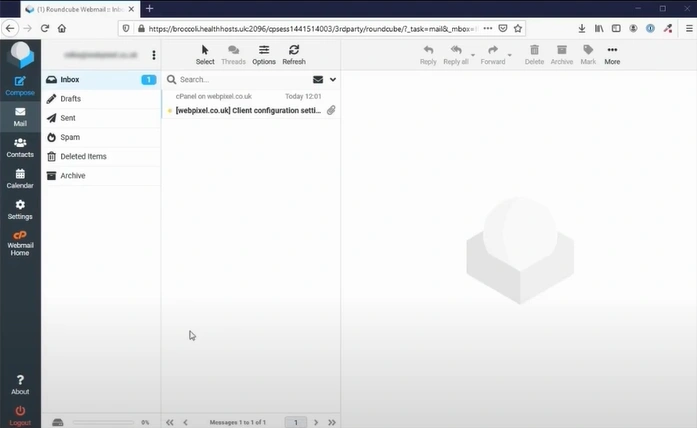
Step 1: Open your Roundcube Webmail in cPanel.
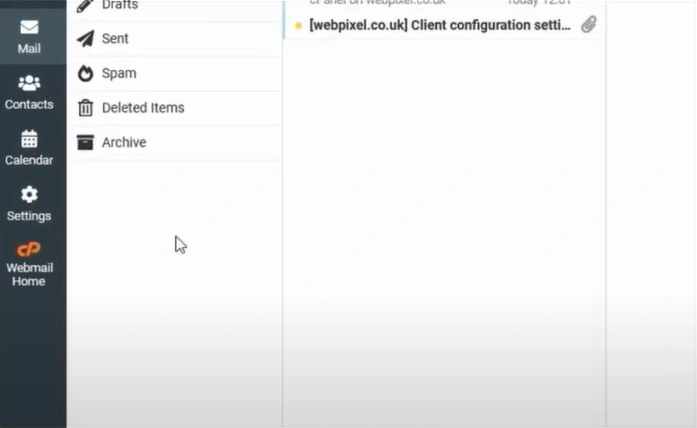
Step 2: Open Settings from the left menu bar.
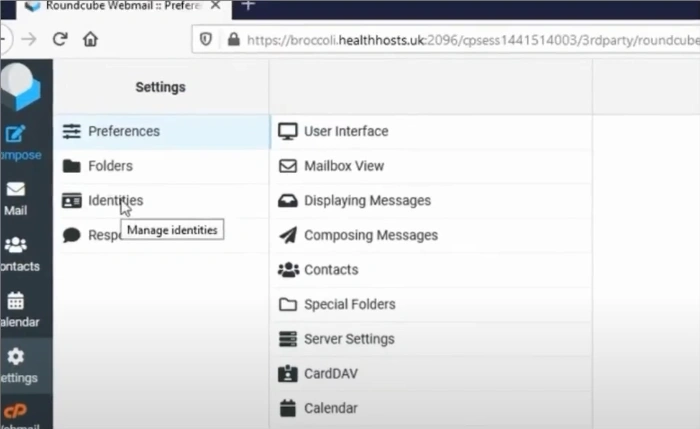
Step 3: Click on Identities, then select the email address.
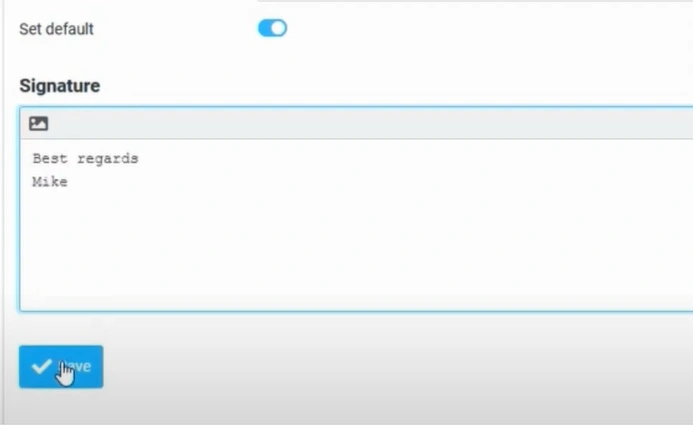
Step 4: Enter a display name, type the signature in the Signature box, and click Save.
Also Read:- How to Recall Mail in Outlook Webmail
In Closure
By following the method I've explained, you can streamline your email process and save time with every email you send. No more manually typing your name and contact information at the bottom of each email—add a signature like I did to make your emailing experience hassle-free.
 Verified Expert