How to Add Signature in Outlook Webmail?
- 0
- 774

Adding a signature in Outlook Webmail enhances professionalism and offers additional benefits. It can be a digital business card with your name, title, contact info, and much more. This not only saves time but also enhances your professional image.
A signature gives your brand an identity and raises credibility. Thus, it makes it easier for recipients to respond and connect with your business. A signature may include links to your social media profiles or other relevant information. This also makes it easy for recipients to learn more about your business or organization.
Outlook Webmail also allows for signature customization. You can personalize your signature using different formatting options, images, and links. This will enable you to create a distinctive and personalized representation of yourself or your brand.
The question arises here: How to add a signature in Outlook Webmail? Here is a step-by-step guide on the process of adding a signature to Outlook Webmail. Let’s go further.
Potential Issues When Adding a Signature in Outlook Webmail
When adding a signature to Outlook Webmail, users may encounter several potential issues during the process. These can be:
-
Multiple add-ins conflicts
-
Domain or antivirus software blocking
-
Protected mode interference
-
Signature not updating
Steps to Add a Signature in Outlook Webmail
Adding a signature to Outlook Webmail is a straightforward process with some easy steps. Here are all the steps on how to add signature in Outlook Webmail:
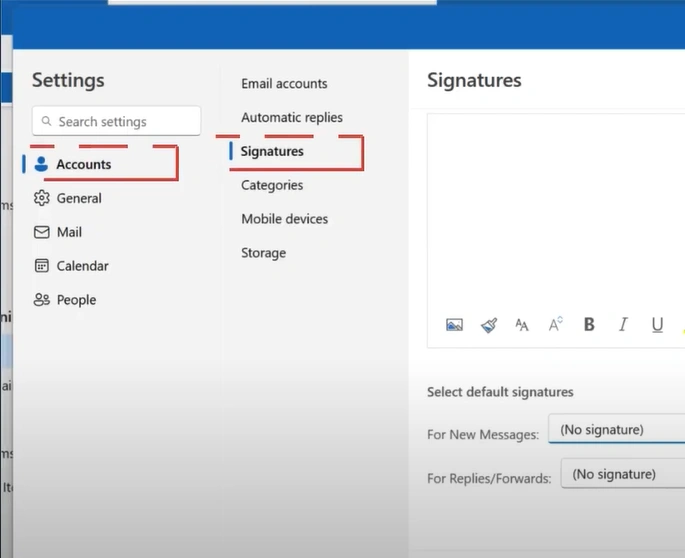
Step 1: Open Outlook and click the Settings icon on the top right side of the screen.
![]()
Step 2: From the Settings menu, ensure that Accounts is selected, then click Signatures.
Step 3: Click the Edit Signature Name field and name it.
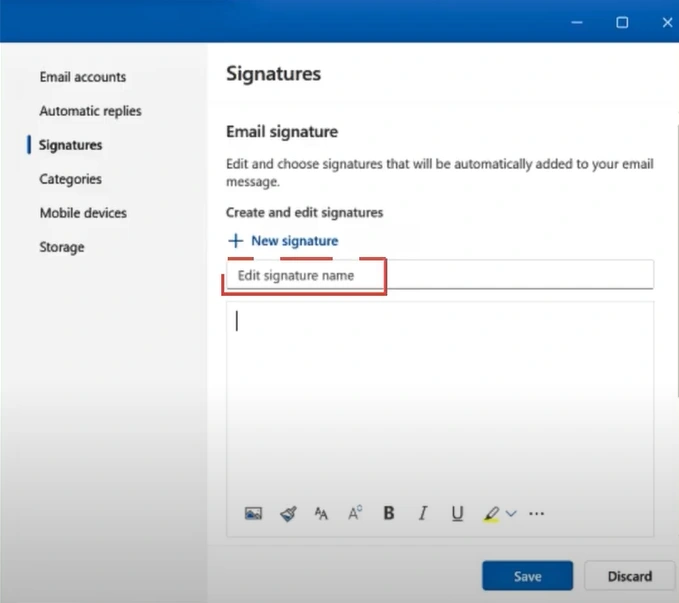
Step 4: Select the text box underneath to start creating the signature.
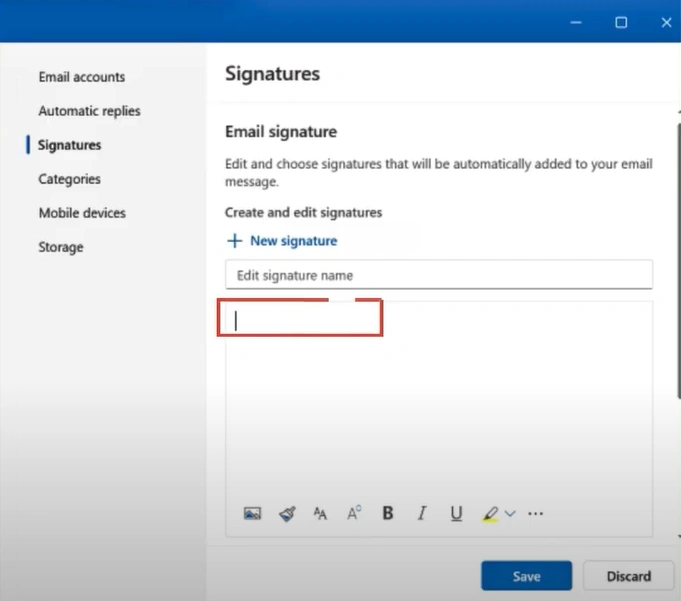
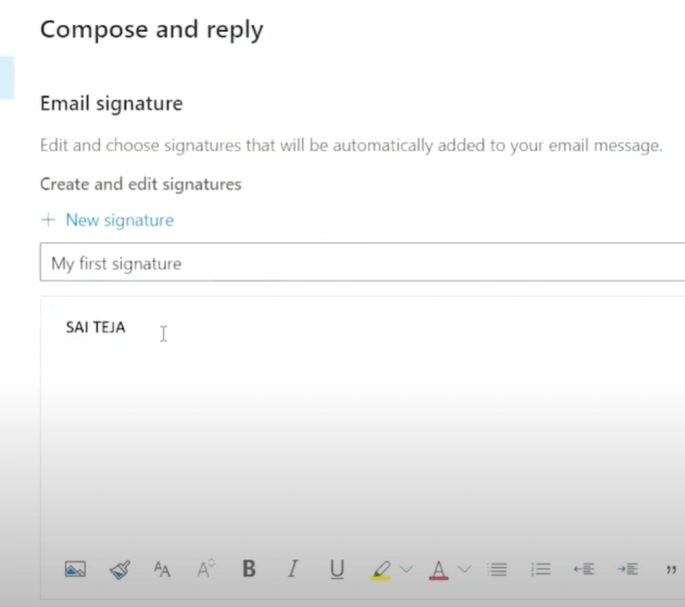
Step 5: Now, write and format your signature with text, pictures, and even links.

Step 6: If you want to add an image, click the image icon, select the image and click open.
![]()
Also Read:- How to Access Webmail in Outlook?
Step 7: Resize it to the shape you want.
Step 8: If you want to add a link, type in the address, select it, and click the hyperlink icon or the globe icon, depending on your Outlook version.
![]()
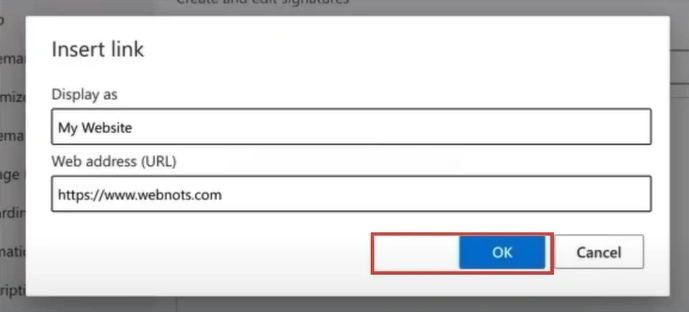
Step 9: Insert the web address and click OK.
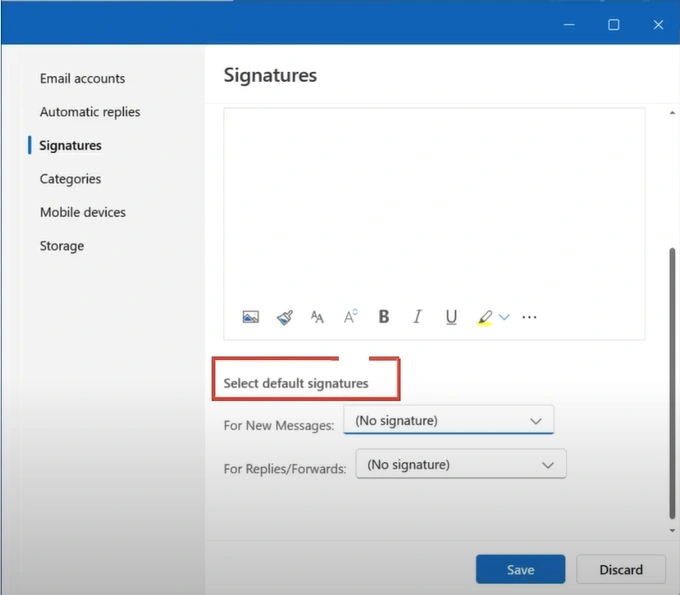
Step 10: If you have multiple signatures, you have the option to select the default signature.
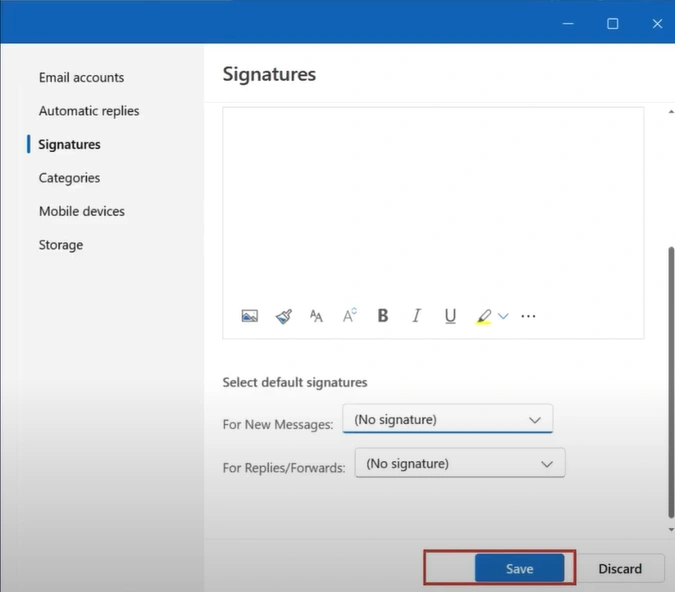
Step 11: Once done, click Save.
Step 12: If you only use one signature, in the Select Default Signatures section, select the signature from the For New Messages drop-down.
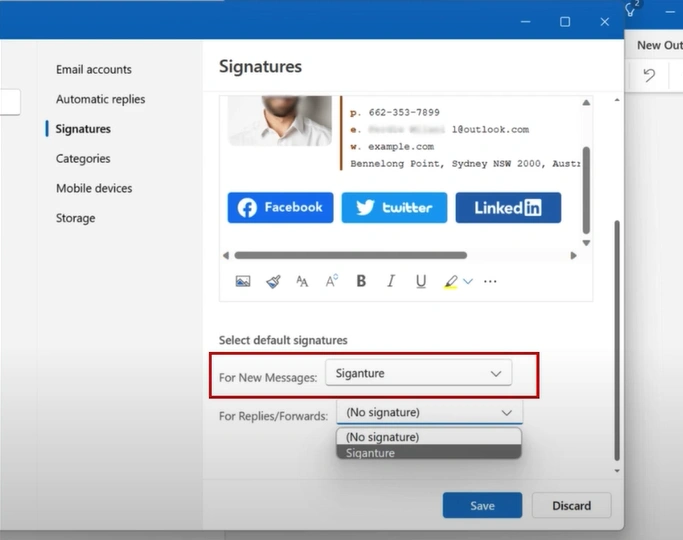
Step 13: Select the signature you want to use from the For Replies/Forwards drop-down as well.
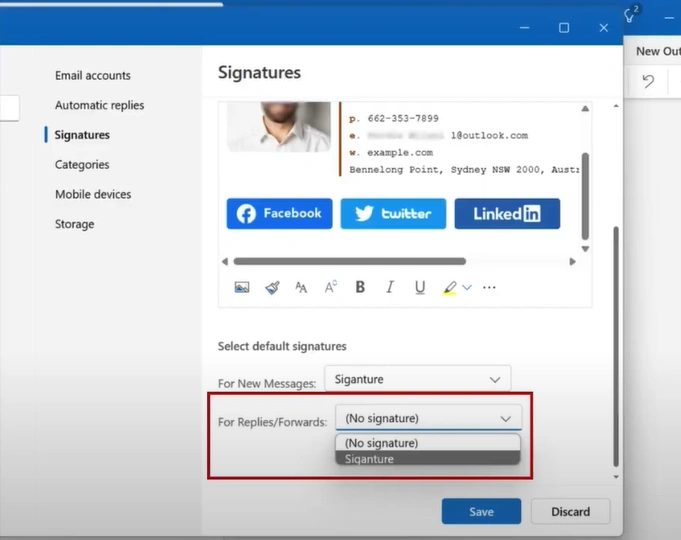
Step 14: Once done, click Save and close the Settings window.

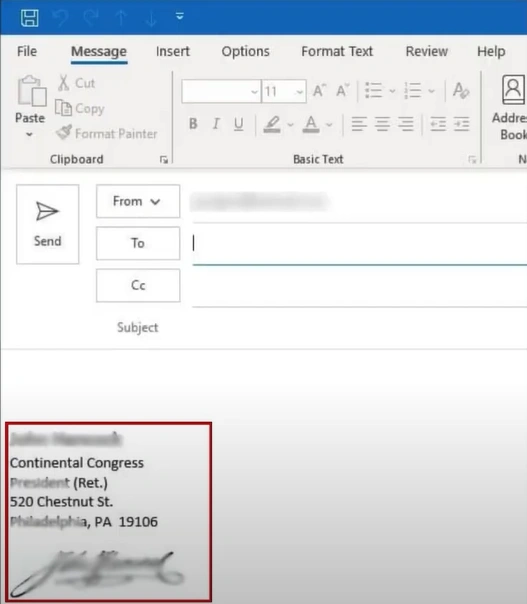
Step 15: Go to New Mail, and your signature will automatically pop up.
To Conclude
Adding a signature in Outlook Webmail can bring innumerable benefits. It helps you establish a professional image, save time, and promote your brand more effectively. Follow the above process on how to add a signature in Outlook Webmail and overcome any problems that may arise.
If you are still having trouble integrating a signature in Outlook Webmail, remember that you can always contact an expert.
 Verified Expert