How to Recall Mail in Outlook Webmail
- 0
- 804

In Outlook Webmail, it can be crucial to recall mail as it may be necessary to retract a sent message before the receiver opens it. Recalling mail in Outlook Webmail can be helpful if you have made an error in the email.
By initiating a recall, you get a couple of options: delete unread copies of the message or replace it with a new message. If you choose to replace the message, you can compose a new one for the recipient.
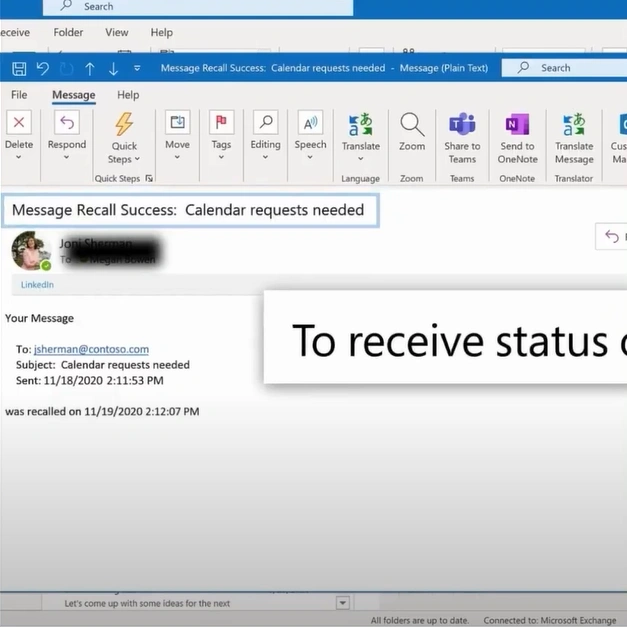
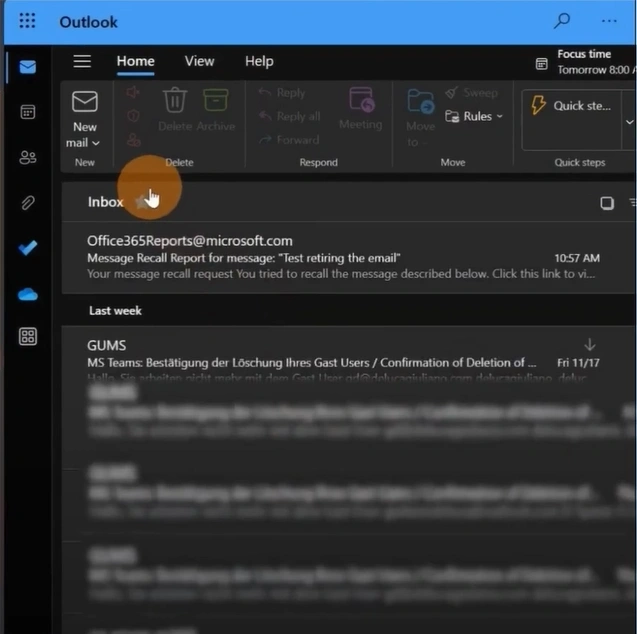
The recall procedure may take some minutes. Once done, you will receive a 'Message Recall Report' in your inbox, providing the recall status. This feature helps you manage emails that are sent effectively.
Issues to Occur When Recalling a Mail in Outlook Webmail
Users may face various potential issues when recalling a message in Outlook Webmail. Some of the common ones are:
-
Recall feature not available
-
Recall notification error
-
The recipient may still view emails
-
Compatibility issues
Steps for Recalling a Mail in Outlook Webmail
Here are the ideal steps you must know for recalling mail in Outlook Webmail:
On Outlook Desktop
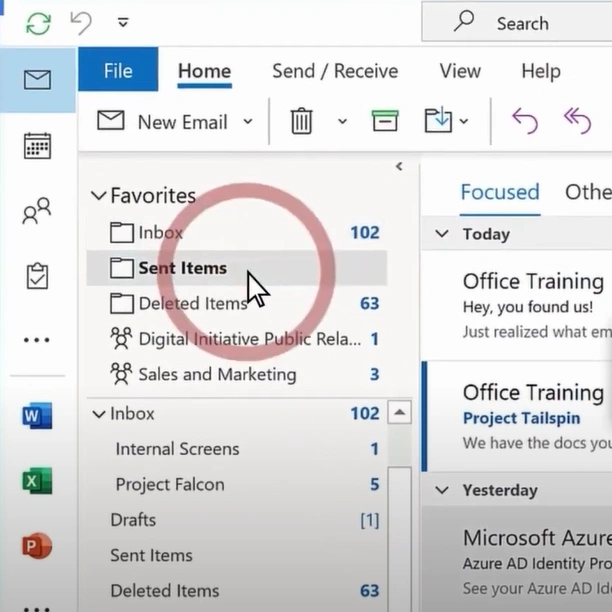
Step 1: Go to Send Items and double-click the message you want to recall.
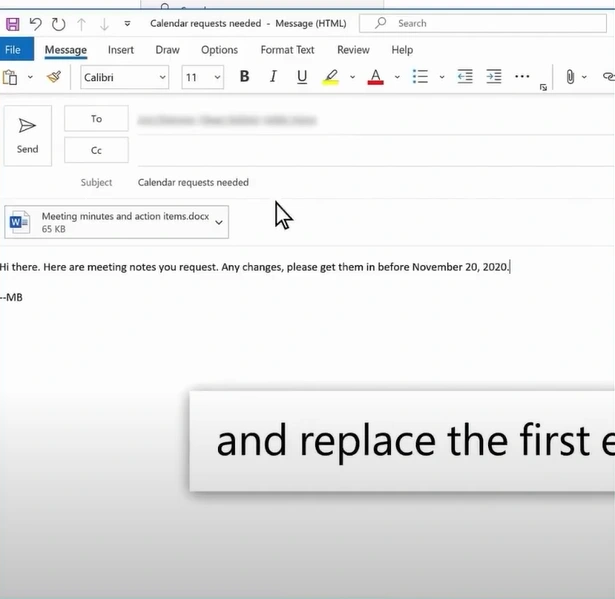
Step 2: Select File on the top left side of the screen, click Resend or Recall, then click Recall This Message.

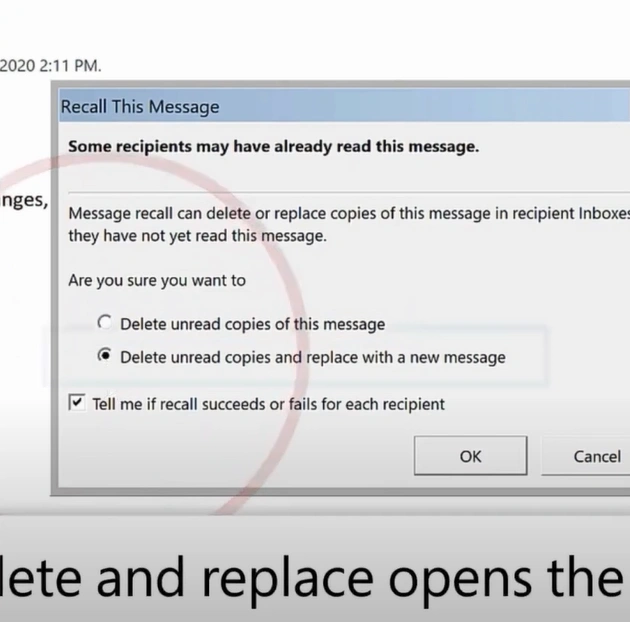
Step 3: You’ll get two options: to delete unread copies and to delete unread copies and replace them with a new message.
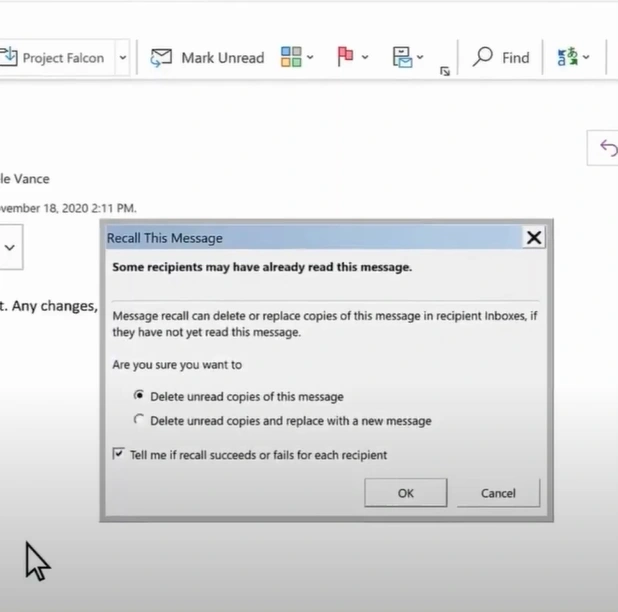
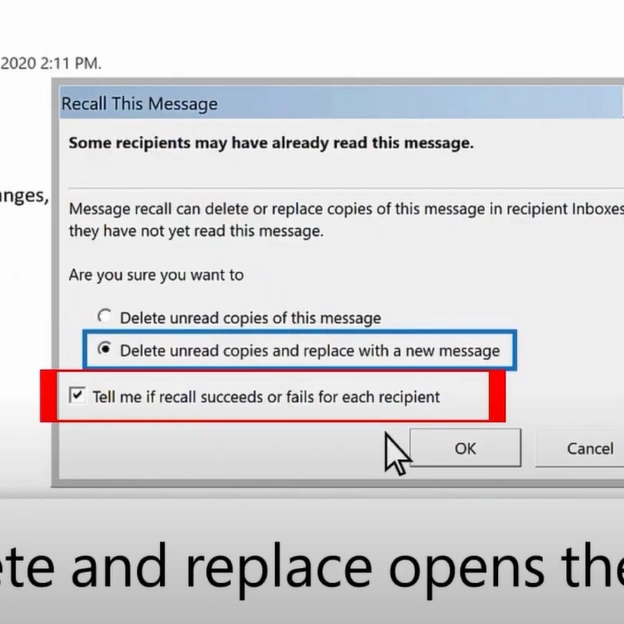
Step 4: To resend a new message, select Delete Unread Copies and Replace with a New Message option.
Step 5: Next, check the Tell me if recall succeeds or fails for each recipient, and click OK.
Step 6: Edit the email and click Send to replace.
Step 7: Once done, you'll receive the recall status.
On New Outlook Web
Step 1: Click the three lines on the top left side of the screen to open the menu.
Also Read:- How to Send Encrypted Email Outlook?
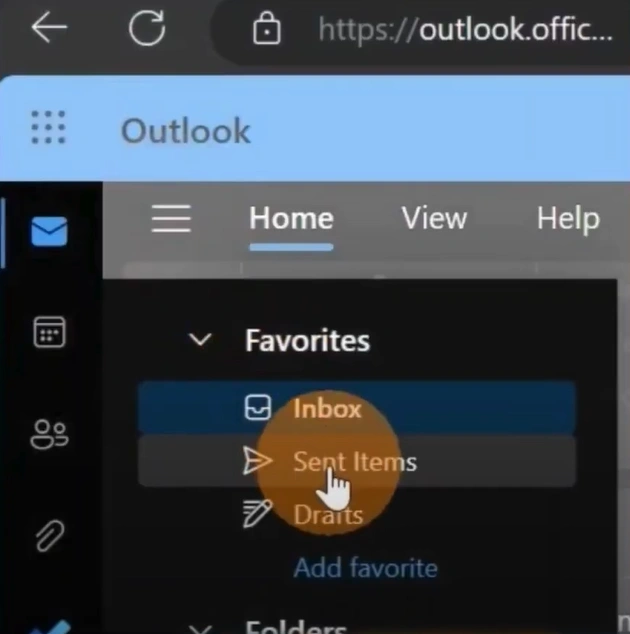
Step 2: Click Sent Items and select the email you want to recover.
Step 3: Click Recall Message on the top bar, then click OK on the pop-up prompt to proceed.

For Outlook.com
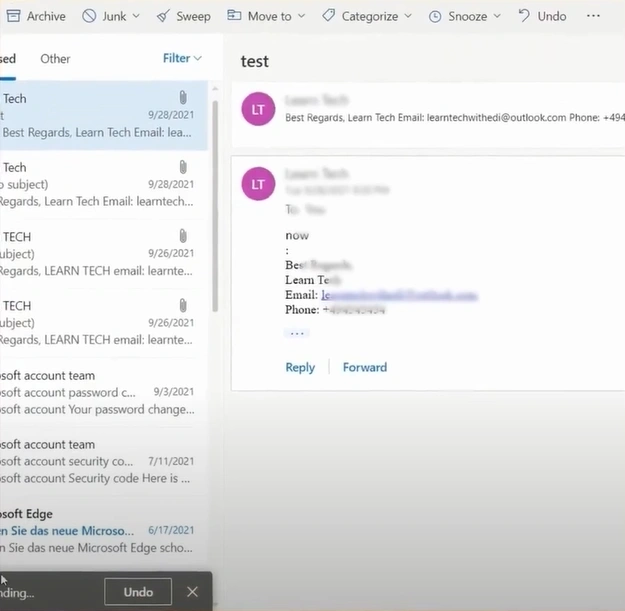
Step 1: After sending the email, you’ll get an Undo prompt for a few seconds; simply click Undo to recall.

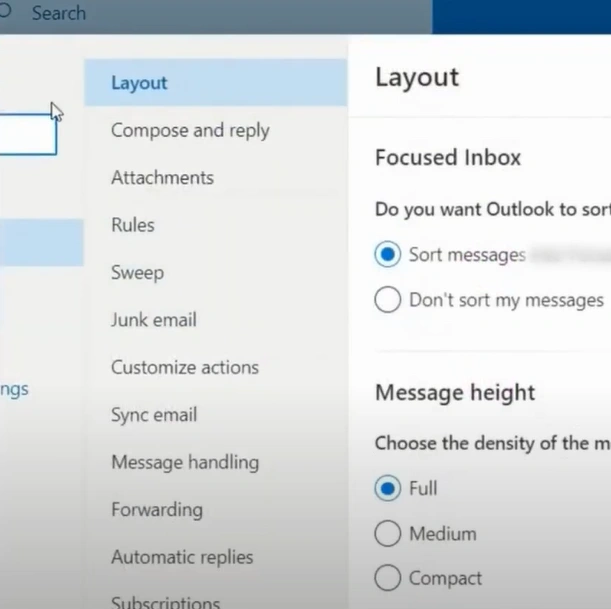
Step 2: If you don’t get the Undo Send prompt, you need to set it up; to do this, click the Settings icon on the top right side of the screen.

Step 3: Click View All Outlook Settings, and ensure that Mail is selected on the left panel.
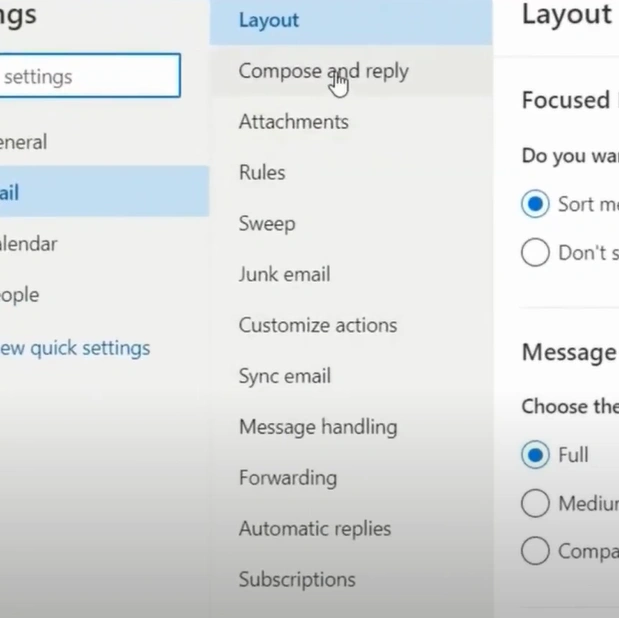
Step 4: Select Compose and Reply, then scroll down to the Undo Send section.
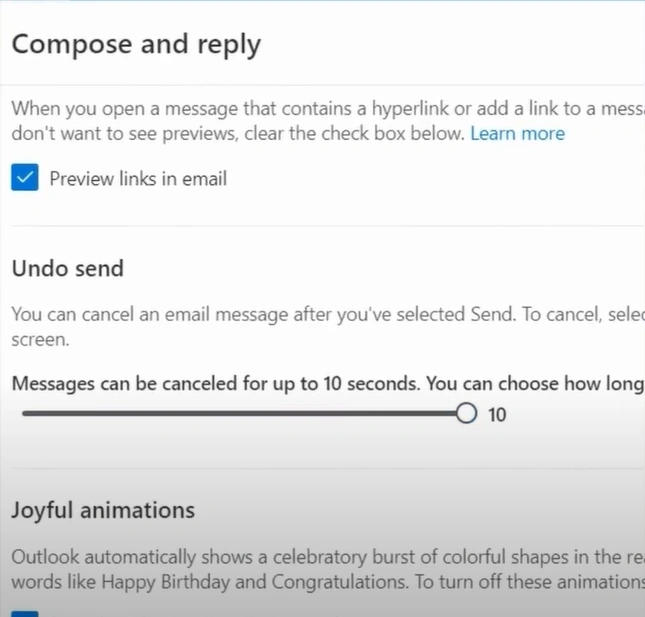
Step 5: Using the slider, choose how long you want Outlook to wait to send your messages. Note: Messages can be canceled for up to 10 seconds.
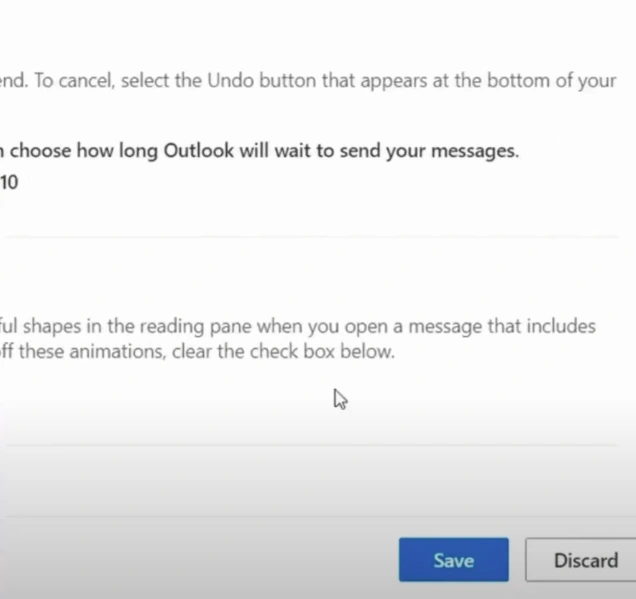
Step 6: Once done, click Save and close the Settings window.
Step 7: Now, when you send an email, you get the Undo prompt.
Summing Up
Recalling mail in Outlook Webmail can be a straightforward process, as outlined in this guide. Whether you are using Outlook's desktop version, the new Outlook Web, or the outlook.com website, the steps are simple and easy to follow.
There can be certain issues that may occur when recalling mail, so be wary of them. Understanding these issues and how to address them is crucial for successful email recall. If you still have trouble recalling mail in Outlook, contact an expert for assistance.
 Verified Expert