How to Setup Comcast Email on iPhone?
- 0
- 638
For any user, staying near a computer just to check emails is not always possible. When you are away from home, it becomes difficult to check and respond to your latest Comcast emails. With only desktop access, it's easier to miss out on important updates.
Don't want to miss any new updates or messages? Want to stay connected all the time, even when you are on the go? Setting up Comcast email on your iPhone is the perfect solution, putting all your Comcast emails at your fingertips.
But how do you setup Comcast email on iPhone? Let’s explain the complete process to you. Before we get to the steps, let’s go over what you should consider before setting up Comcast email on your iPhone.
Things to Consider Before Setting Up Comcast Email on iPhone
Keep the following key points in mind before setting up Comcast email on your iPhone:
-
Check if your iPhone is up to date with the latest iOS version. If not, go to Settings, tap General, and select Software Update. Download and install the latest version if any updates are available.
-
Make sure two-factor authentication is enabled in your Xfinity account settings for added security.
-
Situations like errors or failed setup can occur if your iPhone doesn’t have a stable internet connection. Therefore, it is wise to test your network before beginning the setup.
Issues That Occur When Setting Up Comcast Email on iPhone
When trying the Comcast email setup on iPhone, you may encounter issues, such as:
-
Low storage space on your iPhone
-
Outdated iOS version
-
Server configuration
-
Third-party app interference
-
VPN interference
Steps to Setup a Comcast Email on Your iPhone
Follow all these instructions to integrate your Comcast email account with your iPhone:
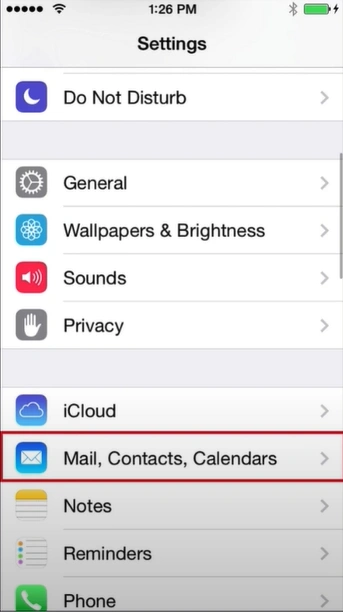
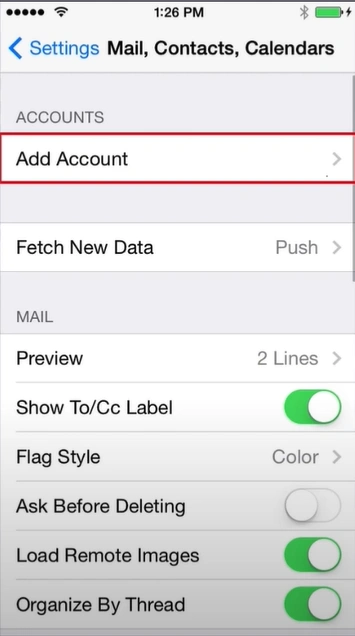
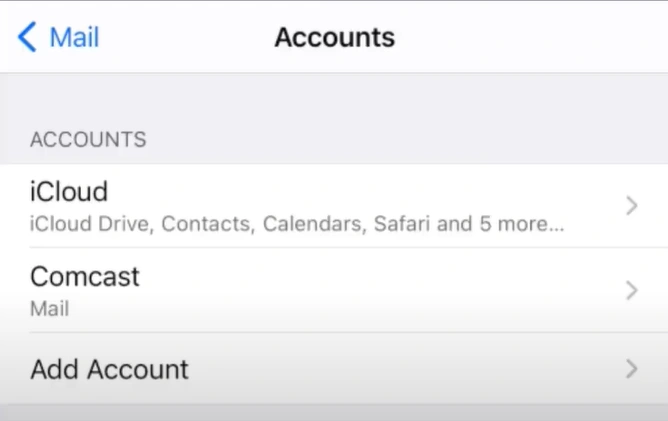
Step 1: Go to Settings, scroll, and tap on Mail.
Step 2: Open Accounts, then tap "Add Account."
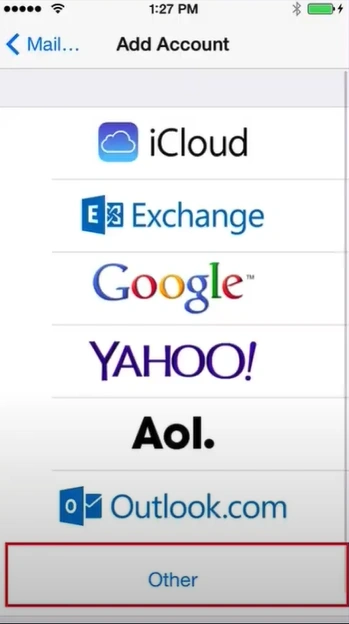
Step 3: Tap the "Other" option.
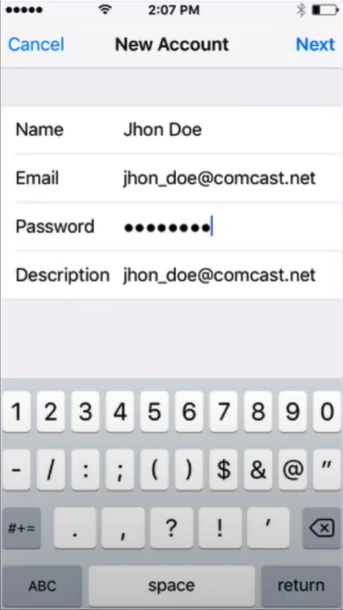
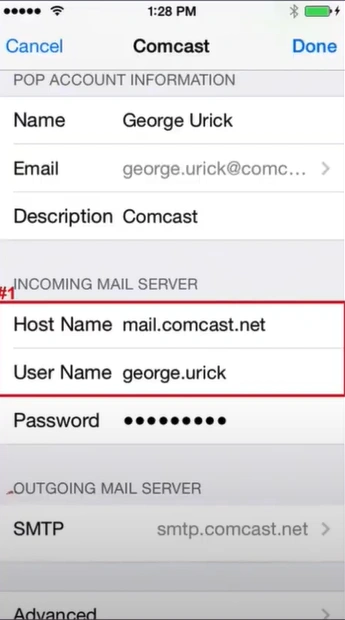
Step 4: Enter your name, Comcast email address, password, and a description for the account (e.g., "Comcast Email") and tap on Next.
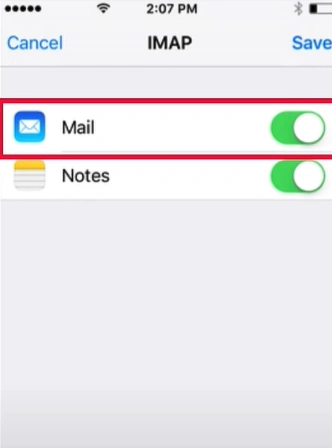
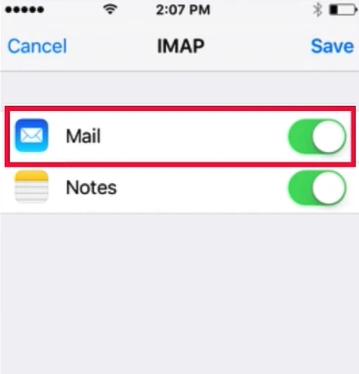
Step 5: If Mail automatically detects the server settings, enable the Mail option and tap on Save.
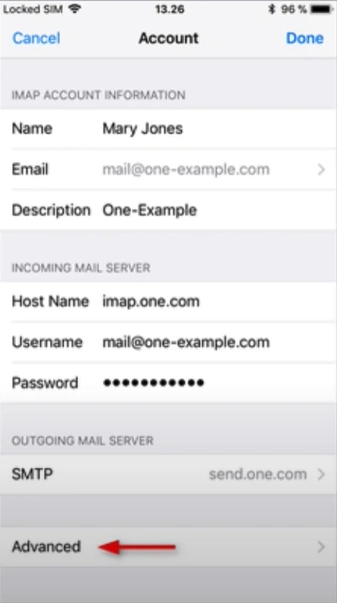
Step 6: If settings aren't detected automatically, go back and enter them manually in the Comcast Mail account settings.
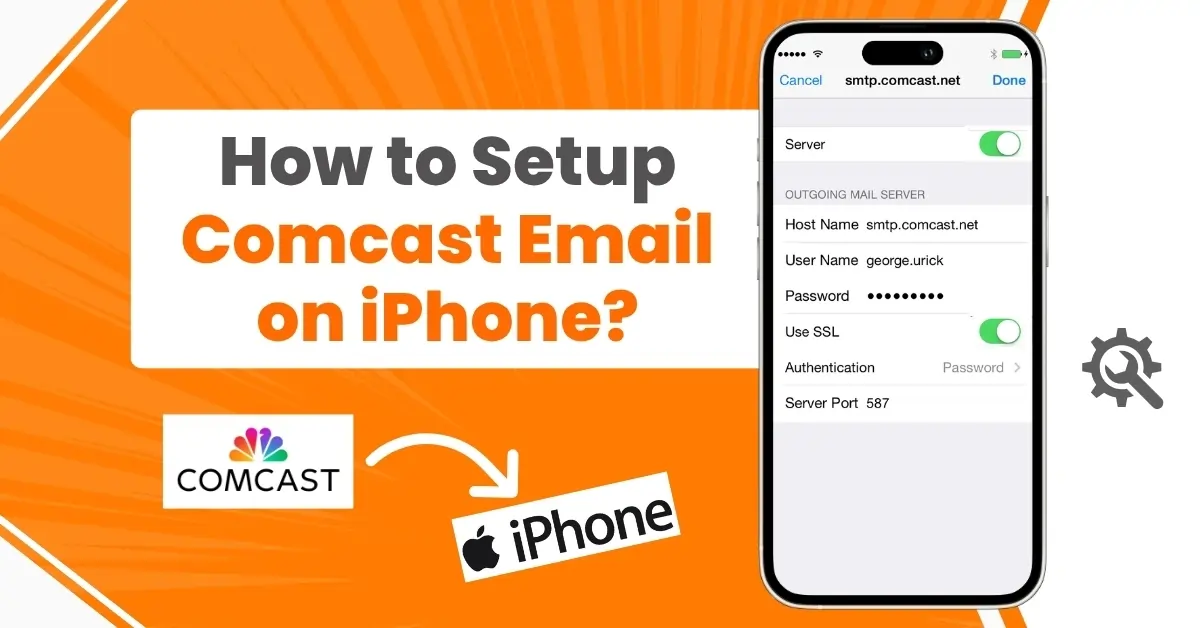
Step 7: In the Incoming Mail Server section, set the Host Name to mail.comcast.net.
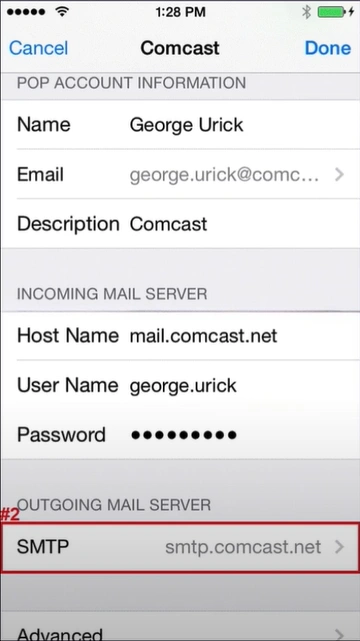
Step 8: Set the Host Name in the Outgoing Mail Server to smtp.comcast.net.
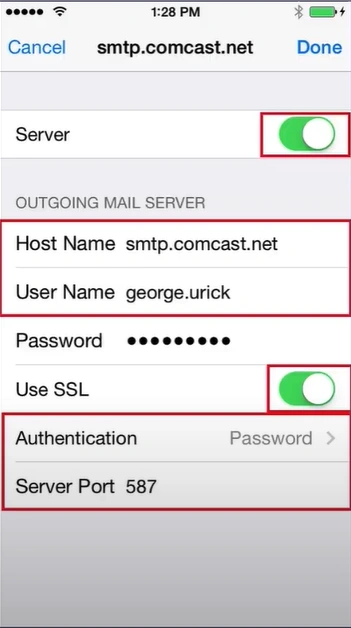
Step 9: Enable “Use SSL,” enter 587 as the server port, and tap Done.
Step 10: Toggle on Mail in the Account Added screen and tap Save.
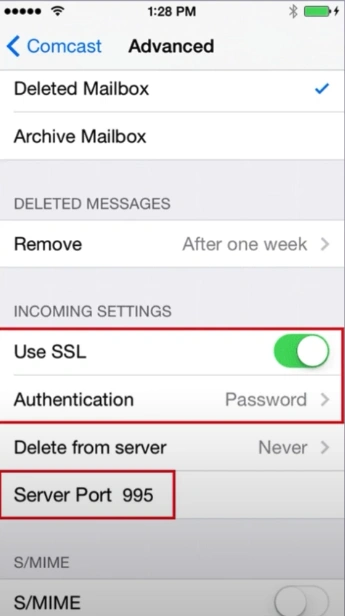
Step 11: Go back to account settings and tap on Advanced.
Step 12: Ensure that “Use SSL” is enabled, the authentication type is set to “Password,” and the Server port is set to 995.
To Sum Up
That wraps up the right steps on how to setup Comcast email on iPhone. Once you have Comcast on your phone, you can expect a clean, organized inbox. This helps you manage emails efficiently and respond in real time.
Don't forget: Always keep your iPhone updated, enable two-factor authentication, and test your network connection before you begin.
 Verified Expert