
How to Set Up Email on a GoDaddy Domain: The Complete Guide
- 0
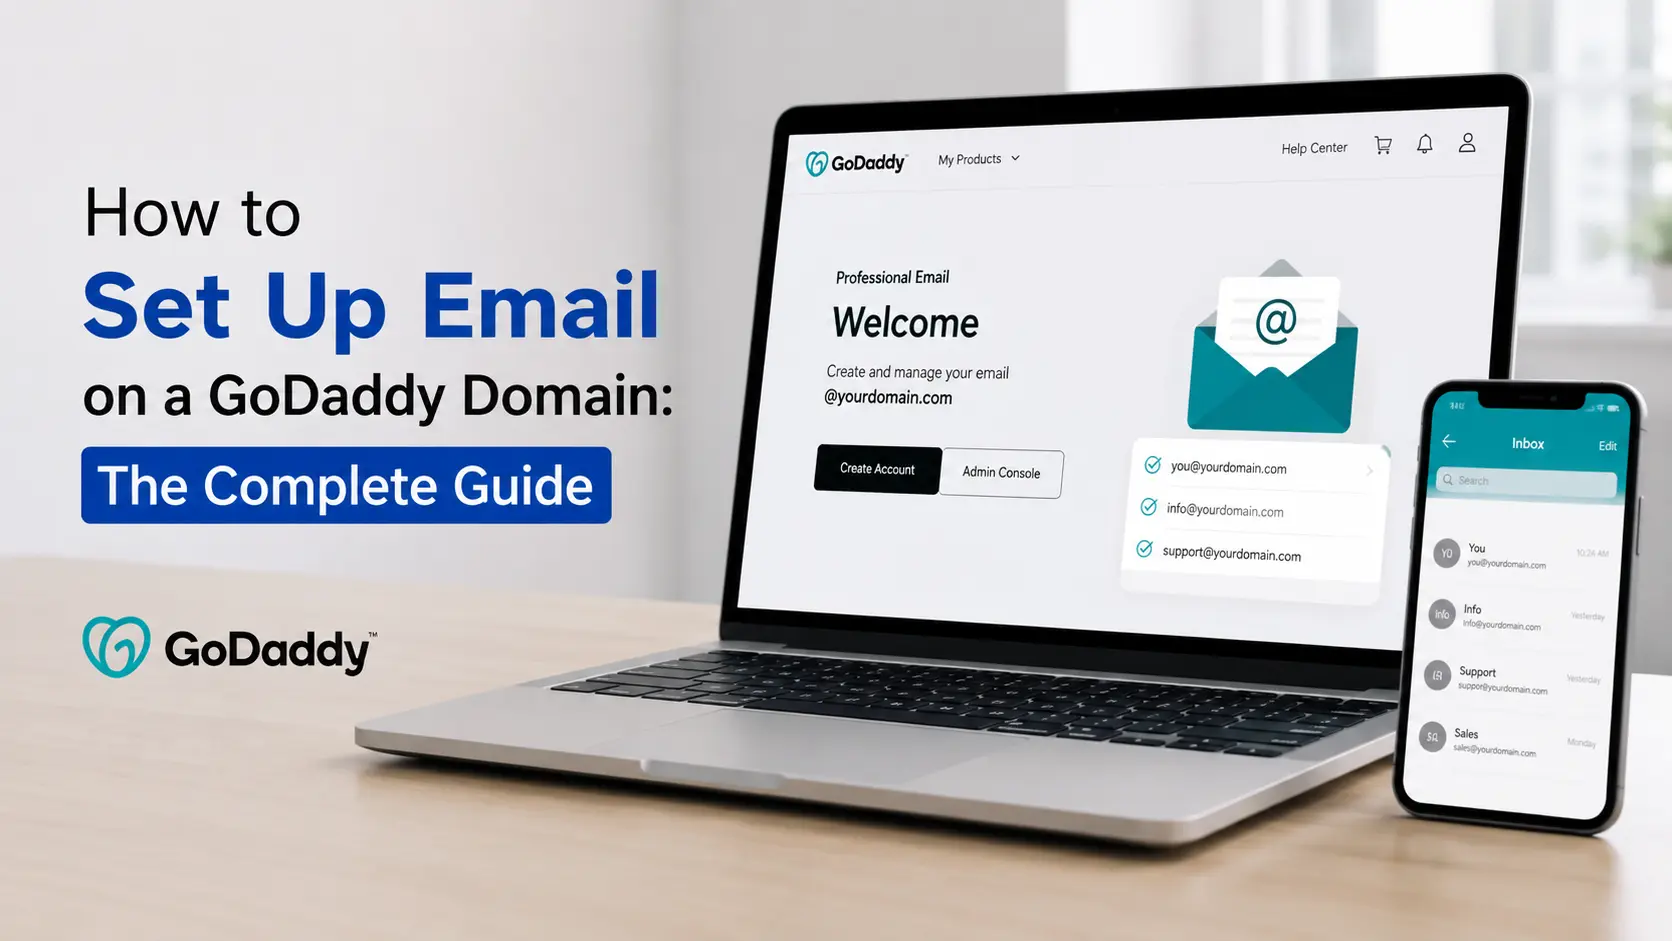
Getting a working email address on a GoDaddy domain comes down to one decision: do you want GoDaddy to host the mailbox itself, or do you want to keep the domain registered at GoDaddy and route its mail through someone else, like Google Workspace or Zoho? Most people go with the first option, mainly because it's the one GoDaddy actively sells during checkout, and it works fine for a solo user or a small team.
If that's you, here's the fast version: log into your GoDaddy account, open the Email & Office Dashboard, click Add User, choose Professional Email (or Professional Email powered by Titan, if that's what your account shows), pick the domain, type the address you want say, maria@yourbakery.com, set a password, and you're sending mail within a few minutes. The part that actually eats time isn't the clicking. It's domain verification, and how long that takes depends entirely on whether GoDaddy already controls your domain's DNS.
Worth knowing before you start: GoDaddy used to throw in free email forwarding with every domain purchase. That's gone. If you registered your domain more than a few years back and remember getting a free @yourdomain.com forward, it's been retired - plenty of longtime customers have complained about it disappearing with little warning, and GoDaddy now pushes everyone toward a paid mailbox instead. I've set this up enough times for small businesses to know where people actually get stuck, and it's rarely the button-clicking - it's the DNS side, which is where most of this guide lives.
The Two Ways to Get Email on a GoDaddy Domain
Almost every guide online blurs these together, which is where a lot of the confusion starts. Mechanically, there are only two options.
Option A: Buy a GoDaddy-hosted mailbox. You pay GoDaddy monthly per mailbox, and either its own Titan-based platform or a resold Microsoft 365 plan runs your inbox. Because GoDaddy already controls the domain, it configures the required DNS records for you automatically.
Option B: Point your domain's MX records elsewhere. You keep the domain registered at GoDaddy, but incoming mail routes to Google Workspace, Zoho Mail, Microsoft 365 bought directly from Microsoft, or another host entirely. You edit a few DNS records yourself, and GoDaddy never touches the inbox.
| Host it with GoDaddy | Point elsewhere | |
|---|---|---|
| Setup effort | Low - a few clicks | Medium - manual DNS records |
| Typical cost | ~$2–$20 per mailbox/month | Free (Zoho, forwarding) to ~$6+/user/month (Google) |
| Who runs your inbox | GoDaddy (Titan or resold Microsoft 365) | Google, Zoho, Microsoft direct, or another provider |
| Best fit | You want it working today, one dashboard | You're cost-conscious, or your team already lives in Gmail or Outlook |
Option A is quicker. Option B is usually cheaper over time and gives you more control. The rest of this guide walks through both, plus the parts deliverability, aliases, mobile setup that decide whether the thing you just built actually works.
Setting Up GoDaddy Professional Email, Step by Step
Know What You're Actually Buying First
GoDaddy sells two different backends under similar-sounding names, and mixing them up on the same domain causes real delivery problems. Professional Email (powered by Titan) is GoDaddy's own infrastructure cheaper, simpler, with its own webmail at a separate sign-in page. Microsoft 365 from GoDaddy is a resold version of actual Microsoft Exchange and Outlook, with Office apps bundled into the higher tiers. They have separate sign-in pages, separate mobile setup steps, and some official GoDaddy guidance specifically warns against running both types on one domain, since it can cause setup and delivery conflicts. Decide which one you're on before you go further - it changes every step after this one.
Verify You Own the Domain
If your domain is already registered with GoDaddy and using GoDaddy's nameservers, this step is invisible. GoDaddy adds the verification and mail records to your DNS zone without you touching anything, since it already controls both sides.
If your domain lives elsewhere say you registered it at GoDaddy but pointed the nameservers at Cloudflare, or a web host manages your DNS — you'll see a dashboard banner saying your email can't receive mail yet, usually with a button labeled Help me fix this. Behind it is a TXT record you add manually, formatted something like MS=ms12345678 for Microsoft 365 setups. GoDaddy states that most DNS changes take effect within about an hour, though full global propagation can take up to 48 hours. In practice, an hour is realistic if nothing else is wrong. When I've seen it drag past 48 hours, the actual cause was almost always a stale, cached nameserver setting left over from wherever the domain used to be hosted worth checking first if you're still stuck after two days.
Create the Mailbox
Once verification clears, sign back into the Email & Office Dashboard, select Add User, choose your email type, select the domain, and type the address you want. GoDaddy specifically recommends avoiding numbers or special characters in the address itself something like j.smith47@ is genuinely harder for people to remember and type correctly than jane@. Set a password, and while you're there, turn on multi-factor authentication for the account; it's a two-minute step that closes off the most common way small-business inboxes get compromised. Repeat for info@, support@, or sales@ if your team needs separate addresses.
Get Into Your Inbox
You've got three ways in, and they're not mutually exclusive: GoDaddy's own webmail at email.godaddy.com (no setup required), the Outlook app or Outlook.com if you're on Microsoft 365, or any standard email client via IMAP. Check webmail first just to confirm the mailbox actually works, then add it to whatever you use day to day.
Connecting Your GoDaddy Email to Your Phone, Outlook, or Any App
For an iPhone, Android's default Mail app, Thunderbird, or nearly anything that speaks standard email protocols, GoDaddy's Professional Email (Titan) settings are identical across every client:
Incoming (IMAP)
- Server:
imap.secureserver.net - Port: 993
- Security: SSL
- Username: your full email address
- Password: your email password
Outgoing (SMTP)
- Server:
smtpout.secureserver.net - Port: 465
- Security: SSL
If your phone or app offers a "sign in with email and password" option that auto-detects settings, try that first - it usually works and skips manual entry entirely. Drop into manual IMAP setup only if auto-detection fails, or you're connecting something GoDaddy doesn't have a dedicated guide for, like a CRM plugin that needs raw SMTP credentials.
One detail that trips people up constantly: if you can receive mail but every outgoing message just sits there or bounces, check that the client has "outgoing server requires authentication" switched on. Outlook buries this under More Settings → Outgoing Server, and it's off by default in the manual setup flow; it's the single most common reason people can read mail fine but can't reply to it.
If you're on Microsoft 365 from GoDaddy rather than Titan-based Professional Email, skip all of the above - you'll set up the Outlook app or Outlook.com with just your email address and password, the same way you would for any Microsoft 365 account, and Outlook resolves the server details on its own.
Routing Your GoDaddy Domain Through Google Workspace, Zoho, or Microsoft Directly
If you'd rather not host the mailbox with GoDaddy at all, keep the domain registered there and send its mail through a different provider this is Option B from earlier. The mechanics are the same no matter which provider you choose: delete GoDaddy's existing MX records, add the ones your new provider gives you, and wait for propagation.
For Google Workspace, this used to mean adding five separate MX records (the old aspmx.l.google.com setup), and a lot of tutorials still online walk you through exactly that. Google simplified this in 2023 new setups need only a single MX record pointing to smtp.google.com. If your account predates that change and mail already flows correctly, leave it alone; the legacy records still work. But if you're setting up fresh, ignore any guide walking you through five records; one is enough. To add it: sign into GoDaddy, go to My Products, select the domain, click DNS, then Add New Record. Choose MX as the type, leave the name as @, paste in the value Google gives you, and set the priority - a single-record Google setup typically just needs priority 1.
For Zoho Mail, the free plan is worth knowing about specifically for what it leaves out: it covers one custom domain, up to five users at 5 GB each, but it's webmail-only — no IMAP, POP, or built-in forwarding, so you're stuck using Zoho's own app or site rather than Outlook or Apple Mail. Its paid Mail Lite tier runs around $1 per user per month and unlocks IMAP access, which often comes in cheaper than GoDaddy's own entry-level mailbox.
There's a third path people rarely consider: buying Microsoft 365 directly from Microsoft instead of through GoDaddy, then pointing your GoDaddy-registered domain's MX records at it. Comparable plans bought direct have run meaningfully cheaper at renewal than GoDaddy's resold versions of the same plans; one cost comparison found a Business Standard–equivalent plan renewing near $20 per user per month through GoDaddy versus roughly $12.50 direct from Microsoft. If you're already committed to the Microsoft ecosystem, it's worth pricing both before locking into a multi-year mailbox plan.
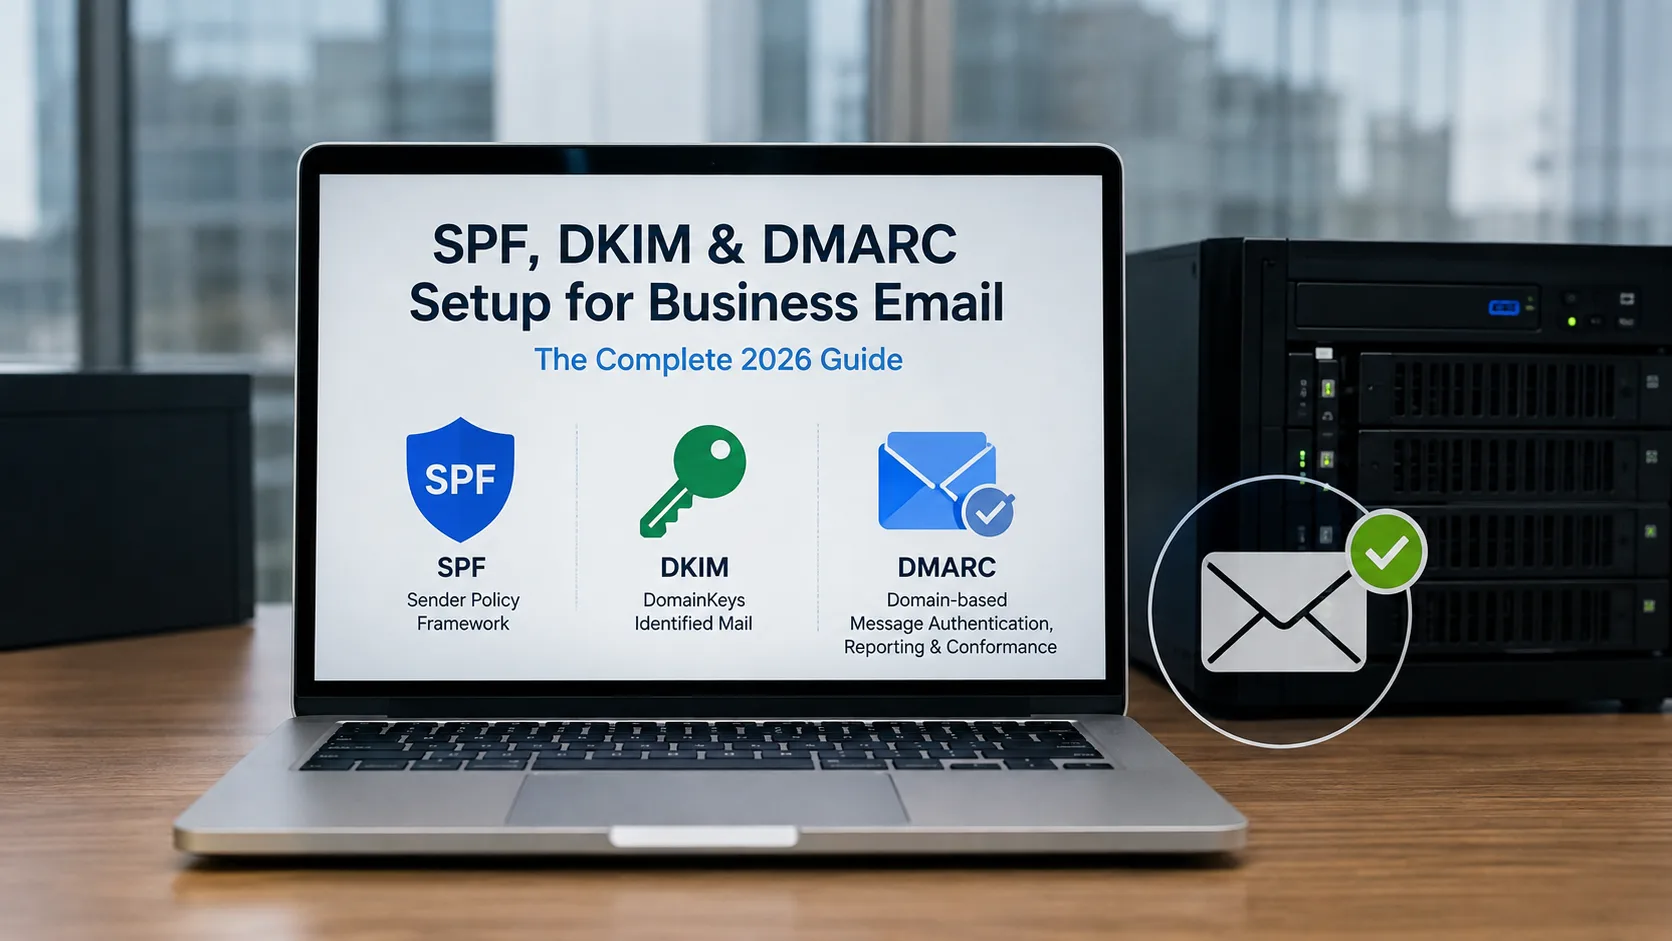
SPF, DKIM, and DMARC: The Settings That Decide If Anyone Actually Sees Your Email
None of the above matters much if your messages land in spam. Three DNS records control that, and GoDaddy treats them differently depending on which email product you're using.
SPF (Sender Policy Framework) is a line in your domain's DNS listing which servers are allowed to send mail claiming to be from you. Without it, nothing stops someone from sending fake messages that look like they came from your domain — SPF is what lets a receiving mail server check and effectively say "no, this didn't come from GoDaddy's servers, reject it." On Professional Email (Titan), GoDaddy adds this automatically. On Microsoft 365 or hosting-based email, you may need to add it yourself.
DKIM works differently - it attaches a digital signature to every outgoing message so the receiving server can verify it wasn't altered in transit. For Titan-based Professional Email, this means adding two CNAME records to your DNS, typically named secureserver1._domainkey and secureserver2._domainkey, each pointing to a value GoDaddy generates for you.
DMARC ties the other two together, telling receiving servers what to do when a message fails SPF or DKIM - quarantine it, reject it, or just report on it. This is the one most people skip, and GoDaddy's own documentation admits DMARC isn't automatically added for domains purchased before April 2025. If you bought your domain a while back, there's a real chance you have SPF but no DMARC record at all — a gap a determined spoofer can still work around.
To find your exact values: sign into the Email & Office Dashboard, select Manage next to your user, then look for Set mail destination or a banner reading Help me fix this. That screen lists your specific DKIM and SPF values, ready to paste into a new DNS record.
The practical fallout of getting this wrong isn't a bounced email - it's quieter than that. Messages start landing in spam folders, or vanish with no trace at all, and you find out weeks later when someone mentions they never heard back from you.
Aliases, Shared Mailboxes, and Why Catch-All Doesn't Work How You'd Expect
Once the main mailbox works, the next question is usually: can I also receive mail at sales@, support@, and orders@ without paying for three more mailboxes? Mostly yes, with one specific exception worth knowing up front.
An alias forwards mail sent to a second address straight into your existing inbox; sales@yourdomain.com lands in your primary mailbox with no separate login required. Microsoft 365 from GoDaddy allows up to 300 aliases per mailbox, which covers almost any small business.
A shared mailbox is different: multiple people can log into it and see the same inbox, which is useful for something like info@yourdomain.com that more than one team member needs to answer from.
A catch-all address is the exception. It's meant to catch anything sent to your domain that doesn't match a real mailbox, so typos and misdirected mail still reach someone instead of bouncing. It's genuinely useful — and it's not supported on Microsoft 365 from GoDaddy. GoDaddy's own help documentation says so directly, pointing you toward aliases, distribution groups, or shared mailboxes instead. If you're moving from an older GoDaddy setup that had catch-all running and you upgrade to Microsoft 365, expect that behavior to just stop, with no error message explaining why - you'll need to manually rebuild the coverage using one of the alternatives above.
What GoDaddy Domain Email Actually Costs
GoDaddy's entry-level pricing looks genuinely competitive on paper - plans have started as low as roughly $2–$3 per mailbox, per month, on a one-year introductory term. The catch, documented across independent hosting reviews, is the renewal price. It's common for that same mailbox to jump into the $7–$10 range once the first-year promo ends. One example currently on GoDaddy's own Microsoft 365 product page shows a plan starting at $203.88 for the first year, auto-renewing at $359.64, about a 76% increase for the identical plan. Exact figures shift by region and promotion, so treat these as ballpark, not gospel, and always check the renewal price before you buy, not just the intro rate.
Storage and features scale with price. GoDaddy's own plan comparison lines up roughly like this:
| Plan | Storage | What's included |
|---|---|---|
| Email Essentials | 10 GB | Domain-matched email, calendar, contacts |
| Email Plus | 50 GB | Same as Essentials, more room |
| Online Business Essentials | 100 GB | + web-based Office apps, OneDrive, Teams |
| Business Professional | 100 GB | + downloadable Office apps (up to 5 devices) |
If cost is the deciding factor and you don't specifically need GoDaddy's dashboard, it's worth comparing against buying Microsoft 365 direct from Microsoft, or checking whether Zoho's cheaper tier covers what you need, before you commit. Switching providers later means redoing your MX records and re-configuring every device from scratch.
Common Setup Problems (and What Actually Fixes Them)
Verification email never arrives. This usually isn't a lost email - it's the underlying TXT record that hasn't propagated yet, or was entered with a stray space or dropped character that breaks it silently. Check the exact value against your Email & Office Dashboard rather than repeatedly resending the verification.
Forwarding that worked for years suddenly stopped. If this was GoDaddy's old free forwarding, it's very likely been retired on your account, not broken. You'll need either a paid mailbox or a third-party forwarding-only service with your MX records updated to match.
You can receive mail but can't send. Almost always an SMTP authentication setting left off by default in manual client setup - look specifically for "outgoing server requires authentication."
New mail is landing in spam after switching providers. Give the domain's sender reputation a few days to build, and confirm SPF and DKIM are both saved and propagated - a record sitting correctly in your DNS manager can still fail checks for anyone receiving your mail until it's finished propagating.
"Domain already in use" when connecting Microsoft 365. This means the domain is still attached to an old, possibly abandoned Microsoft tenant, often from a previous owner or an uncancelled trial. It typically needs a manual release, sometimes through Microsoft support directly rather than GoDaddy, since GoDaddy doesn't control that side of the relationship.
Related Guides
How to Add GoDaddy Email to Your iPhone - a full walkthrough of the mobile setup step covered above, including where GoDaddy's two email types diverge on iOS.
SPF, DKIM & DMARC Setup for Business Email - a closer look at the three DNS records that decide whether your mail lands in an inbox or a spam folder.
How to Fix GoDaddy Email Not Receiving Messages - for when the mailbox is set up but incoming mail specifically isn't arriving.
How to Set Up Professional Email GoDaddy - another walkthrough of buying and activating the mailbox itself.
Frequently Asked Questions (FAQs)



 +1-857-557-6896
 +44-161-791-4592