How to Create a Webmail Server?
- 0
- 888

Don’t want to rely on third-party email providers? You might worry about where your data goes after you click "send." If that concerns you, why not consider building your own webmail server?
Imagine having a custom domain and full control over your email hosting, privacy, and features - all managed by you. While it may sound complex, creating a webmail server is achievable with the right steps.
We’ll walk you through the entire process of setting up your own webmail server. But first, let’s look at the key things to consider before you begin.
Before You Start: Key Things to Know
The following are some important tips to know while you are about to create a webmail server:
Secure Your Server
Set up SSL/TLS encryption to secure the communication between users and the server. By doing this, your personal information, like login credentials, emails, and attachments, can be encrypted and secure from any unauthorized recipient.
Block Spam and Viruses
Deploy anti-spam and antivirus software to scan both incoming and outgoing messages. This can lessen the chances of malware and phishing attacks.
Email Storage and Backup
It is critical to know the expected email traffic and storage requirements of the users. Ensure your server has extensible storage solutions available. Also, you must implement regular, automatic backups for protection against data loss.
Choose a Webmail App
Choose a user-friendly, responsive webmail interface like RainLoop, Roundcube, or Horde. The interface must support all the essential features, from folder management to attachment handling and address book.
Common Problems When Setting Up a Webmail Server
When creating a webmail server, you may face lots of potential issues. These may include the following issues:
-
Email client compatibility
-
Database issues
-
Spam and filtering
-
Network connectivity
-
Storage and quotas
Steps to Create a Webmail Server
As you have tackled the potential issues and have the right tips in mind, you are now ready to create the mail server. Follow these steps to create a webmail server correctly:
Step 1: Find a VPS server and sign in.

Step 2: Choose a server and location.
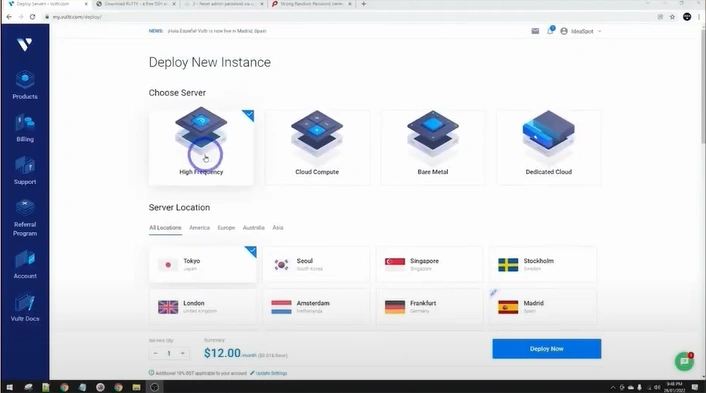
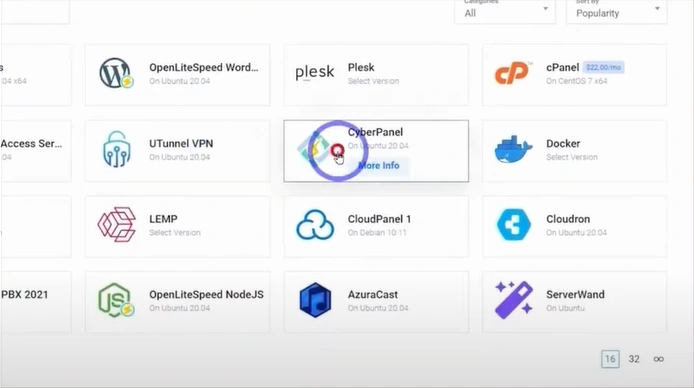
Step 3: Select a Server Type.
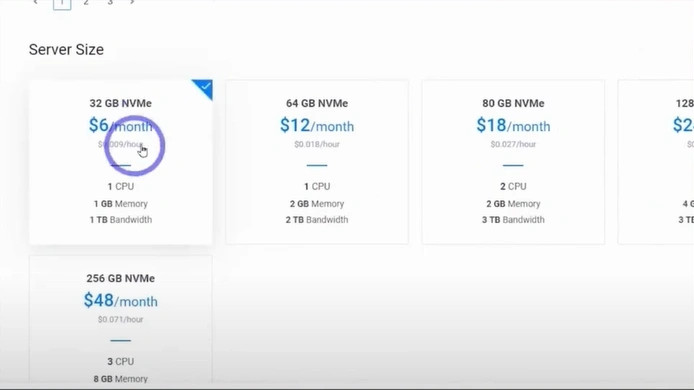
Step 4: Select a Server size plan.
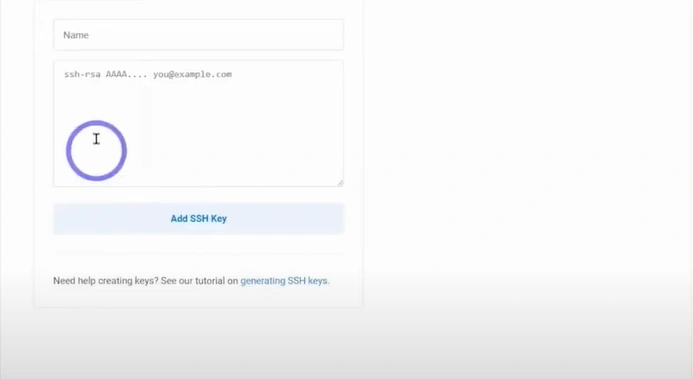
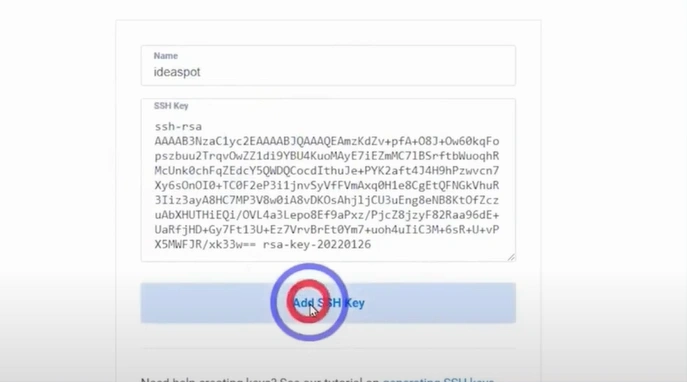
Step 5: Add the SSH Key and name it.
Step 6: Find and open your desired SSH software to generate the key.
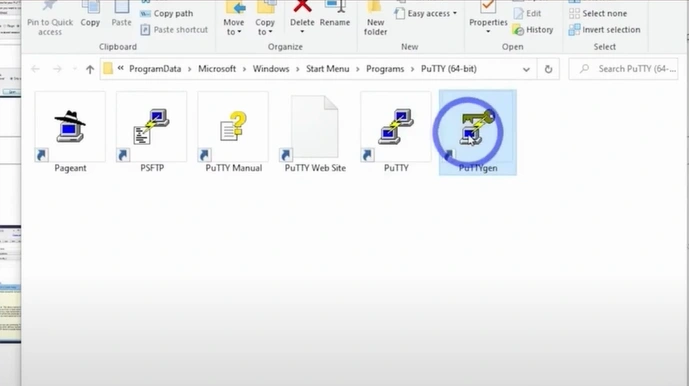
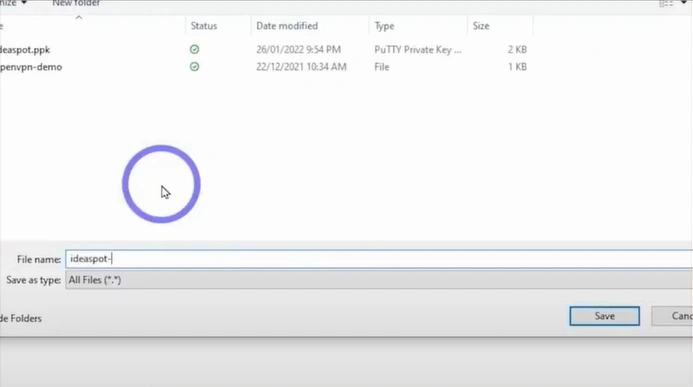
Step 7: Click Generate and save the private key to a secure location.

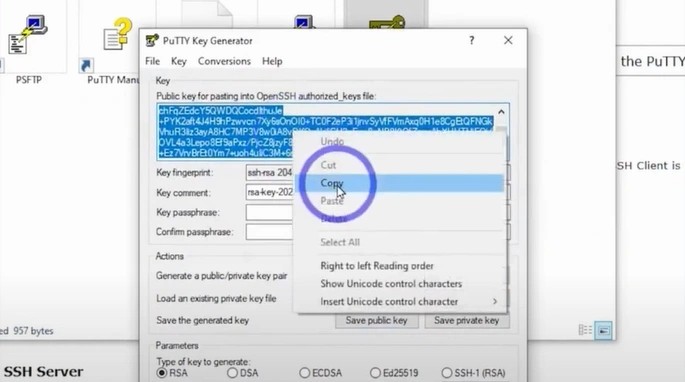
Step 8: Click "Save public key," enter a file name, and store it safely.
Step 9: Copy the SSH key you have generated, then go back to your server setup and paste it.
Step 10: Click on Add SSH Key.
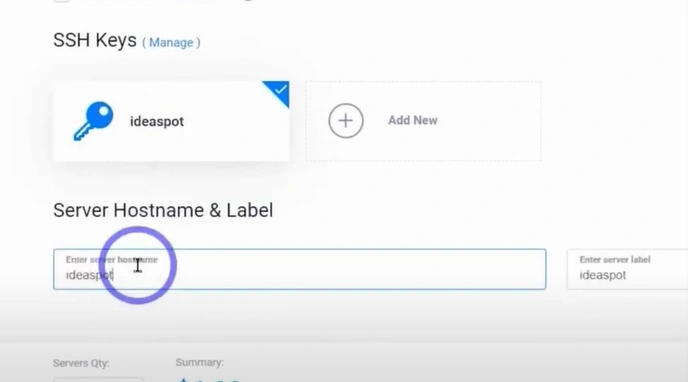
Step 11: Select your SSH key in Keys, create a server hostname and label, then click on Deploy Now.
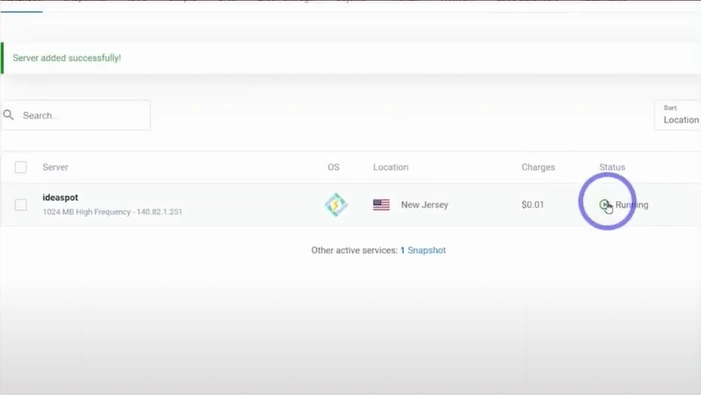
Step 12: Wait for the server to install and start running.
Step 13: Copy the IP address to connect and open your SSH software configuration.
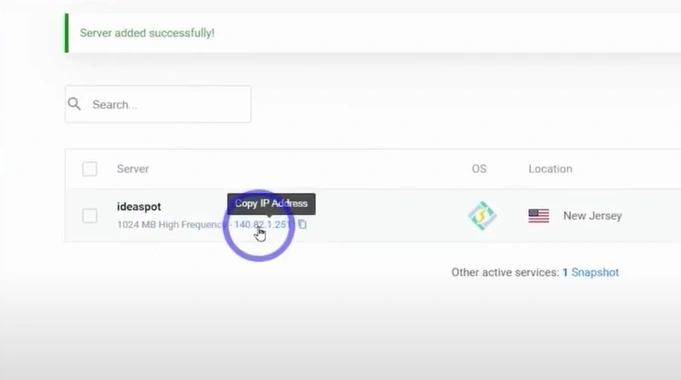
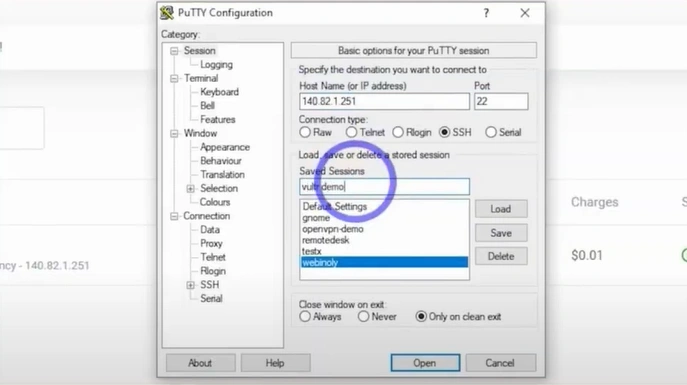
Step 14: Paste the IP address in the Hostname for the IP address box.

Step 15: Go to Saved sessions and name it, then click on Save.
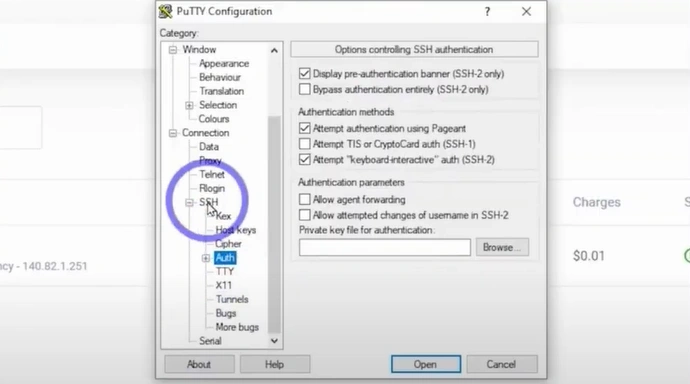
Step 16: Select your saved session and expand SSH on the left panel.

Step 17: Click on Author and browse the private key file you have saved for authentication.
Step 18: Now go back to the Session tab and save.
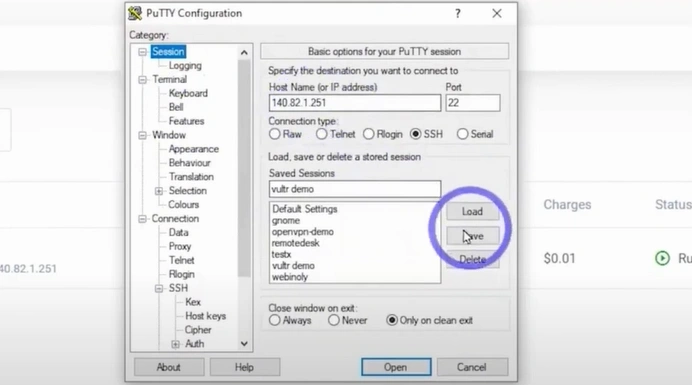
Step 19: Open the session and click on Yes for the security alert.

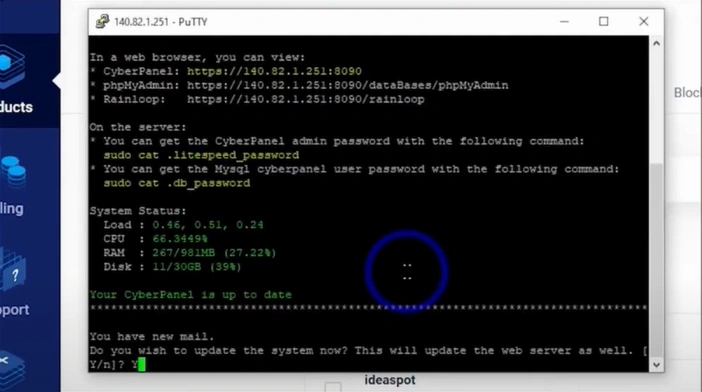
Step 20: When prompted to confirm updates, type Y and press Enter to proceed.
Step 21: You change the password by typing adminPass, then give a space and write your preferred password, then press Enter.
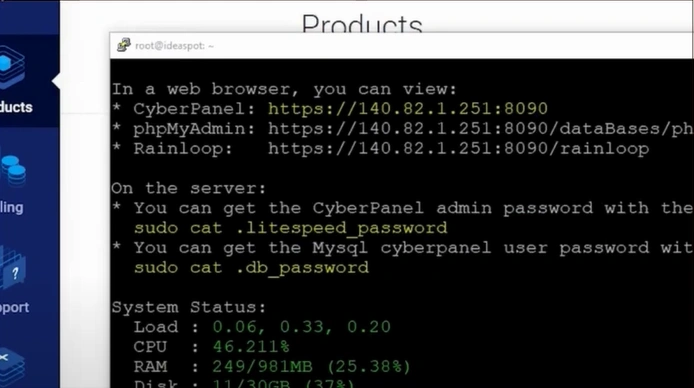
Step 22: Now scroll up and go to the web browser, you can view the section, and copy the web address from your server type.
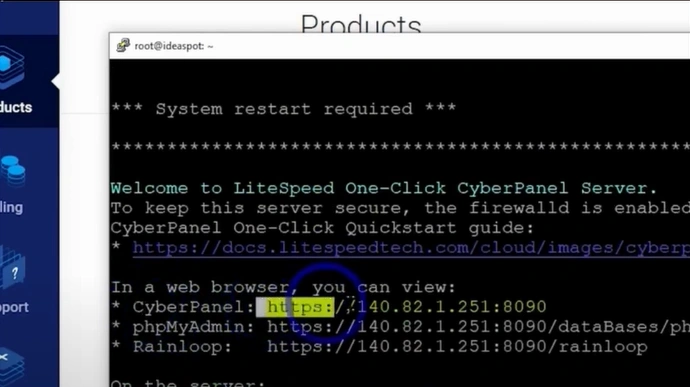
Step 23: Paste the copied address into your browser’s address bar and press Enter.
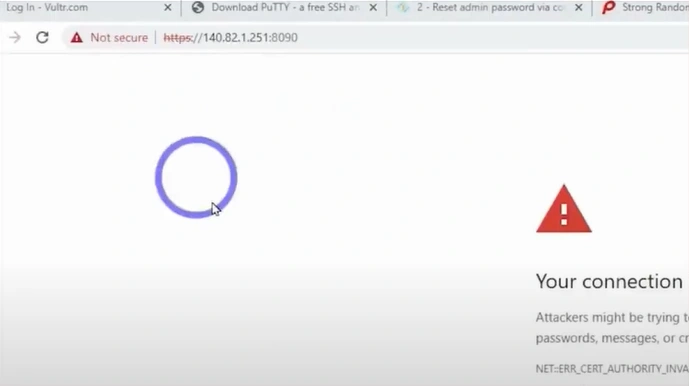
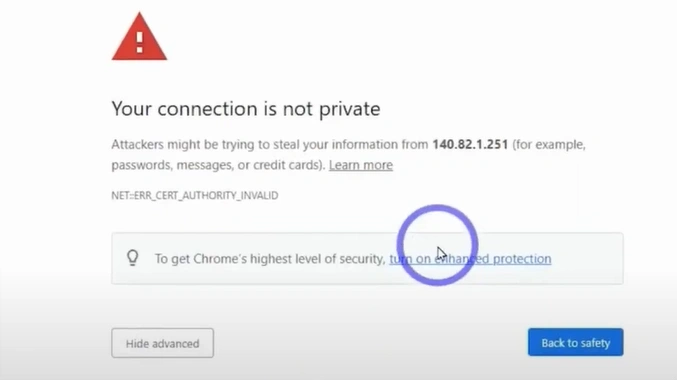
Step 24: If a page says your connection is not private, click on Proceed with your IP address hyperlink.
Step 25: Log in to the control panel of your web hosting provider.

Step 26: From the sidebar, expand Website, and click on Create Your Website.
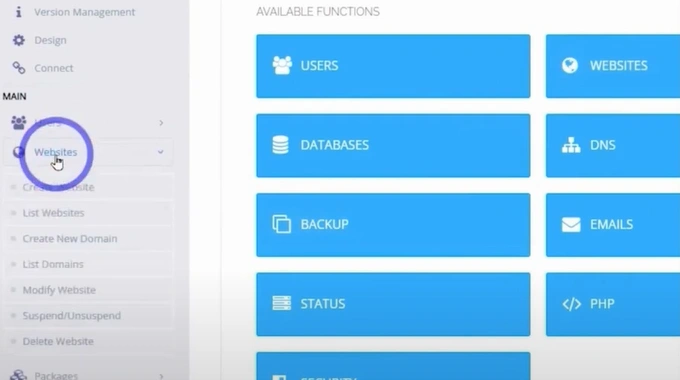
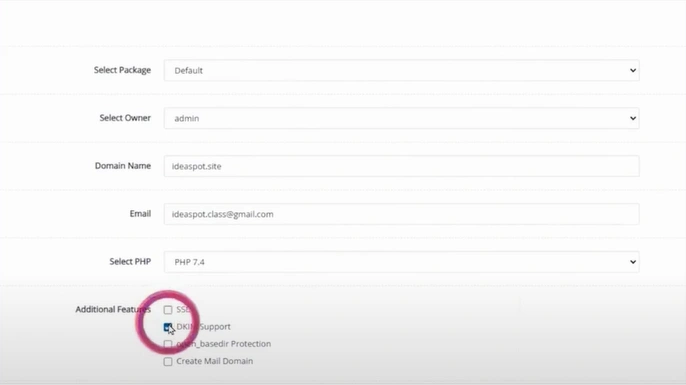
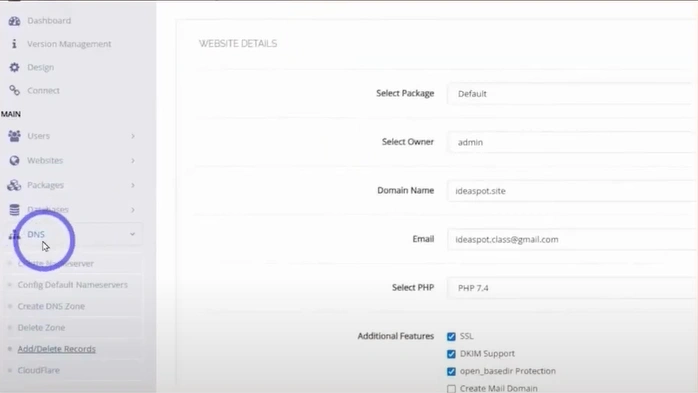
Step 27: Fill in the Website details, and you can select the additional features, then click on Create Website.
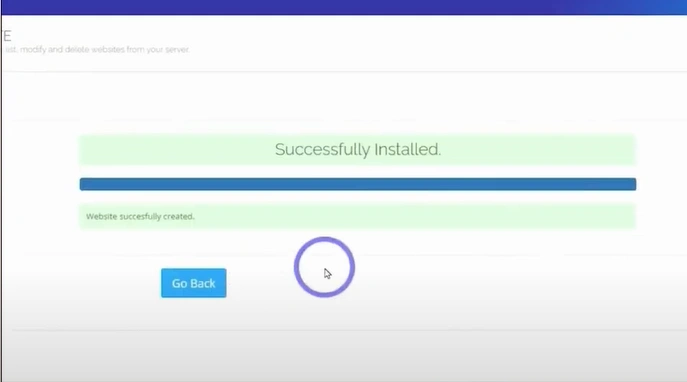
Step 28: Wait for the website to be created and successfully installed.
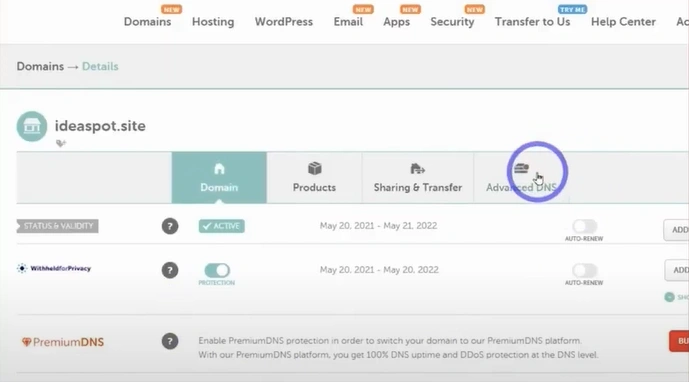
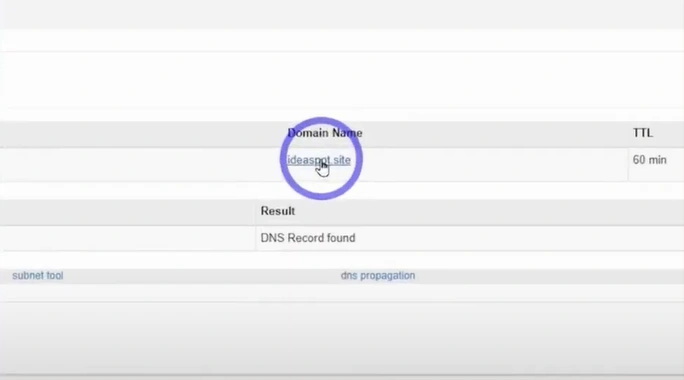
Step 29: Go to the website where you bought your domain and open the Advanced DNS tab.
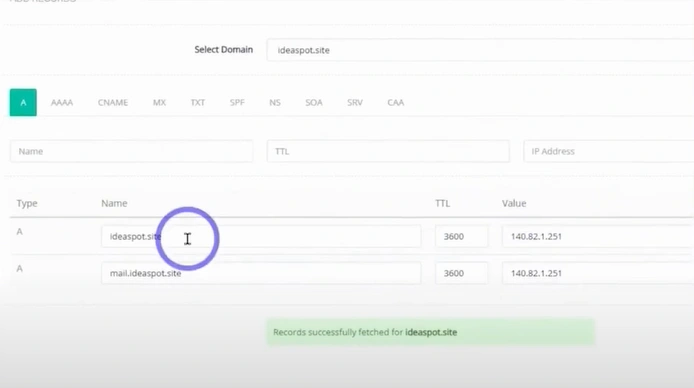
Step 30: Return to your web hosting control panel, expand DNS from the sidebar, and click on Add/Delete Records.
Step 31: Add your A, CNAME, MX, and TXT records from the web hosting control panel to the Advanced DNS tab page.
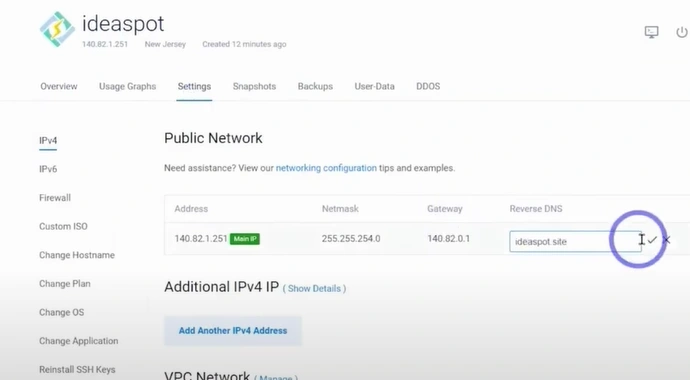
Step 32: Go back to your VPS server page, open the settings, and set up a Reverse DNS.
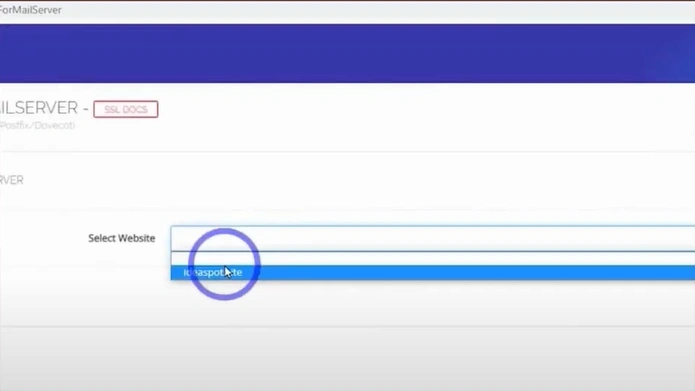
Step 33: Issue your SSL for mailserver and hostname.
Step 34: Copy your new domain to access the web hosting control panel.
Step 35: Paste the domain in your browser and sign in.
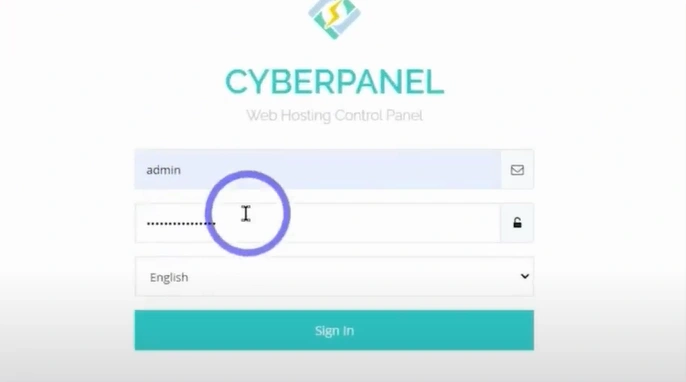
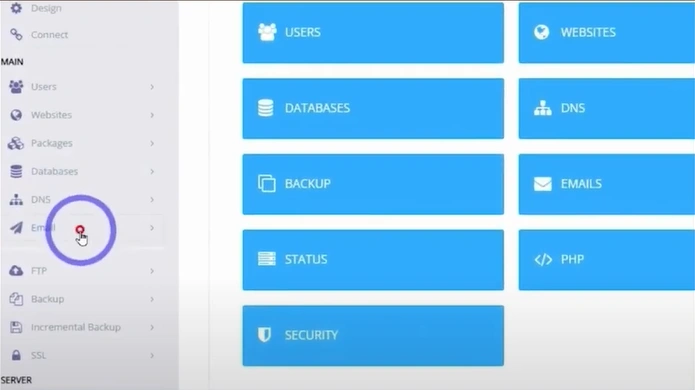
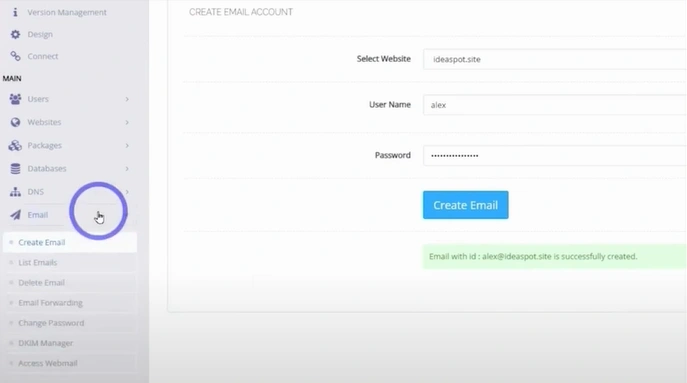
Step 36: Expand Email from the left bar, then click on Create Email.
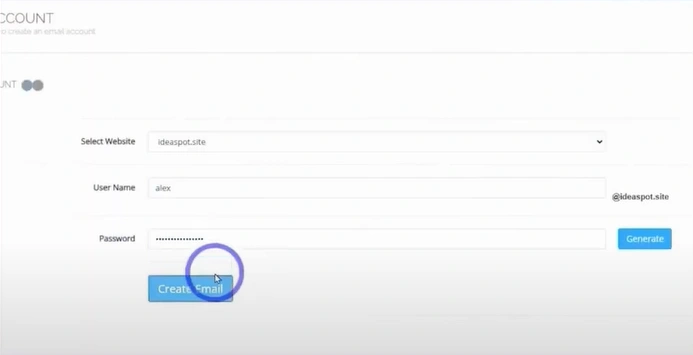
Step 37: Enter the information and click on the Create Email button.
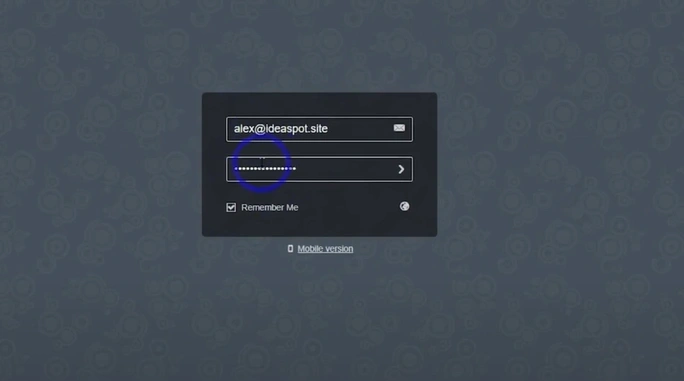
Step 38: Go back to Email on the sidebar, expand it, and click on Access Webmail.
Step 39: Log in with your email address and password.
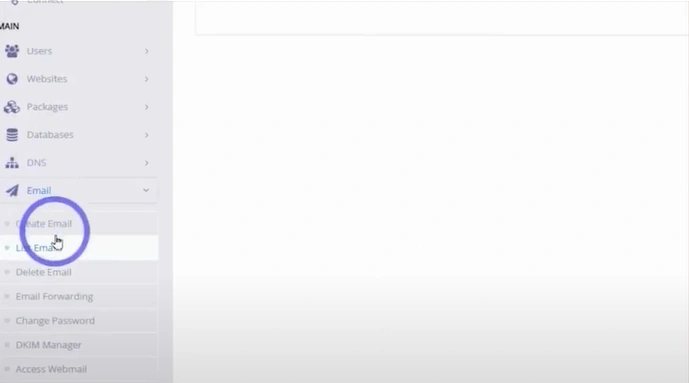
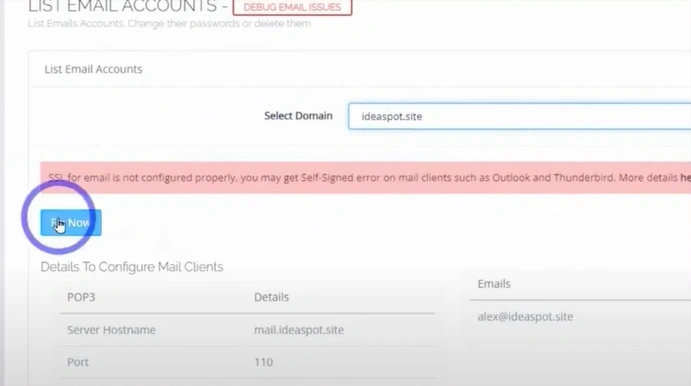
Step 40: Go back to your web hosting control panel, expand Emails again, and click on List Emails.
Step 41: Select the domain from the drop-down.
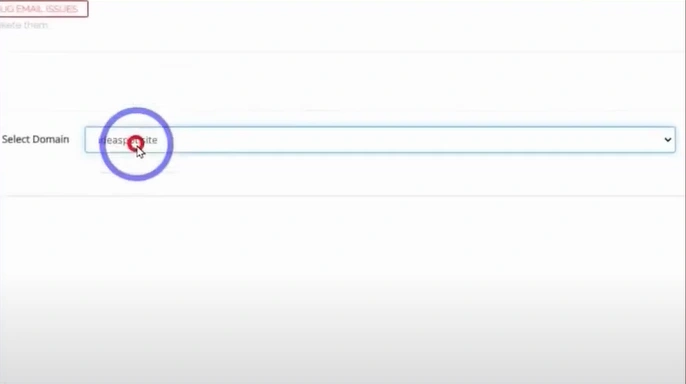
Step 42: If you get a notification saying SSL for emails is not configured properly, click on Fix now.
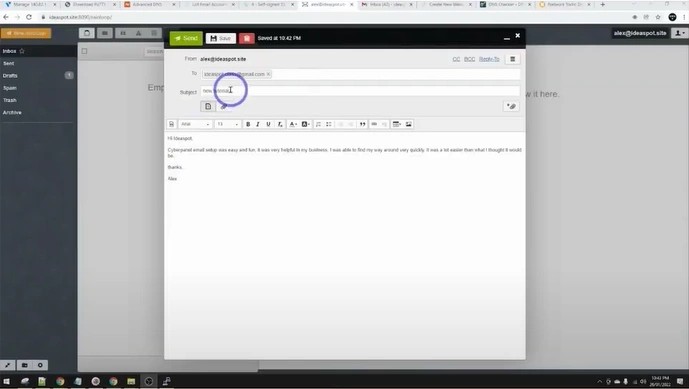
Step 43: Test your webmail by sending an email.
Also Read:- How to Add a Signature in Roundcube Webmail?
Summing Up
That’s everything you need to know to set up your own webmail server. Before you start, address problems like email client compatibility, database issues, or spam and filtering. These might obstruct the process.
Remember to set up SSL/TLS encryption, introduce anti-spam and antivirus software, and select a user-friendly webmail interface.
 Verified Expert