How to Schedule Send in Outlook
- 2
- 241
Scheduling send in Outlook gives adaptability, lessening email disruptions to colleagues outside their working hours or when they are working remotely. This allows you to work when you want without burdening others with the schedule (Microsoft Support). Send emails at a particular time that suits your recipient's schedule or your own to ensure your mail reaches them when they are most receptive.
The scheduling feature in Outlook is a game-changer for professional email campaigns. It streamlines the management and tracking of your campaigns, allowing you to review and edit your emails before they are sent. This ensures the accuracy of your communication and enhances your professionalism, making you more competent and efficient in your email management. Here is a guide on the methods to schedule Send in Outlook. Let’s read further to learn!
Potential Issues to Arise When Scheduling Send in Outlook
Users may face certain issues When they try to schedule a send in Outlook. These can be the following:
-
Profile issues
-
Outlook must be online and connected
-
Outlook rules
-
PC date and time settings
-
System configuration
The Right Method to Schedule Send in Outlook
You can seamlessly schedule a send-in to your Outlook mail using the following methods: Let us take a glance at them:
Delay Delivery
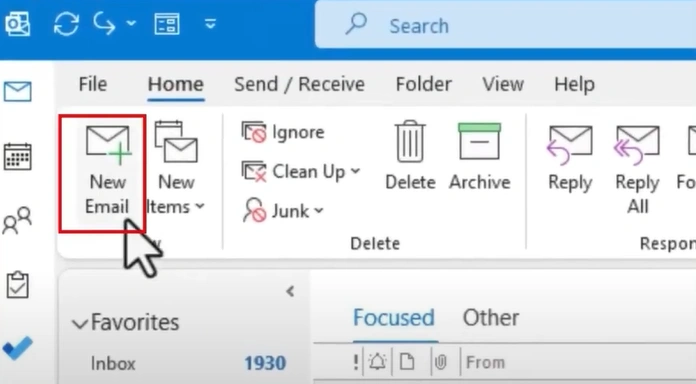
Step 1: From Inbox, go to New Email.
Step 2: Add the Address, Subject, and type out the email to send.
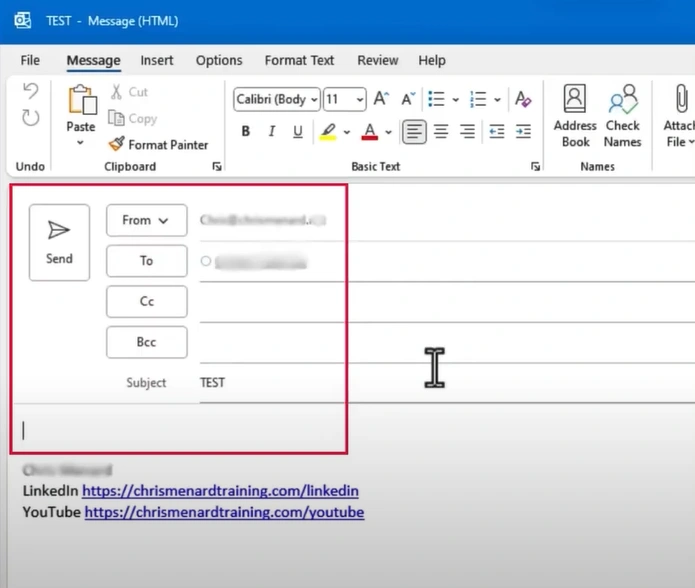
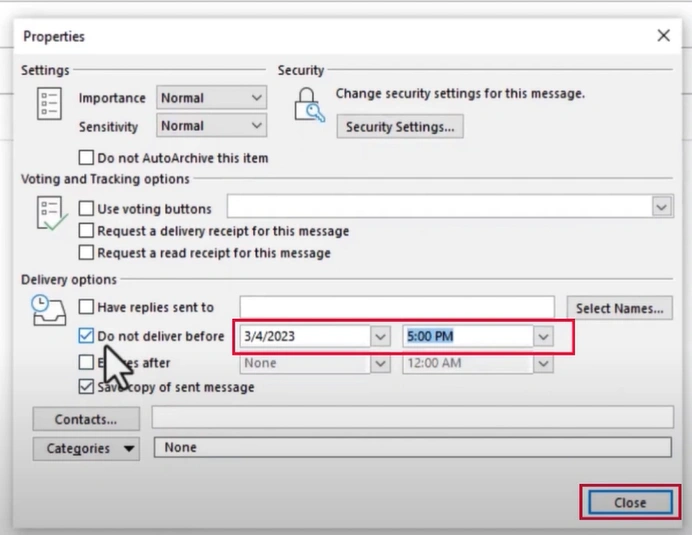
Step 3: Go to the Options tab, then select Delay Delivery under the More Options Group.
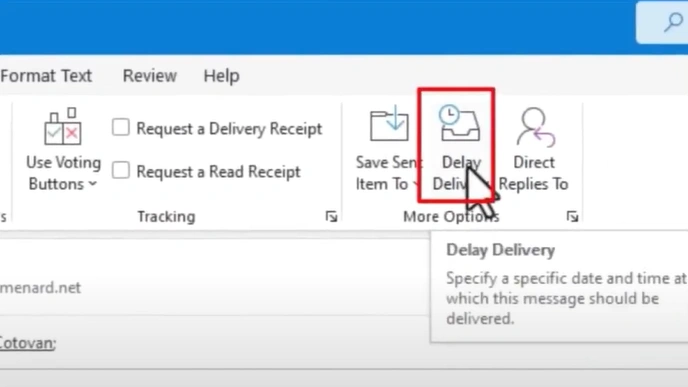
Step 4: In the Properties window, make sure to check the Do Not Deliver before box.
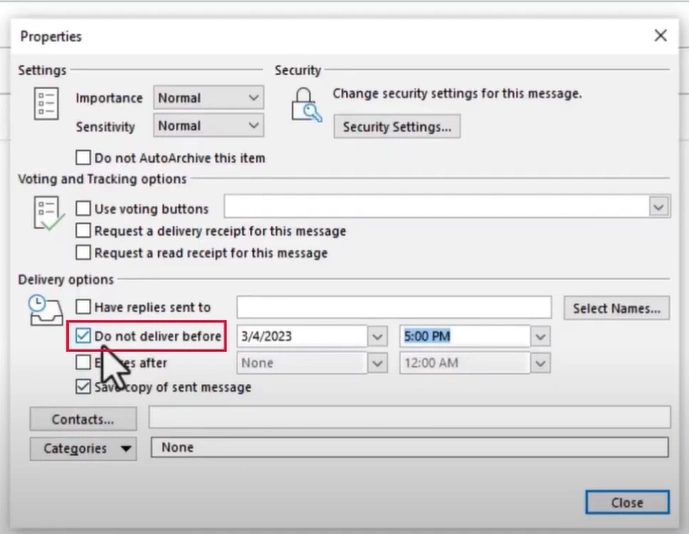
Step 5: Select the Date and Time you want the email to be delivered, then click Close.
Also Read:- How to Set Up AOL Email In Outlook?
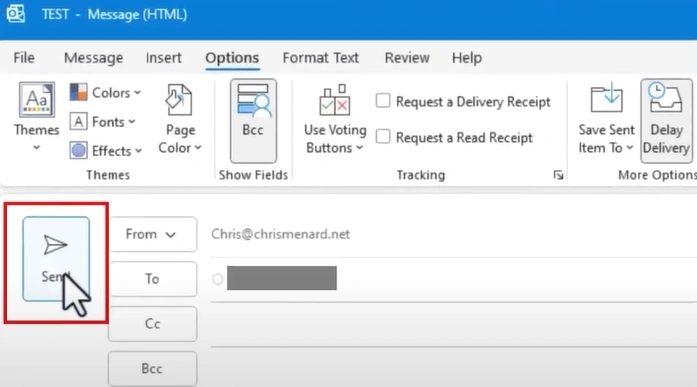
Step 6: Once you send the email, the scheduled email will sit in the outbox, and you have to keep Outlook running to send the scheduled email on the set date and time.
Schedule Send
Step 1: Click New Mail, fill in the address and subject, and write the mail.
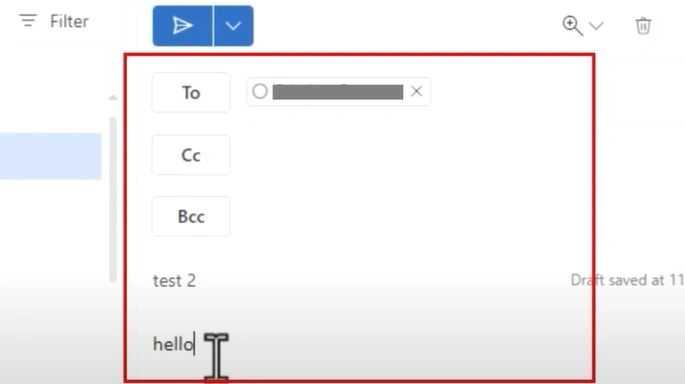
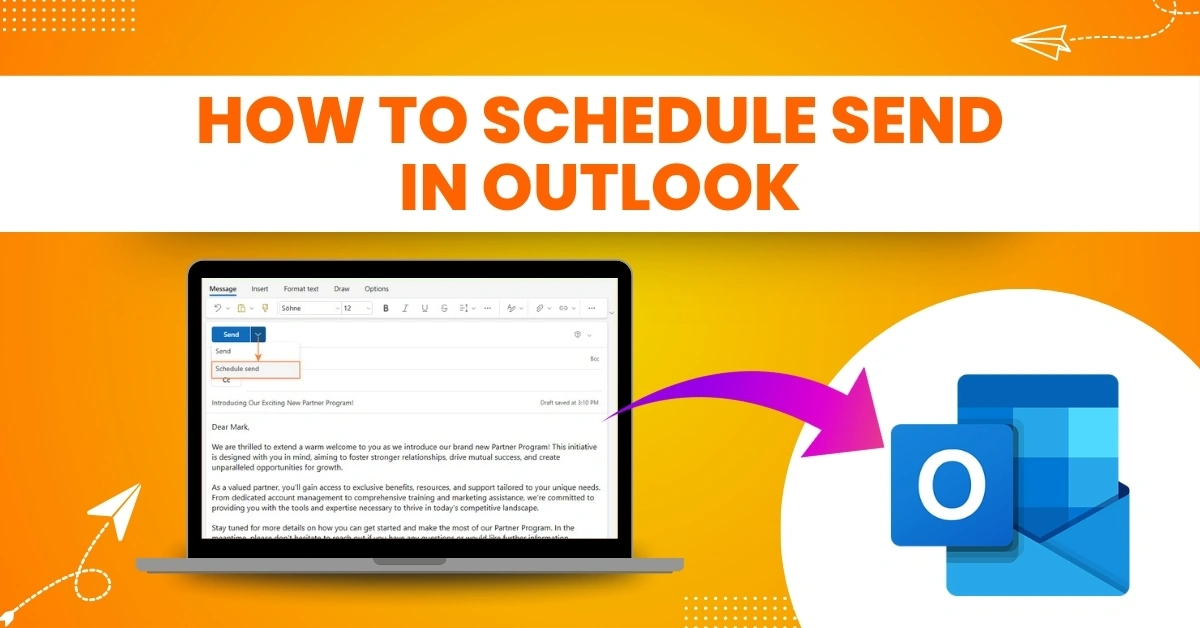
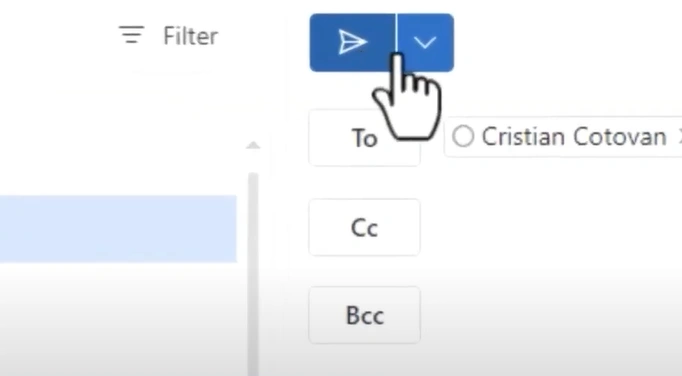
Step 2: Click the drop-down button next to the Send icon and select Scheduled Send.
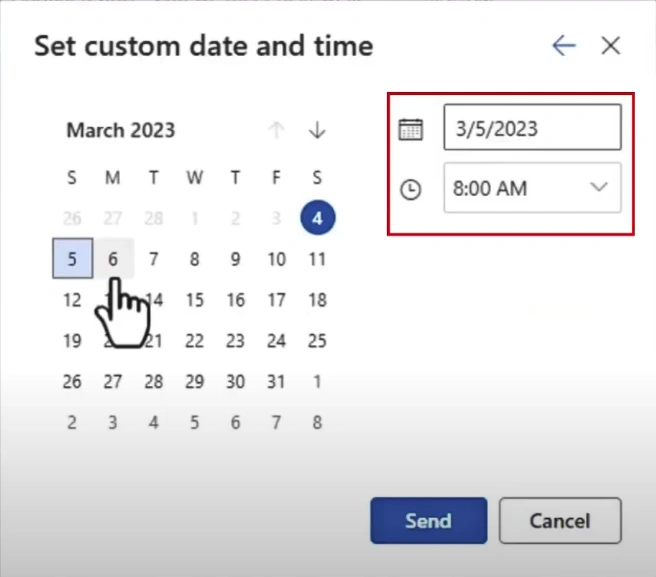
Step 3: In the new pop-up window, set the date and time.
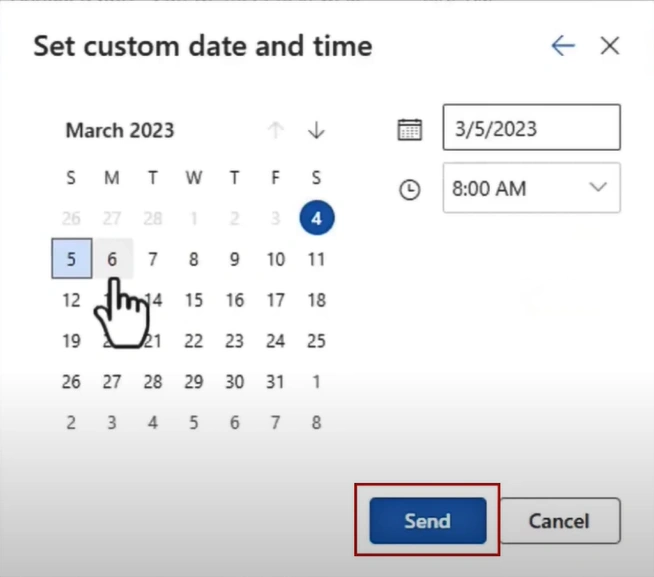
Step 4: Once done, click Send.
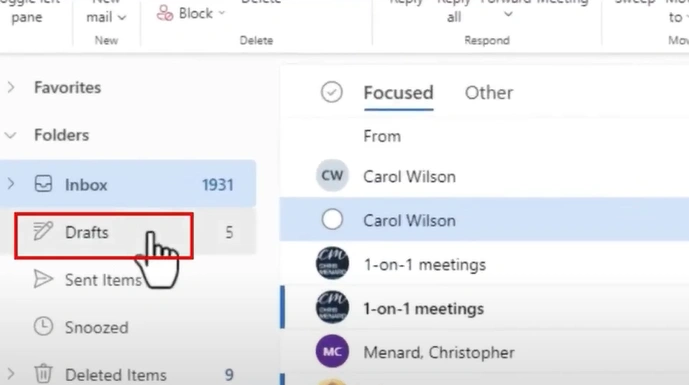
Step 5: The scheduled email will be in the Draft, and you do not have to leave Outlook running to send it.
Upshot
Scheduling emails in Outlook avoids sending emails to recipients when they are on vacation or unavailable. This reduces the chances of your message being ignored or lost.
When attempting to schedule emails in Outlook, you may encounter potential issues such as profile issues, Outlook rules, and system configuration. Be watchful of these to ensure a hassle-free process.
If you are still facing trouble scheduling Send in Outlook, you can seek assistance from an expert.
