How to Setup Email on Bluehost?
- 0
- 587

Now it is much easier to manage business emails, thanks to Bluehost. Whether you are setting up a new business email address or linking it to your favorite email service, Bluehost makes things a lot easier. You can quickly setup and access your custom domain email, which lets you stay connected with everyone.
Setting up email on Bluehost is a simple process and takes only a few minutes. We have outlined the entire process right here. Simply follow the steps and apply them. But first, let’s look at the common mistakes users make during the setup.
Mistakes to Avoid While Setting Up Email
It is normal to make minor mistakes when setting up email on Bluehost. Here are some of the most common ones:
-
Not allowing authentication for outgoing mail
-
Not using the correct port numbers
-
Wrong server settings
-
Incorrect email address or password
Avoid these mistakes to make the setup smoother. You can end up having a successful Bluehost email setup.
What to Check Before Setting up Email on Bluehost
Here are some important considerations to know before you start with the Bluehost email setup:
-
Check your domain and hosting status
-
Choose between IMAP and POP
-
Have your email credentials ready
-
Check the server settings
Steps to Setup Email on Bluehost
Get ready to manage your business or personal emails with ease. Follow these instructions to correctly setup email on Bluehost:
Step 1: Go to Bluehost’s official website.

Step 2: Click on Pricing on the top bar.

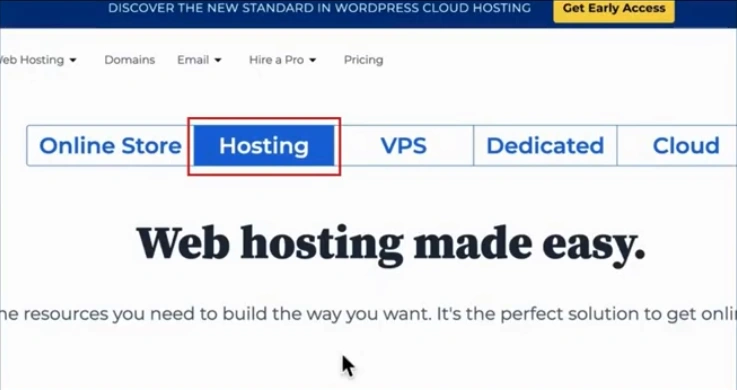
Step 3: Click on “Hosting.”
Step 4: You will be redirected to the Bluehost plans page.
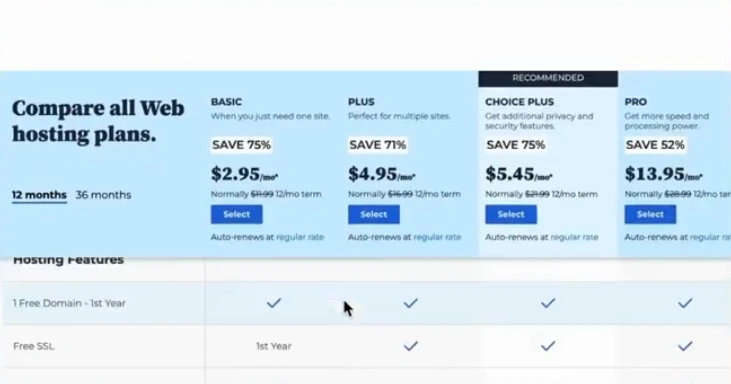
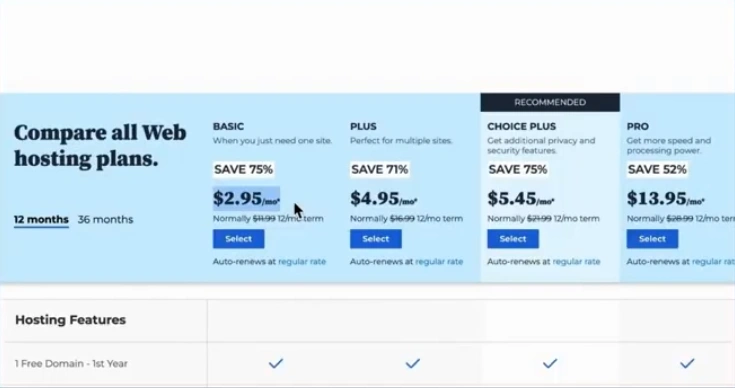
Step 5: Choose a plan to create a domain hosting with which you will create the email address.
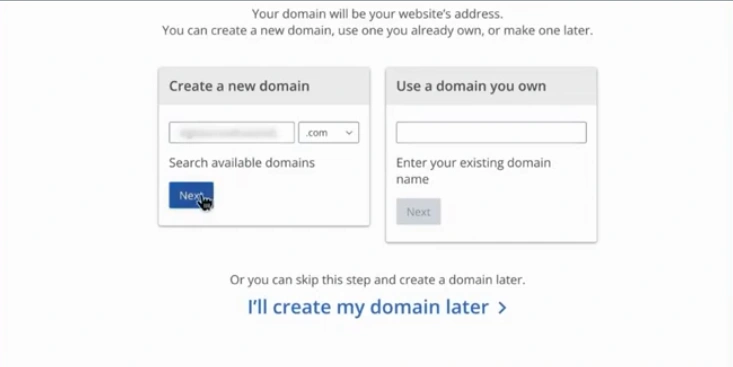
Step 6: In the ‘Create a new domain’ section, type your domain name.
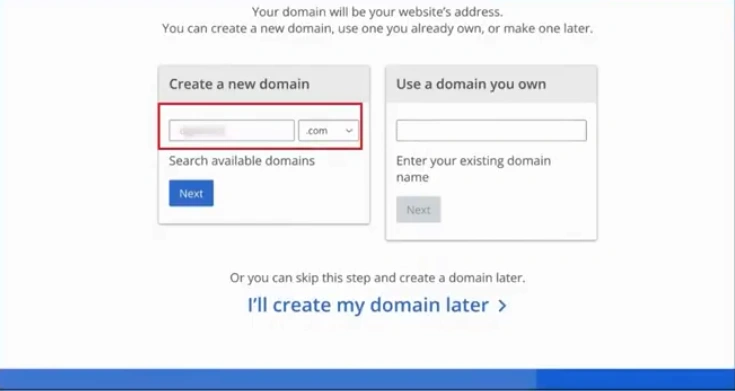
Step 7: Click the Next button.
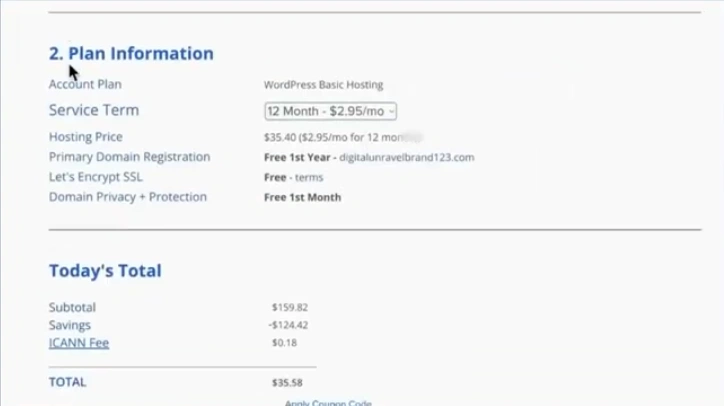
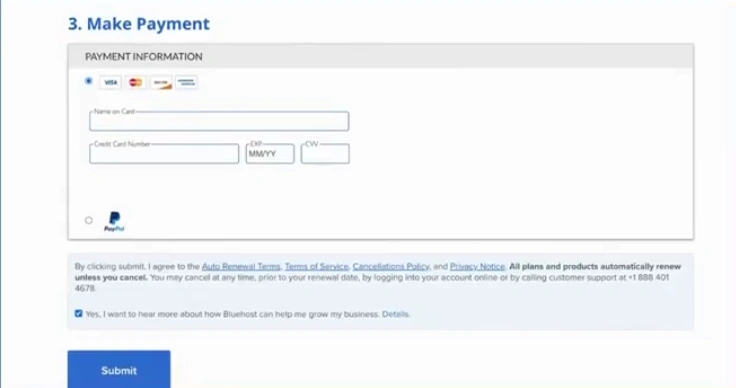
Step 8: The next page will open. Fill in all the required information and complete the payment.
Step 9: After that, click on the Submit option.
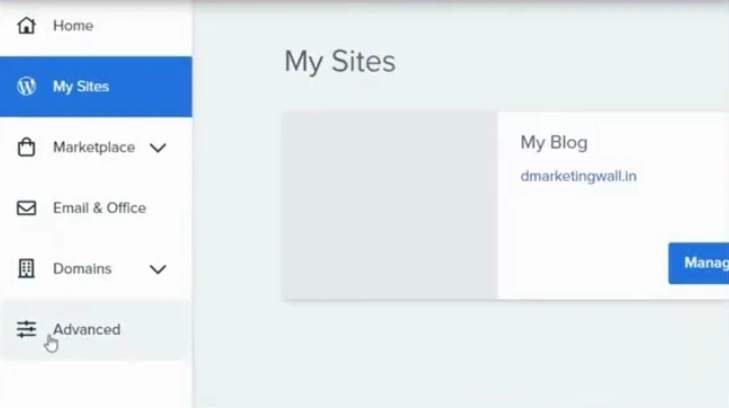
Step 10: Return to the Bluehost website and log in to your account.

Step 11: Open “Advanced” from the left navigation menu.
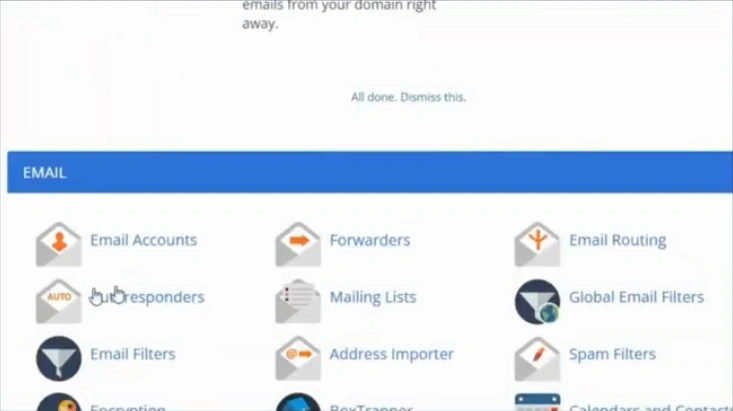
Step 12: From the Email section, click “Email Accounts.”
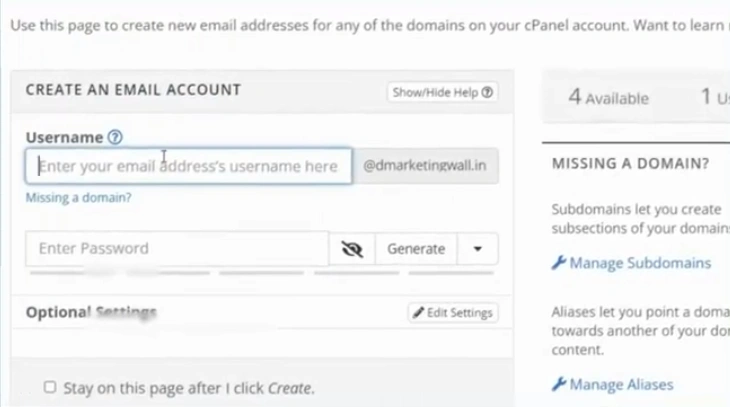
Step 13: Click the “Create” button.
Step 14: On the “Create New Mail Address” page, you need to enter the username.
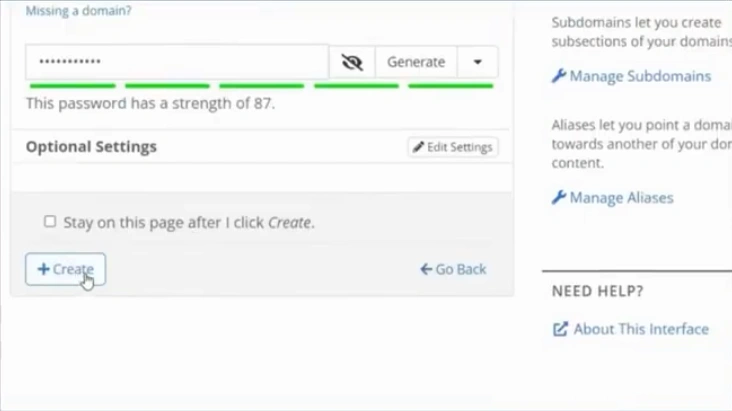
Step 15: Now, you must enter the password.

Step 16: After that, click “Create.”
Step 17: The site takes you to your email accounts page. From there, you need to click on “Manage” next to the email address you created.

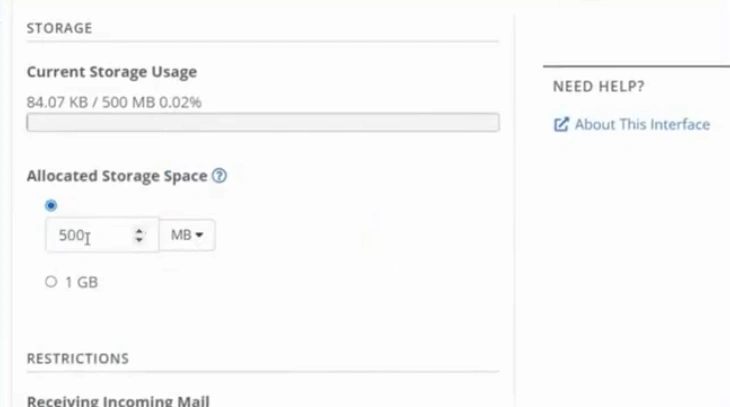
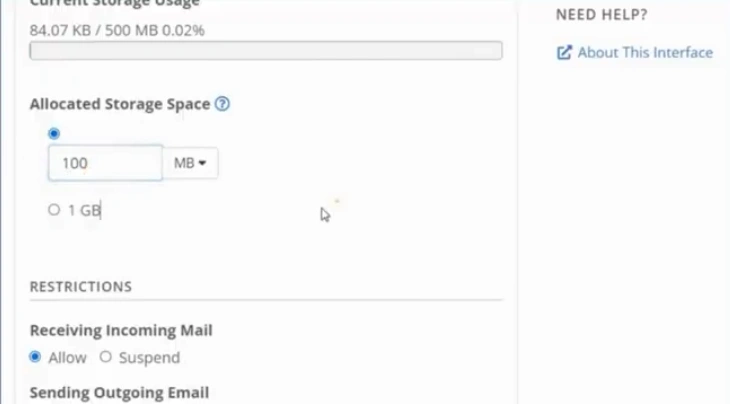
Step 18: Configure your email account settings.
Step 19: After doing that, click the “Update Email Settings” option.
Also Read:- How to Set Up Email Address in Bluehost?
Wrap Up
These are the steps you need to setup an email on Bluehost, and following them will help you complete the setup without trouble. Just make sure to check your domain and hosting status, verify the server settings, and choose between IMAP and POP. When you have everything ready, the process becomes much easier and your email starts working smoothly.
 Verified Expert