How to Add Xfinity (Comcast) Email to iPhone?
- 0
- 379
Getting all of the emails in one place could be one of the most satisfying feelings. You can add Xfinity (Comcast) email to iPhone to access all the emails at your fingertips. The process seems simple when you already have knowledge of it. In addition, many errors, like configuration issues, software glitches, following the wrong procedures, and others, could happen to a first-time user. As a result, it is worthwhile to have a deep knowledge of the entire procedure beforehand.
In the follow-up content, we will explain the simple steps for adding Xfinity (Comcast) email to your iPhone. So, continue reading!
Steps to Add Xfinity Email to iPhone
-
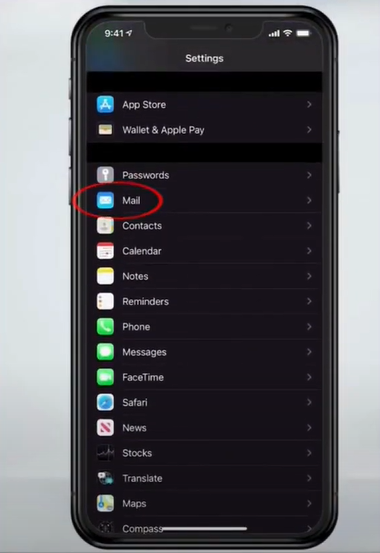
First and foremost, go to Settings, scroll, and select the Mail option.
-
After that, select Account and tap on Add Accounts.
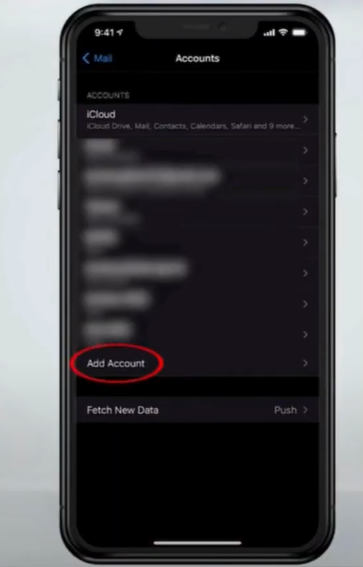
-
Next, choose Others and then select the Add Mail Account option.
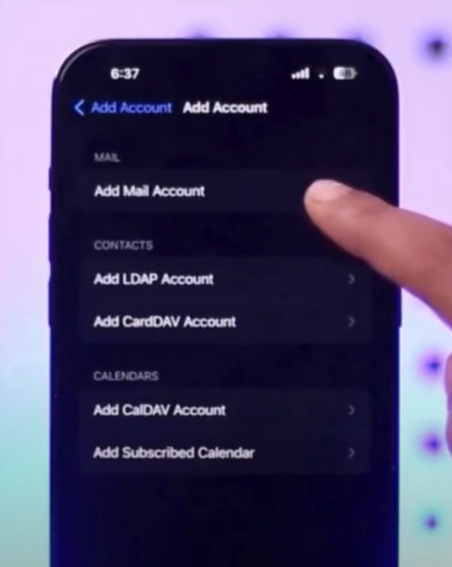
-
Now, fill in your Xfinity mail details and tap Next.
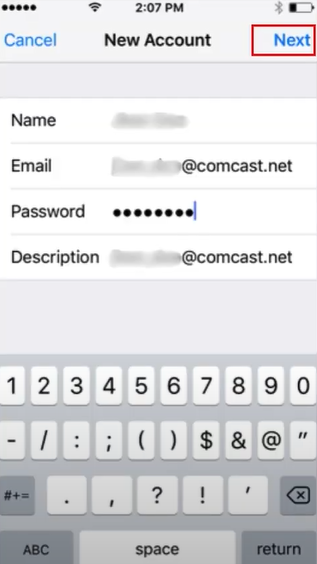
-
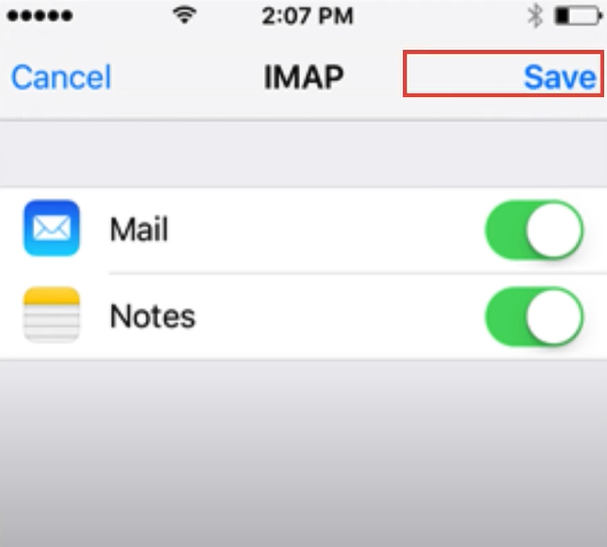
If Mail is able to find the settings, enable the Mail toggle and tap Save to complete the process.
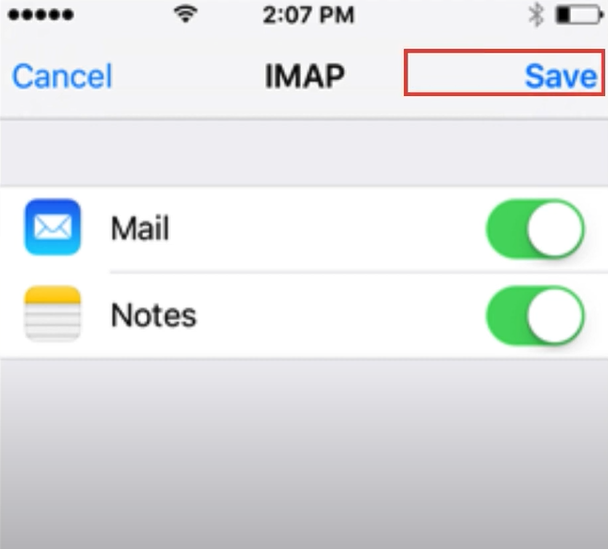
-
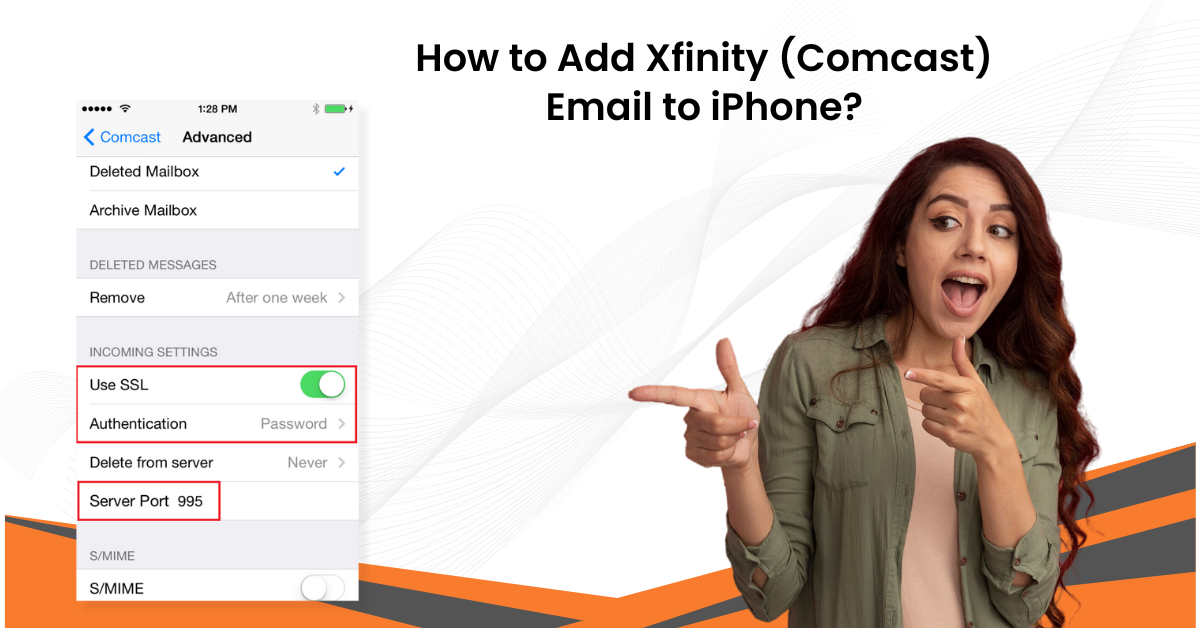
If Mail can not find your account settings automatically, you will be required to configure the settings manually.

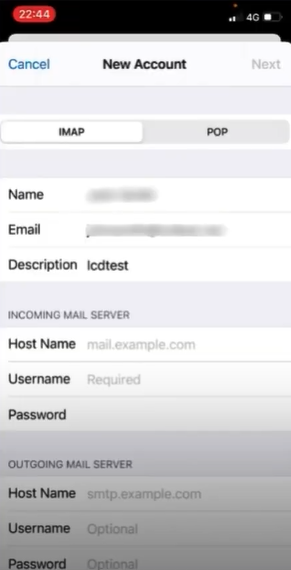
-
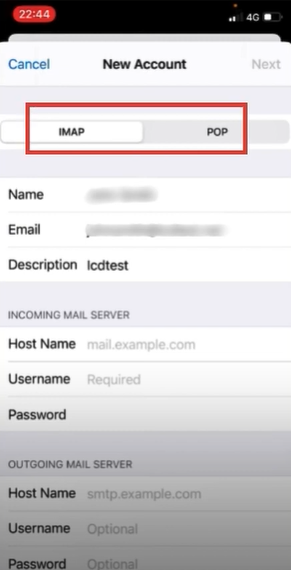
For the account, choose the IMAP or POP tab.
-
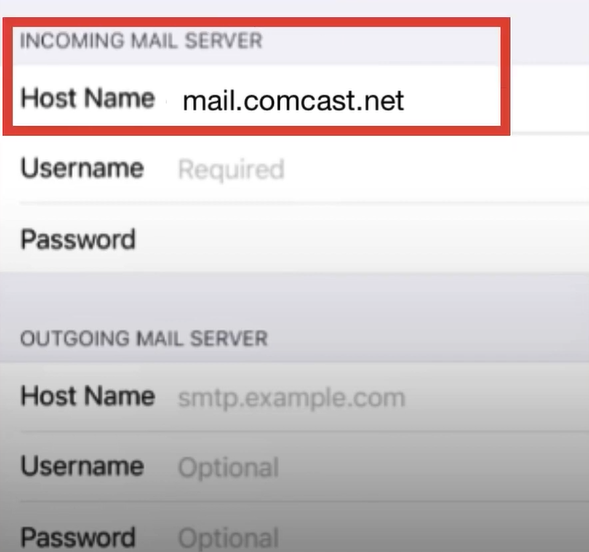
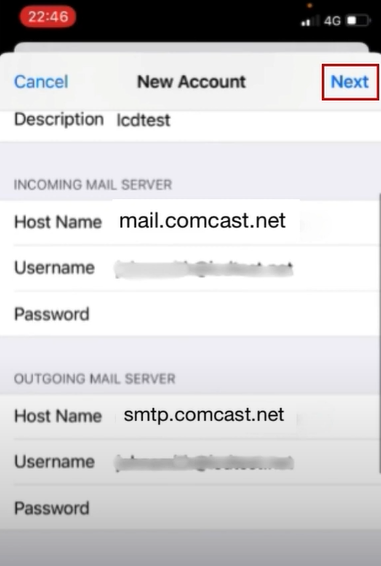
In the Incoming Mail Server section, set the Host Name to mail.comcast.net.
-
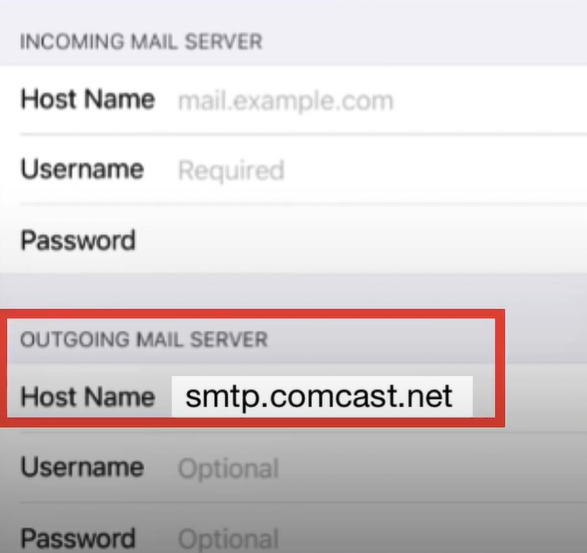
Next, set the Host Name in the Outgoing Mail Server to smtp.comcast.net.
-
After that, fill in the remaining details and tap Next.
-
On the next screen, toggle on Mail in the Account Added screen and tap Save.
Conclusion
Adding other mail services to your iPhones makes things easier for you. With the help of our stepwise procedure, you can complete the procedure to add Xfinity (Comcast) Email to your iPhone with utmost ease. In addition, once you complete this process, you will be able to add other prominent emails. If you are having any problems setting up the Xfinity email, then go for the additional professional help to get instant solutions.

