How to Backup Email From Office 365 Webmail?
- 0
- 425

Microsoft offers a range of tools to its users, including Office 365 Webmail. This empowers the users to get convenient access to their emails through a browser.
Many ask how to back up emails from Office 365 Webmail and it can be a complex process.
Why is it necessary? It assures data security, enables safe archival for compliance purposes, and protects against accidental deletion. Moreover, the users can also have consistent access to important information.
We present a comprehensive guide to back up your emails from Office 365 Webmail. Apart from that, we’ll discuss the potential problems that will likely occur during the process. So, to learn all of that, stay on this write-up.
Issues While Backing Up Emails From Office 365 Webmail
During the process of backing up emails from Office 365 Webmail, there can be certain issues that may occur, such as:
-
Authentication errors
-
Backup configuration
-
User error
-
Compatibility issues
-
Security concerns
The Right Steps to Backup Email from Office 365 Webmail
These are all the steps that can help you seamlessly backup your emails from Office 365 Webmail:
Step 1: Open Outlook and click File in the upper left corner.
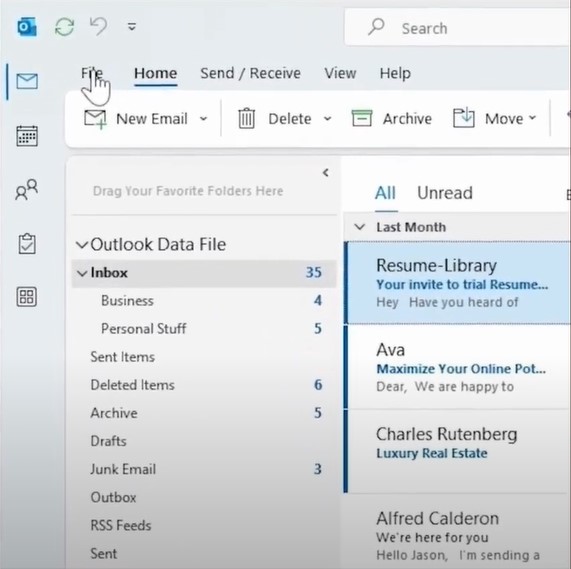
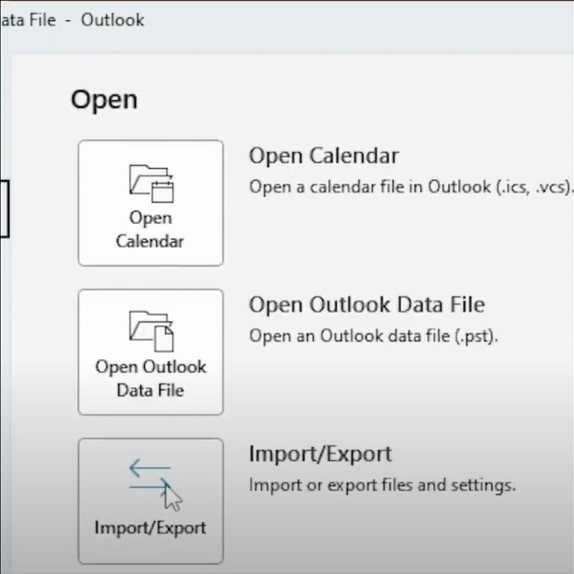
Step 2: Select Open & Export from the left panel and select Import/Export.
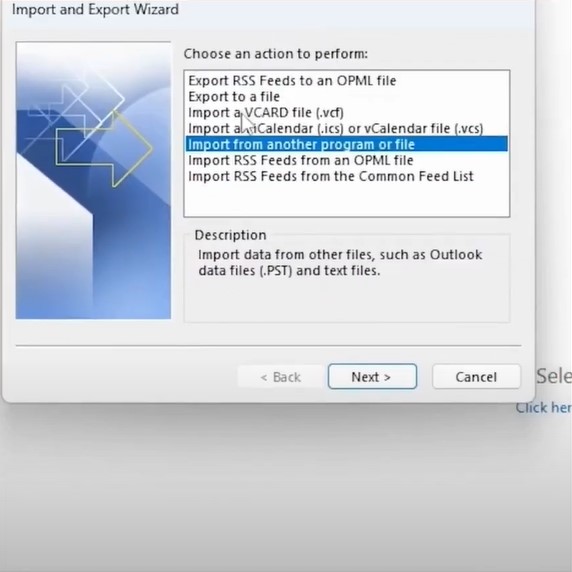
Step 3: In the Import and Export Wizard window, select Export to a File and click Next.
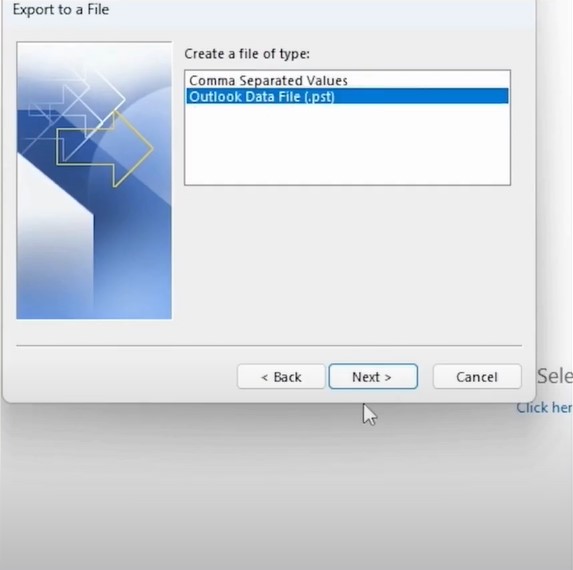
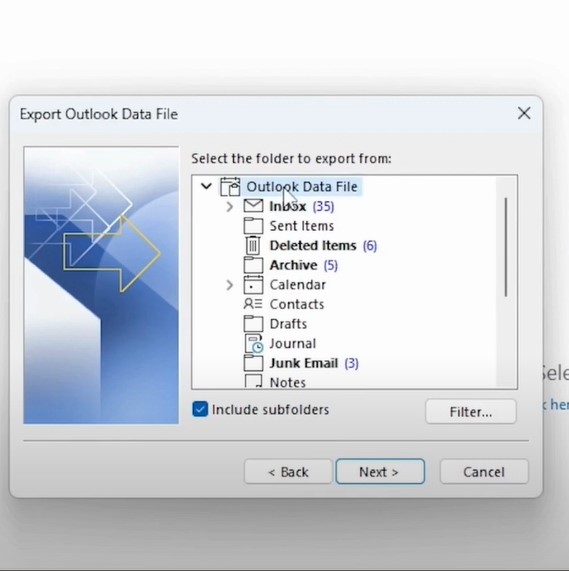
Step 5: If it asks you to select a folder to export from, select the first option.
Also Read:- How to Change Password In Roundcube Webmail?
Step 6: Next, make sure that the Include Subfolders checkbox is selected, and then click Next.
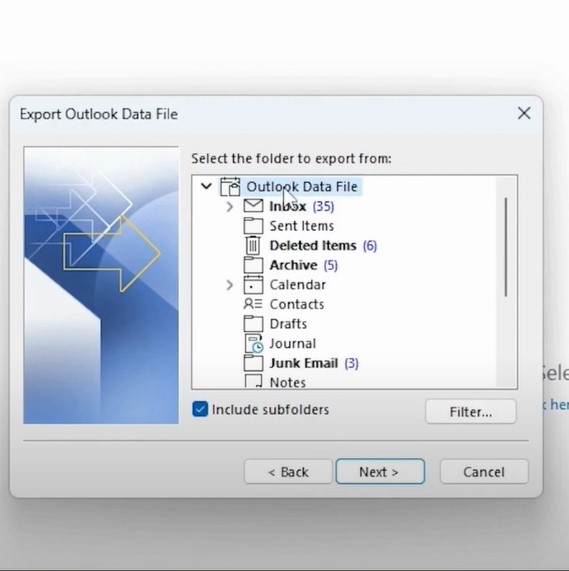
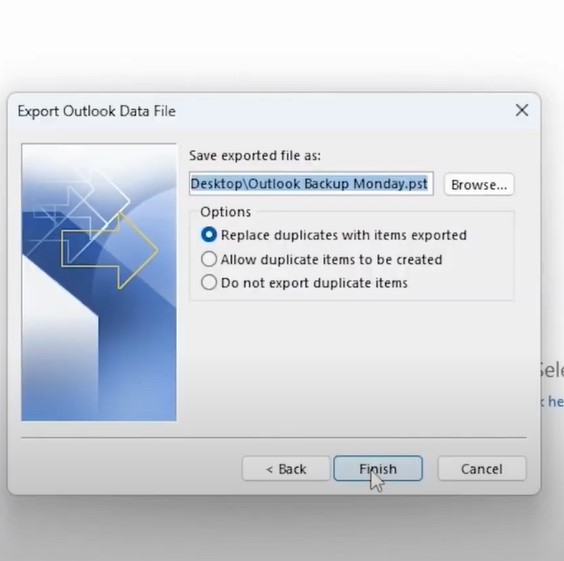
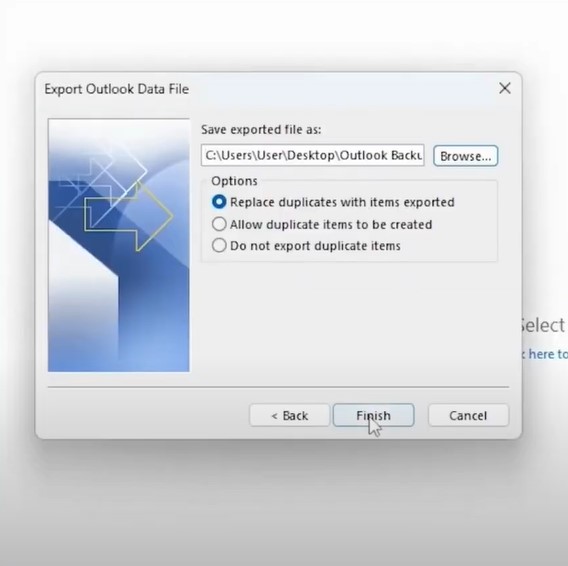
Step 7: Select Replace Duplicates with Items Exported from the Options list.
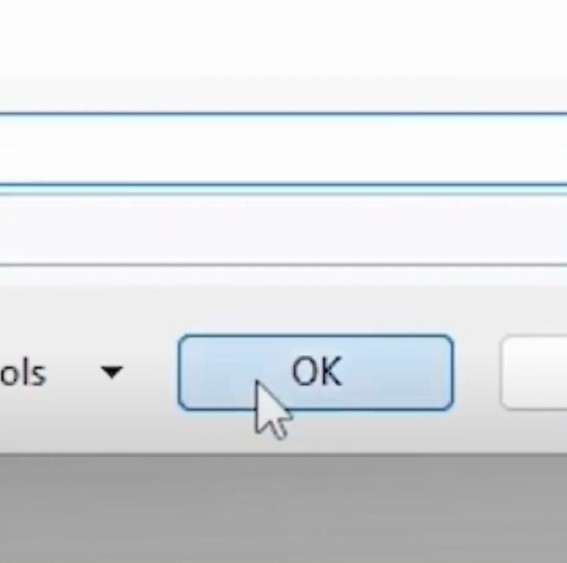
Step 8: Click Browse, select a location to save the file, give it a file name, and click OK.
Step 9: Once set, click Finish.
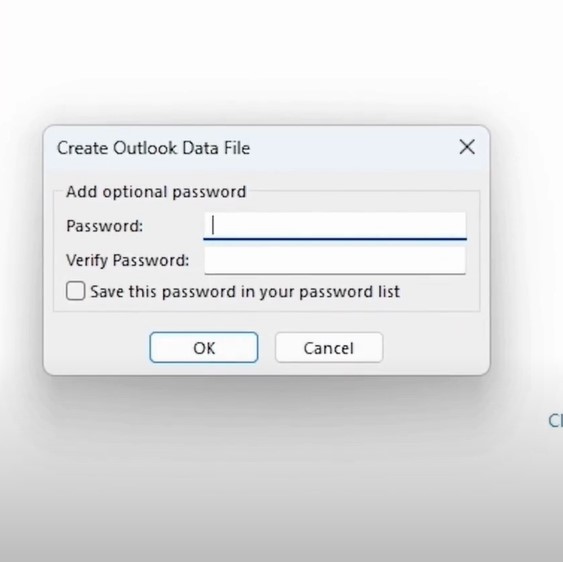
Step 10: Go ahead and create a password to the file if you wish to, and click OK.
Step 11: The export process will begin and take time, depending on the size of the file data.
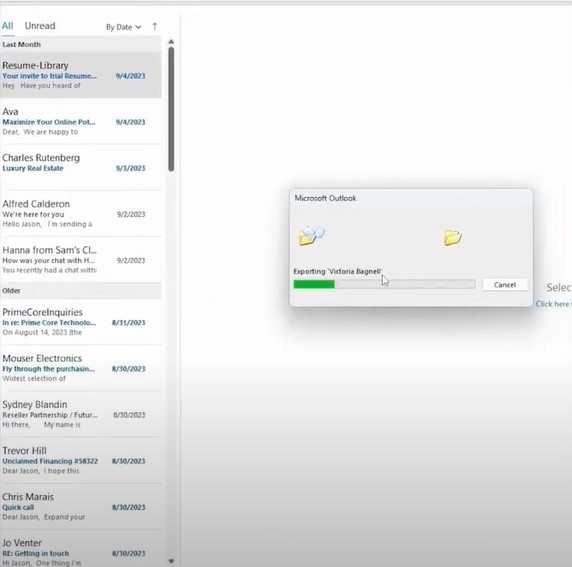
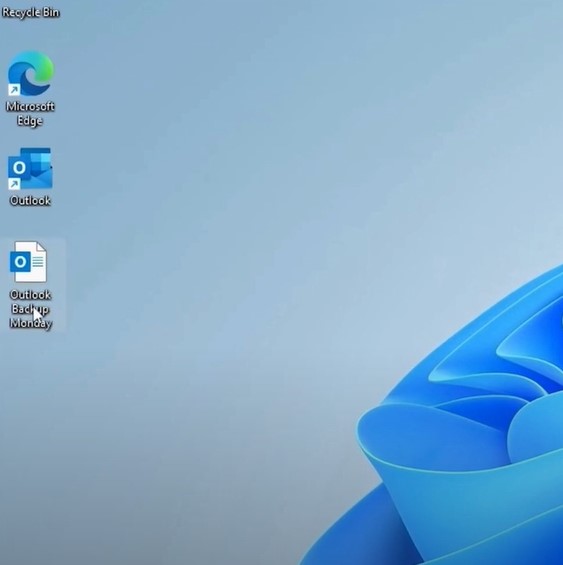
Step 12: Once done, minimize the screen and confirm that the backup pst file is in the system.
Step 13: Open Outlook again, click File, and select Open & Export.
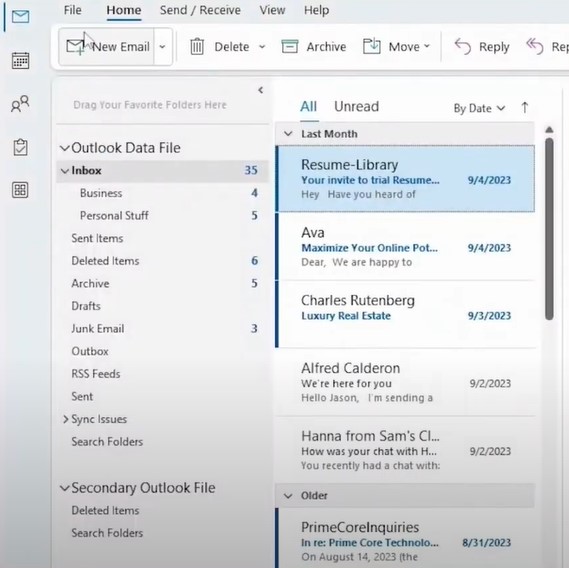
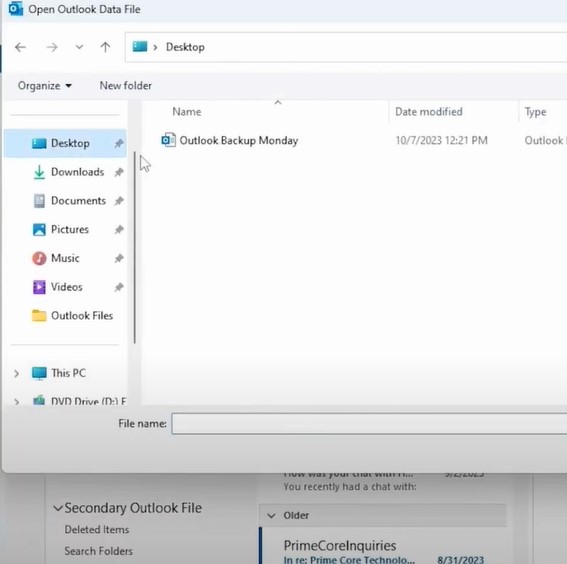
Step 14: Click Open Outlook Data File, and you should be able to locate the backup file you just created.
