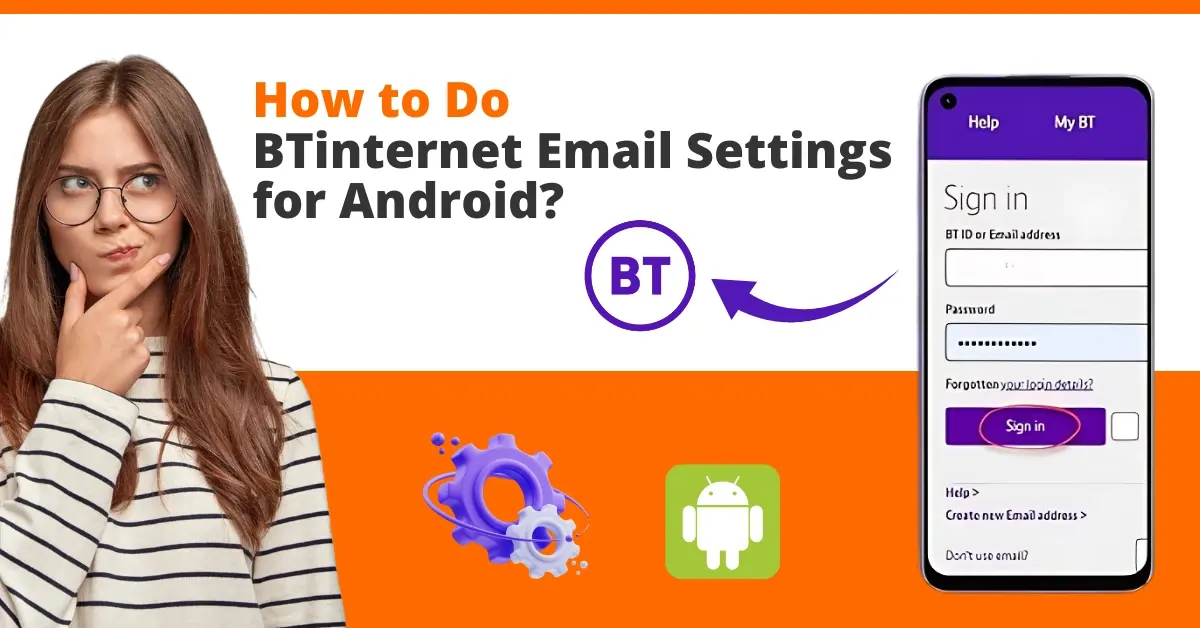
How to Do BTinternet Email Settings for Android?
- 0
- 652
Are you struggling to set up BTinternet email on your Android device? Setting up your BTinternet email allows you to access and manage emails seamlessly across all your devices. With the help of this setup, you can ensure that you have access to all your emails from any Android device.
Also, any changes you make to your emails, like marking them as read or deleting them, will sync across all devices. In addition, when you set up your BTinternet account on Android, it allows you to manage your emails, calendars, and contacts more effectively and improve your overall productivity. Let’s dive deeper into how to set up BTinternet email on Android.
Common Issues When Setting Up BTinternet Email on Android
When you try to set up the BTinternet email on an Android device, many issues can arise. Below are some of the common problems:
-
Incorrect server settings
-
Authentication failures
-
Multiple email accounts
-
Email notifications
-
Security restrictions
Steps to Set Up BTinternet Email on Your Android
Below are the following steps that you must know how to do BTinternet email settings for Android:
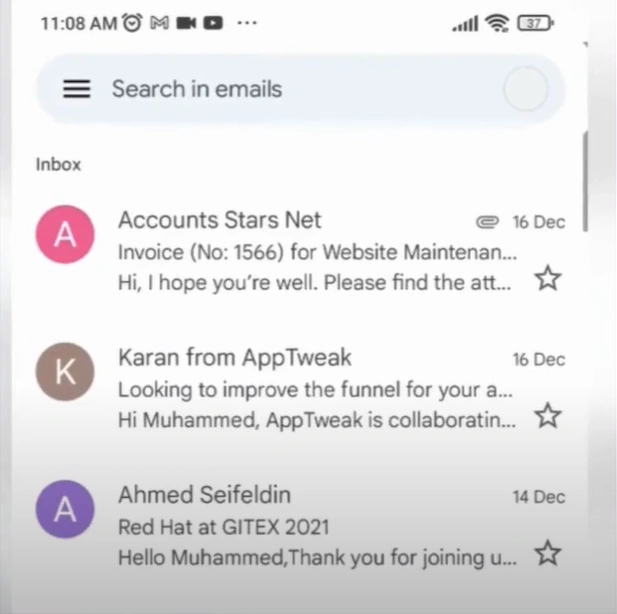
Step 1: Open your Gmail app, tap on the menu icon, and open Settings.
Step 2: Select the Add Account option.

Step 3: Select the Other option.
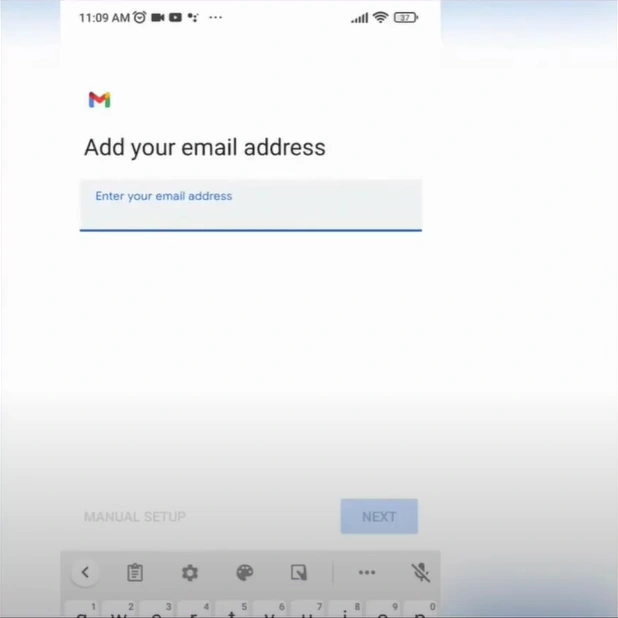
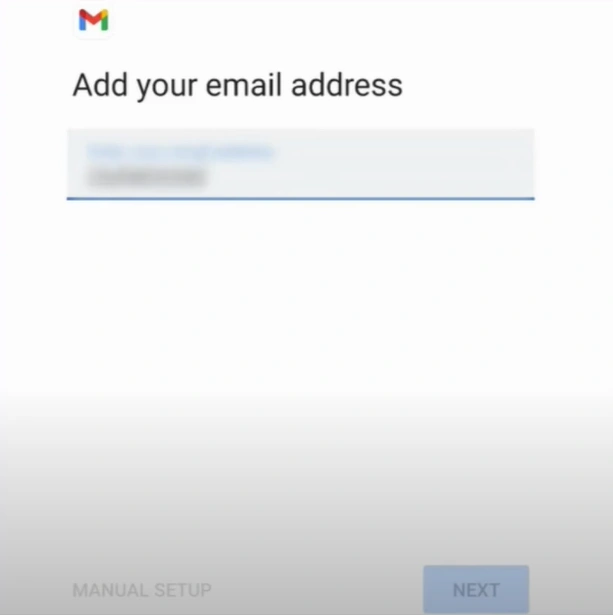
Step 4: Enter your BTinternet email address and tap on Manual Setup.
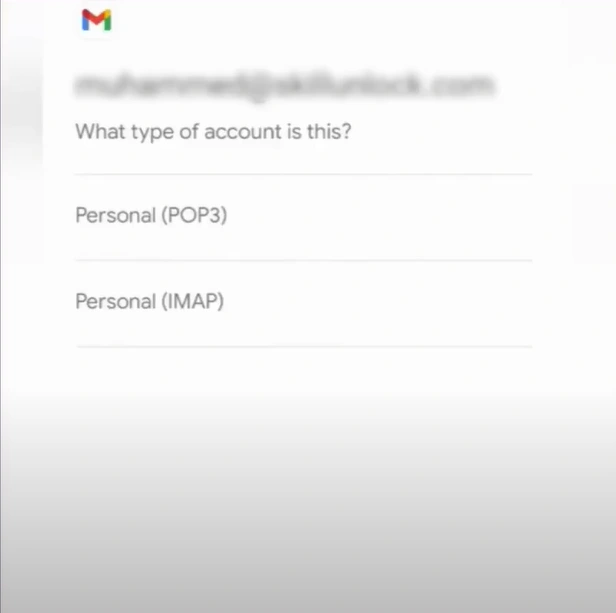
Step 5: Select the account type. Here, we have selected IMAP.
Also Read:- How to Recover Lost/Deleted BTinternet Email?
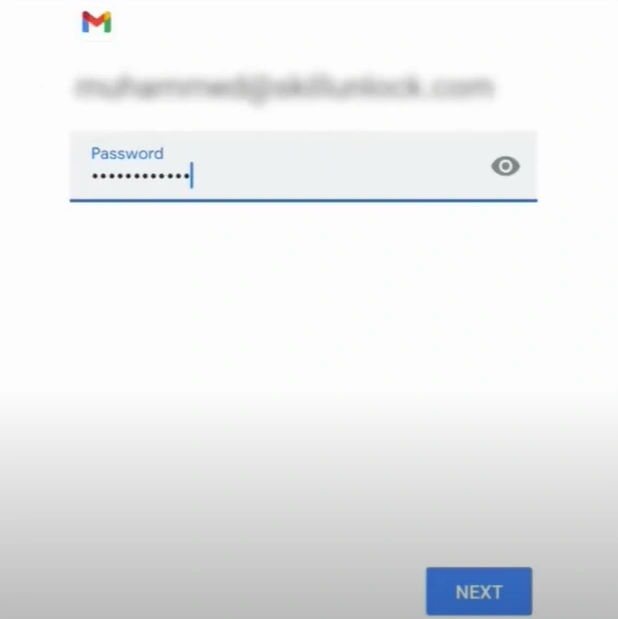
Step 6: Type in your BTinternet email password and tap on Next.
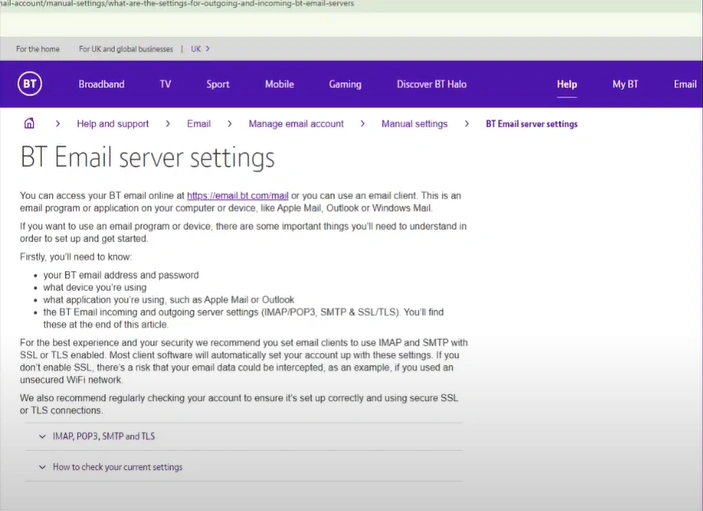
Step 7: Open a browser and navigate to the official BT Email server settings page.
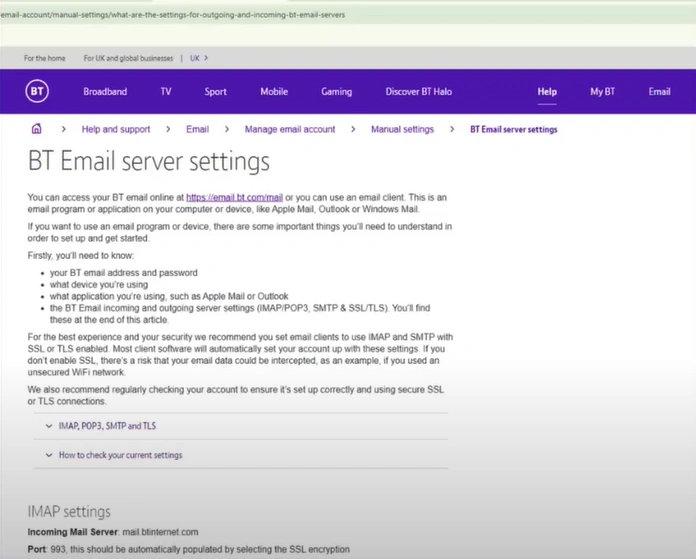
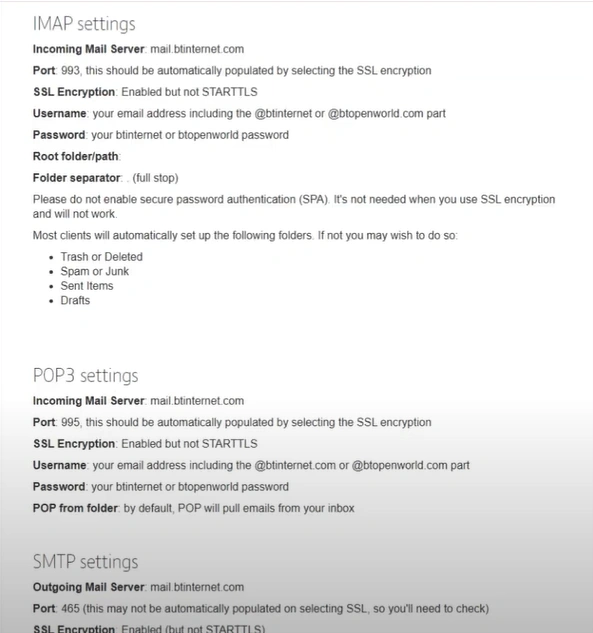
Step 8: Scroll down and find IMAP settings. Follow the given instructions to fill in the email info.
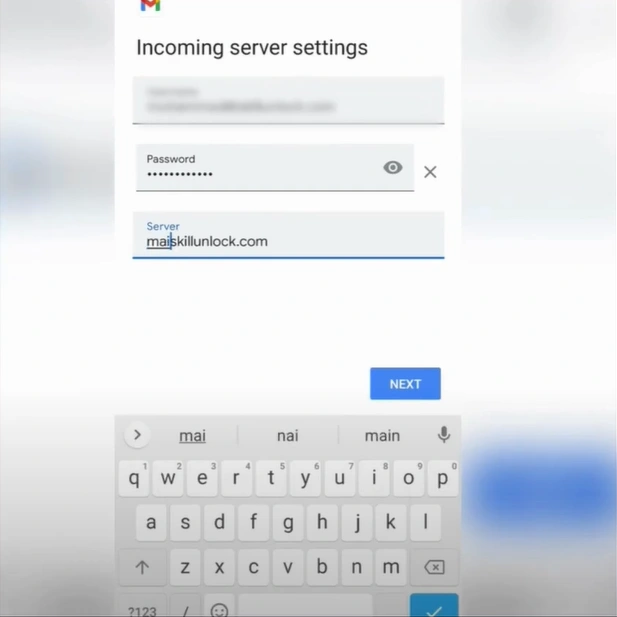
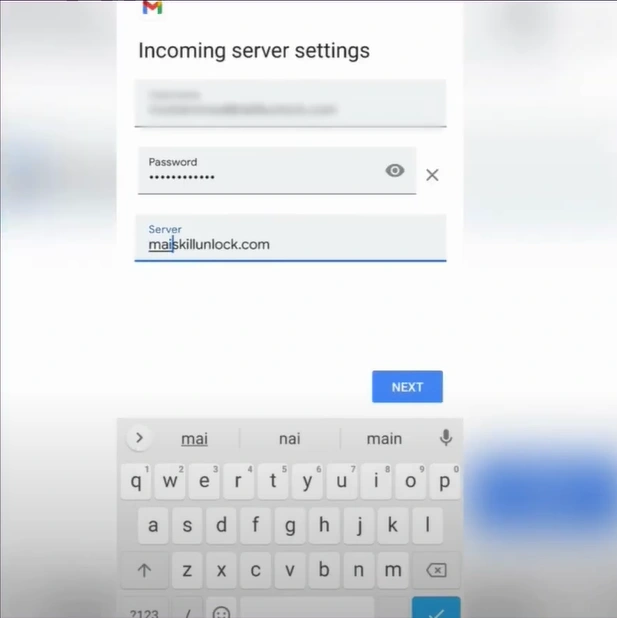
Step 9: In the incoming server settings, add your username, password, and server, then tap Next.
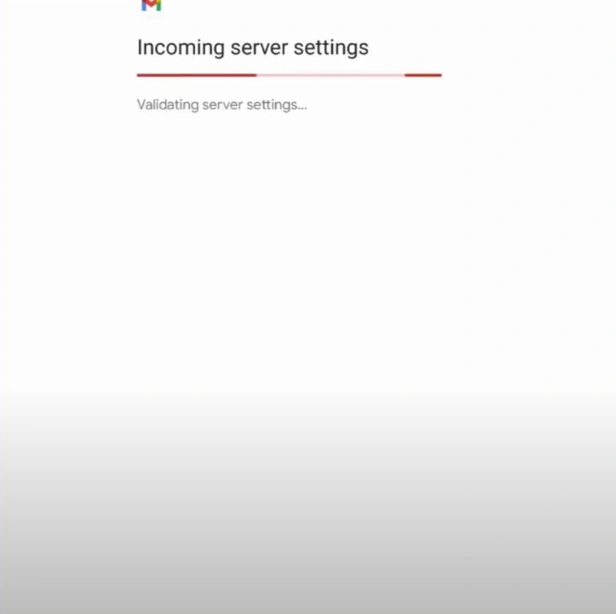
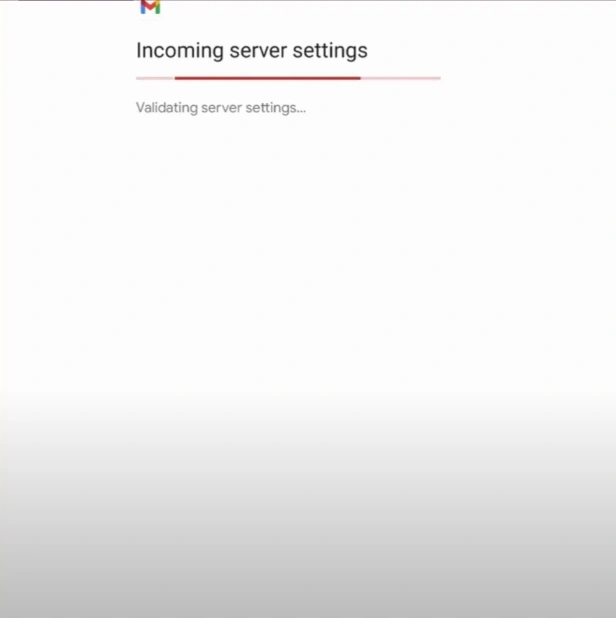
Step 10: Let it validate server settings.
Step 11: Go back to the BT Email server settings page.
Step 12: Find SMTP settings, and use the provided information to complete Step 13.

Step 13: Fill in the outgoing server’s username, password, and SMTP server, then tap Next.
Step 14: Wait to validate server settings again.
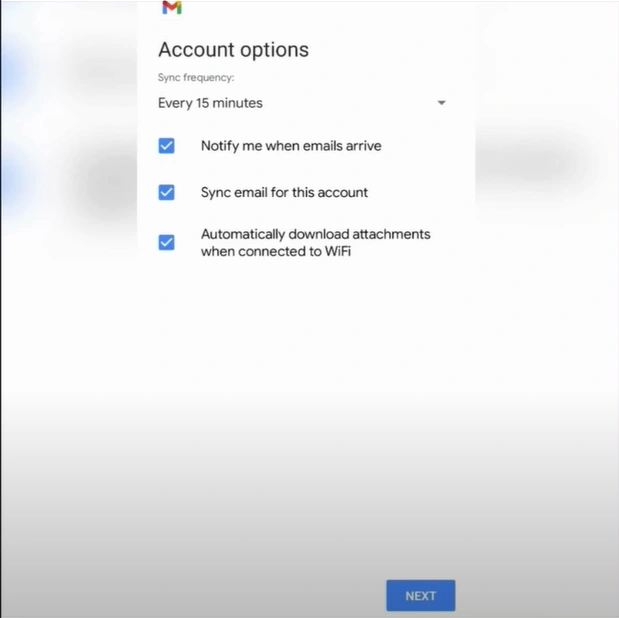
Step 15: Select all three options in the account and tap on Next.
Step 16: Provide a display name for sent messages and tap Next.
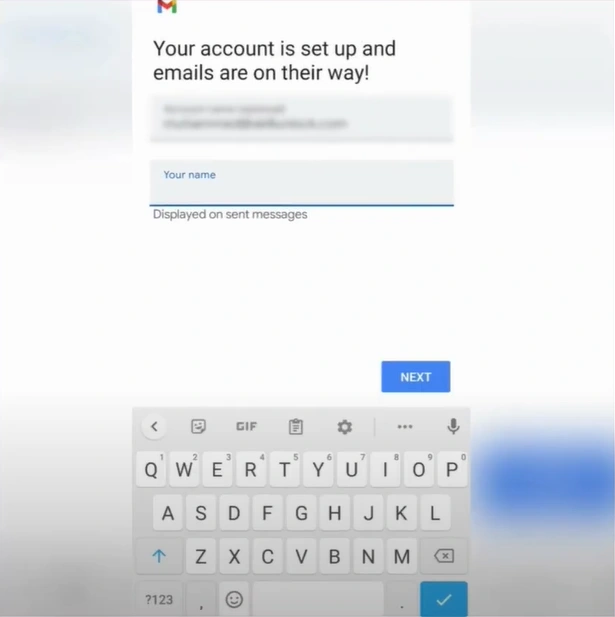
To Conclude
Setting up BTinternet email on your Android device ensures a smooth email experience that improves personal and professional communication. If you need additional assistance, then consider reaching out to BT support for expert guidance on setting up your email.
 Verified Expert