How to Fix Outlook Rules Not Working?
- 0
- 669
Outlook rules automate tasks like moving, sorting, and filtering emails, which can significantly simplify your workflow. If there are errors in Outlook rules, then it becomes critical to troubleshoot them. A problem with Outlook rules may cause you to miss important messages or spend more time manually managing your inbox.
There can be many reasons behind Outlook rules issues. These issues may include outdated or corrupted rules, incorrect rule conditions, or insufficient storage space.
Let’s explore the best solutions to fix Outlook rules that are not working. Continue reading to learn more.
Common Issues When Fixing Outlook Rules Not Working
When you try to fix the rules on Outlook not working, you may face some challenges. These may include:
-
Outdated Outlook version
-
Exceeding the rule limit
-
Folder permissions
-
Corrupt Outlook profile
Solutions to Resolve Outlook Rules Not Working
Check out all these solutions that can help fix the issue of “Outlook rules do not work.”
Solution 1: Renaming the Rule
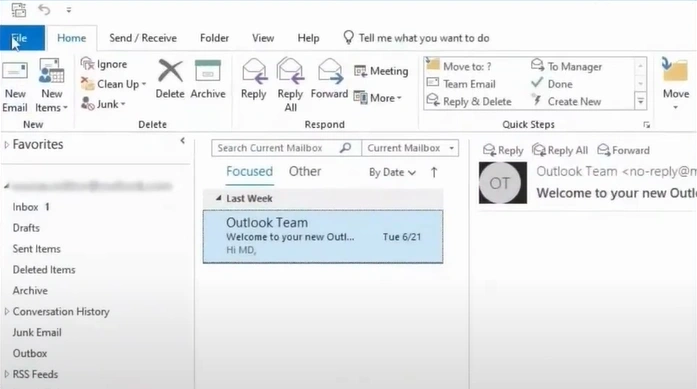
Step 1: Open your Outlook, then click on File.
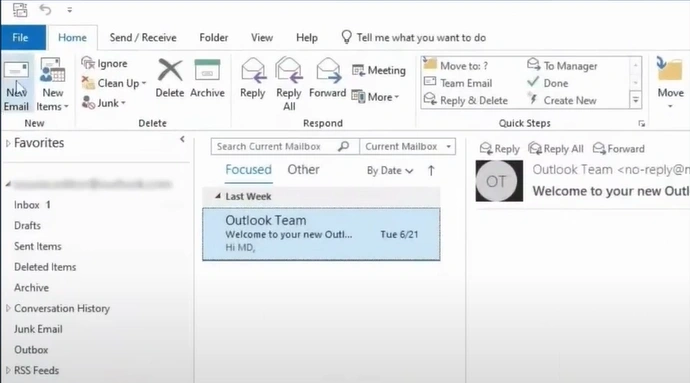
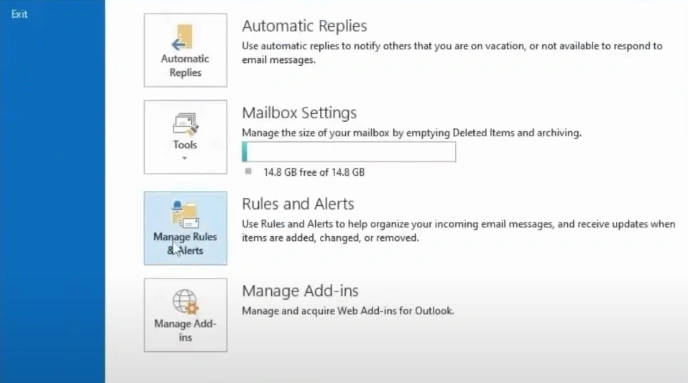
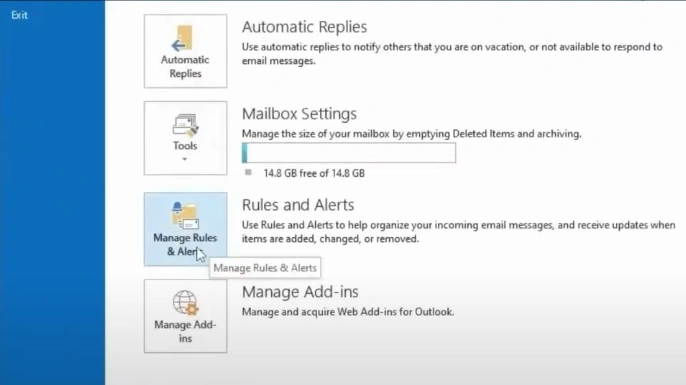
Step 2: Click on Manage Rules and Alerts.
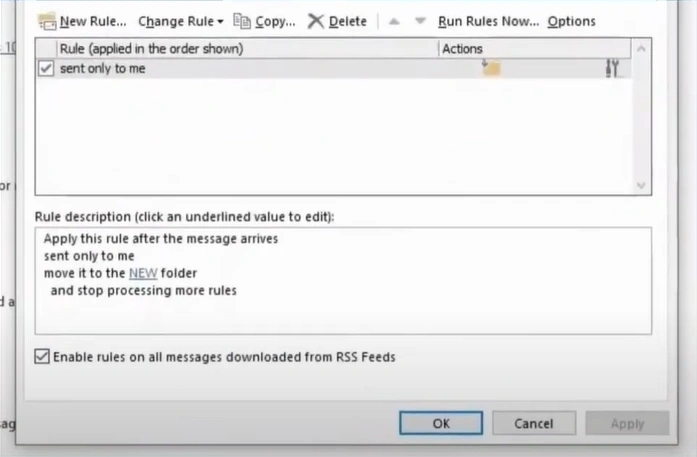
Step 3: Check the “Sent only to me” option, then click on the Change Rule button.
Step 4: Click on the Rename Rule option.
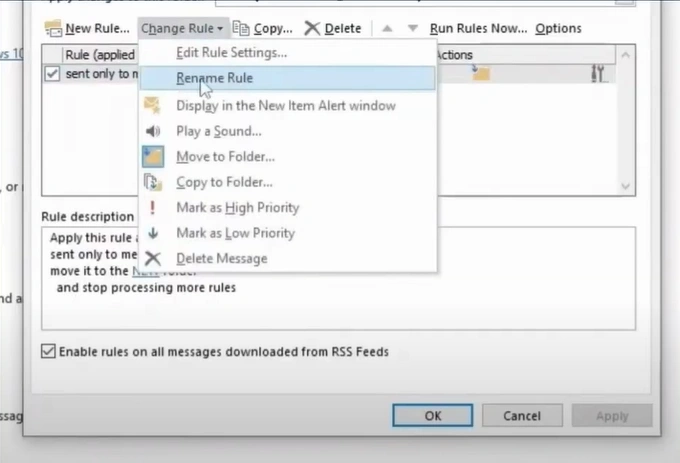
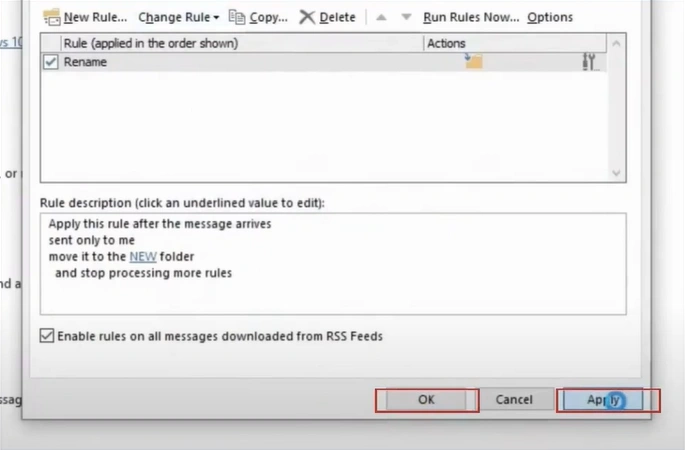
Step 5: Give a new name to the rule.

Step 6: Click Apply, then click OK.
Solution 2: Deleting the Old Rules
Step 1: Launch your Outlook, then click on File.

Step 2: Click on Manage Rules and Alerts.
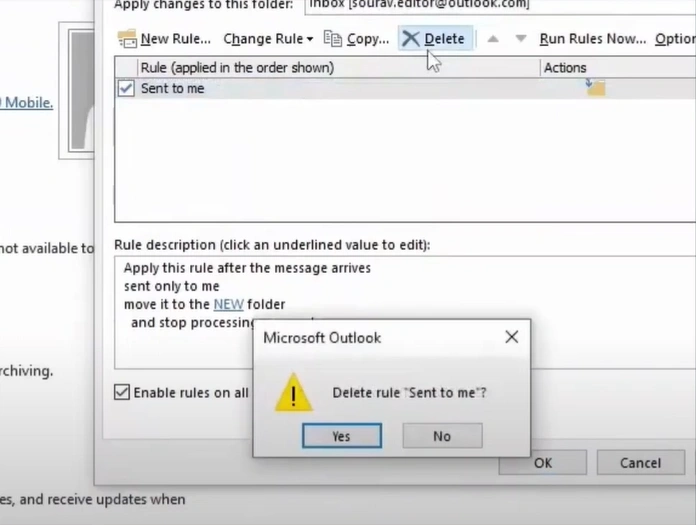
Step 3: Select the rule you want to delete.

Step 4: Click on the Delete button above, then select Yes to delete.
Solution 3: Enable Cached Exchange Mode
Step 1: Open your Outlook and Click on File.
Step 2: Click on Account Settings, then go to Account Settings.
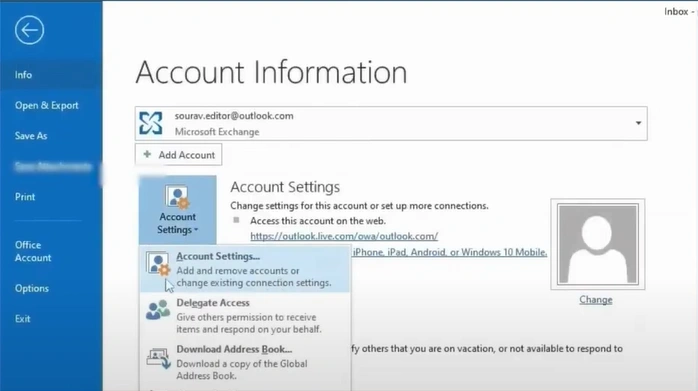
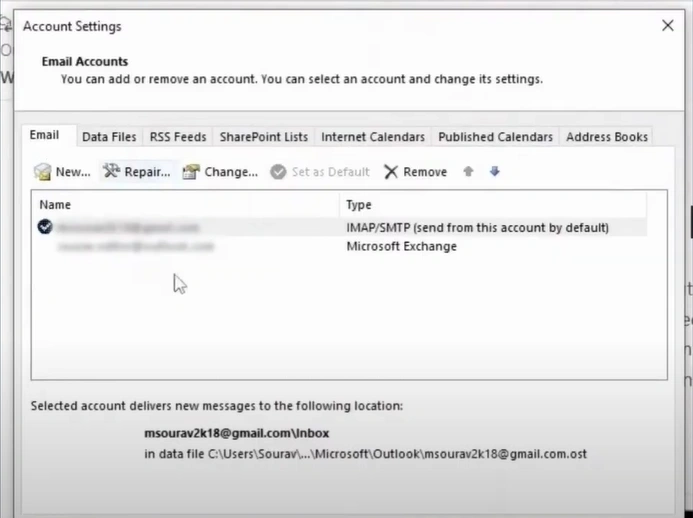
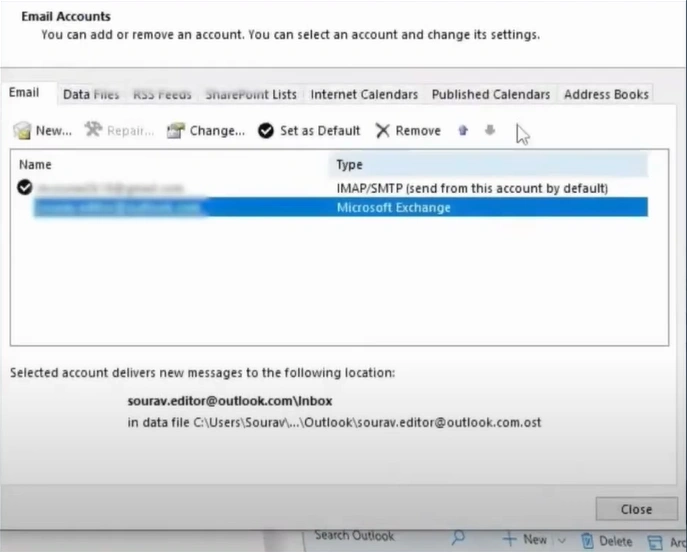
Step 3: Select your Outlook email, then click on Change.
Also Read:- How to Block Emails on Outlook?
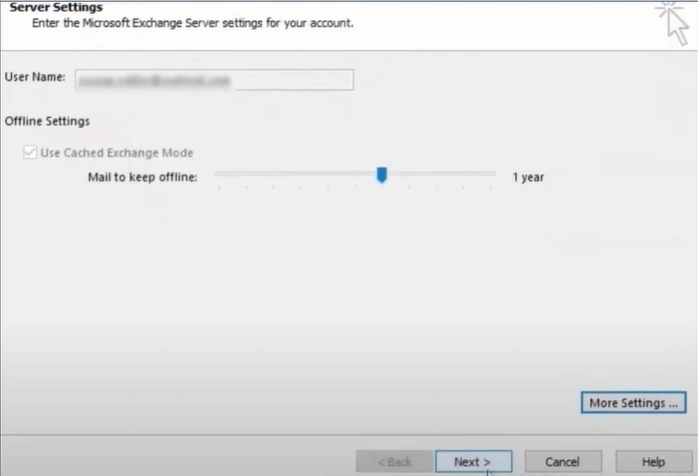
Step 4: Click on More Settings.
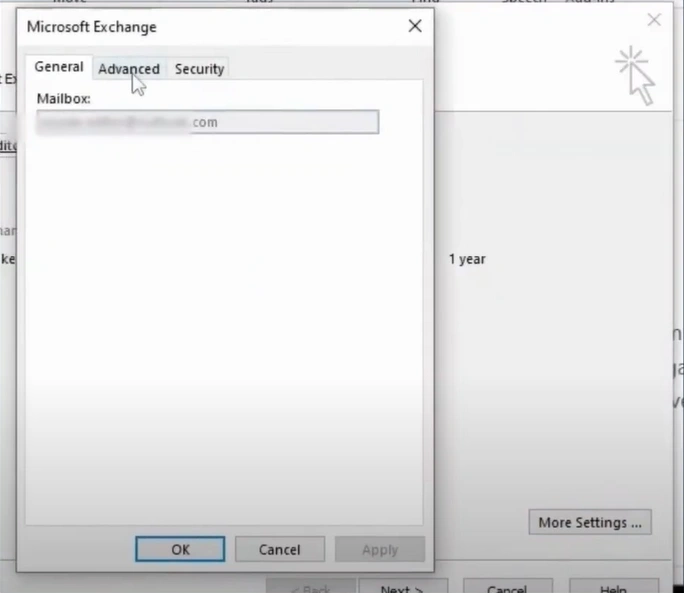
Step 5: Click the Advanced tab and select Use Cached Exchange Mode.
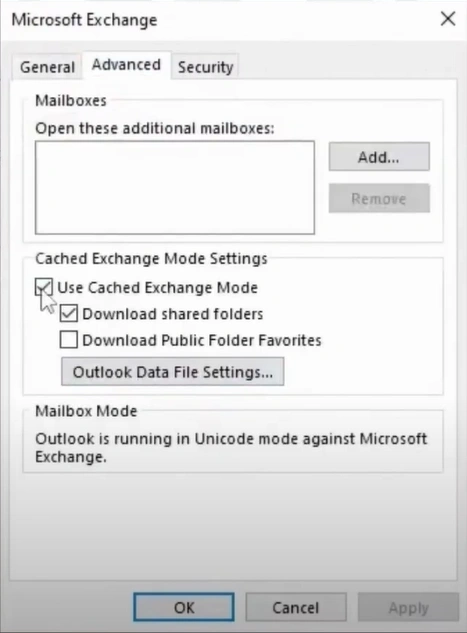
Step 6: Click on Apply, then press OK.
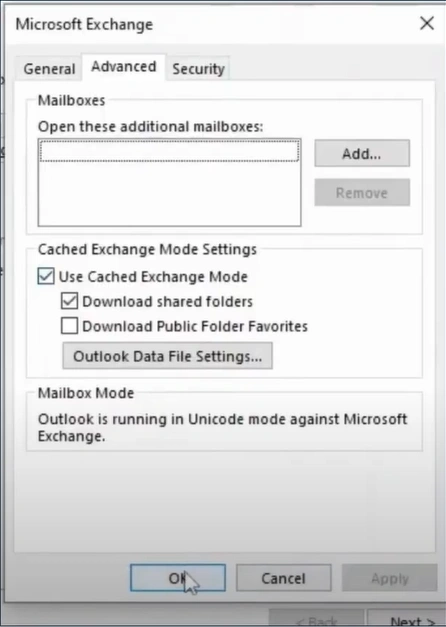
Step 7: Click on Next.
Step 8: At last, click on Finish.
Solution 4: Rename the SRS file in Outlook
Step 1: Launch your Outlook and open the File.
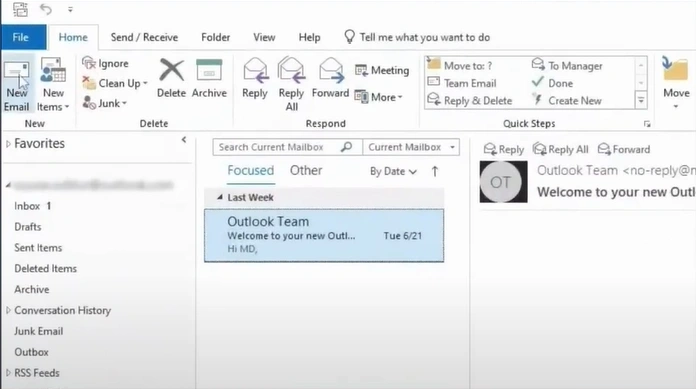
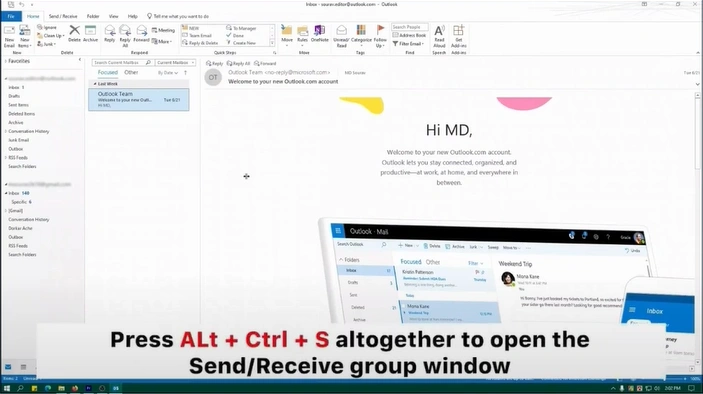
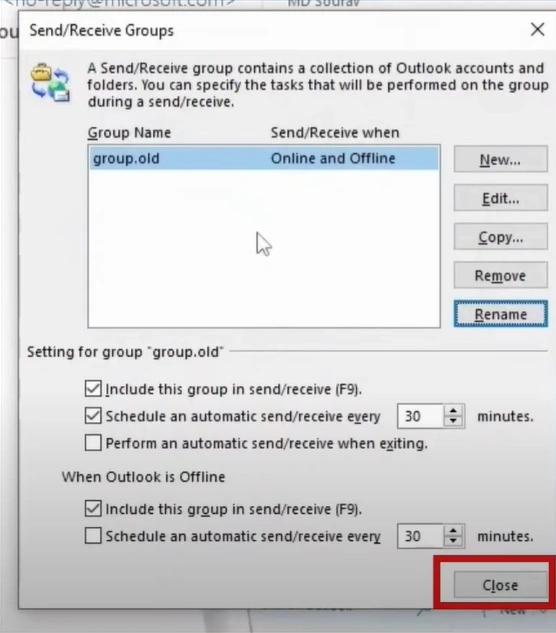
Step 2: Press the Alt + Ctrl + S keys to open the Send/Receive Groups window.
Step 3: Click on the Rename button.
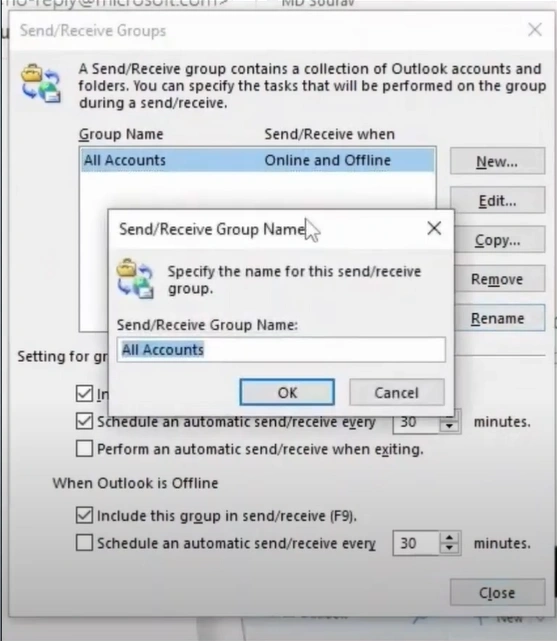
Step 4: Provide a Send/Receive Group name and click OK.
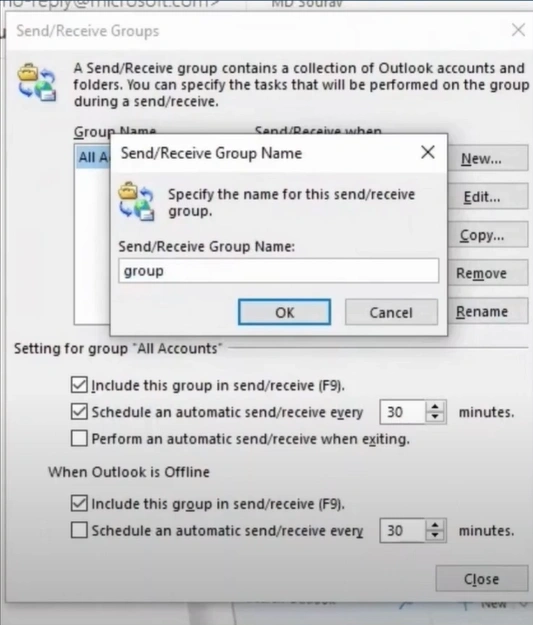
Step 5: Close the tab by clicking on Close.
Solution 5: Creating a New Outlook Profile
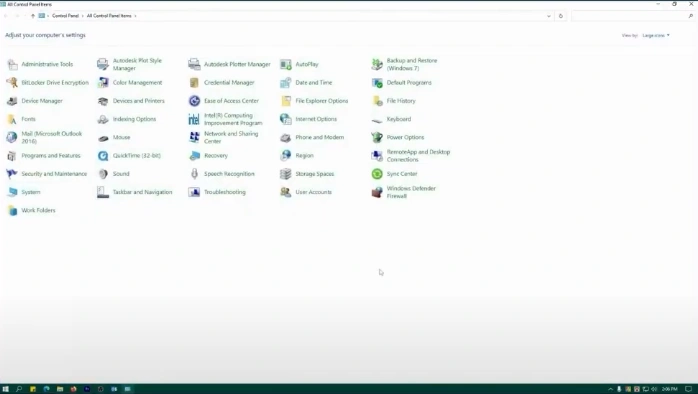
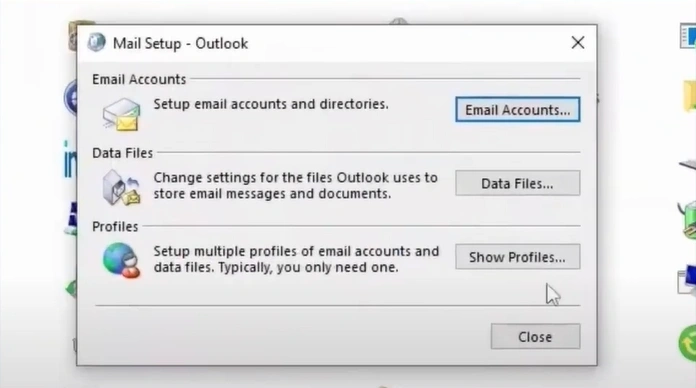
Step 1: Open your control panel and click on Mail (Outlook).
Step 2: Click on the Show Profiles button.
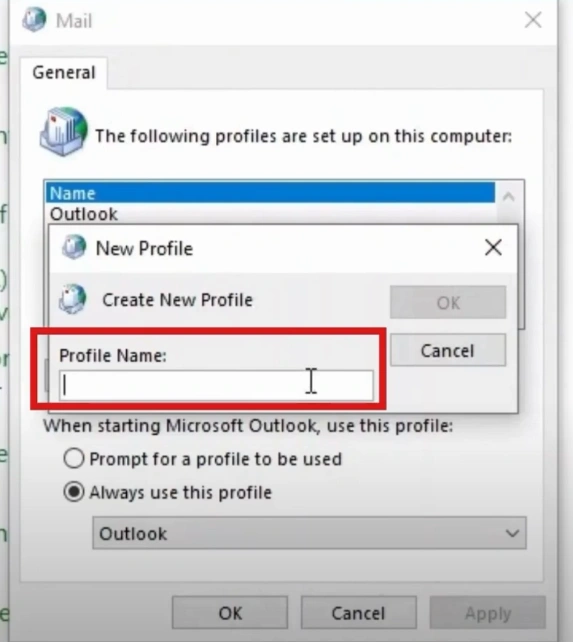
Step 3: Click on the Add button.

Step 4: Provide a profile name, then click on OK.
To Sum Up
By resolving the Outlook rules issues, you can significantly enhance your email management and overall productivity. Apply the above solutions to troubleshoot. A properly functioning Outlook ensures an organized inbox and eliminates errors in email management.
If you need help troubleshooting Outlook rules, consult a professional.
 Verified Expert