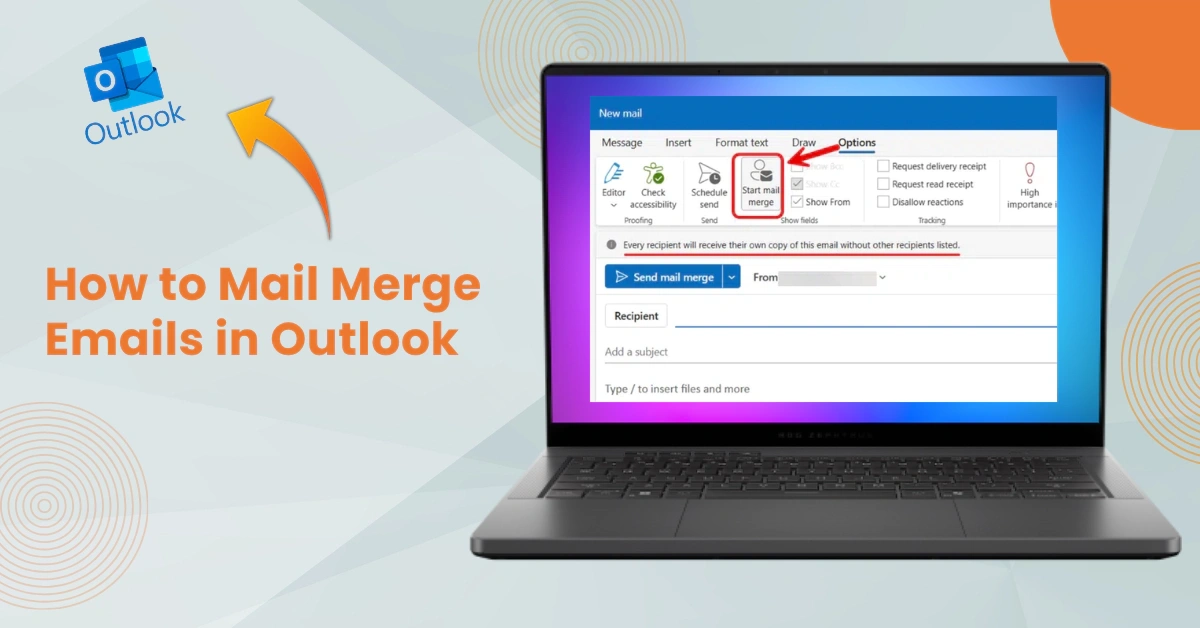
How to Mail Merge Emails in Outlook?
- 0
- 448
You may have hundreds of emails to send to your team and to clients, which takes up your entire day. What if it becomes easier to send messages in just a few clicks and without breaking a sweat?
If you are an Outlook Mail user and want to send bulk messages to multiple recipients at once? Mail merge is a way to do that- it's a smart feature that makes a time-consuming task quick and simple. Think of Mail Merge as a personal assistant that handles your daily communications very well.
Surely, you may be thinking about how to mail merge emails in Outlook. Not to worry, we have explained the entire process to do the same here. But first, we’ll talk about the potential issues that may occur when performing a mail merge.
Problems Faced When Mail Merging Emails in Outlook
These are some of the most common problems that users may face when performing a mail merge in Outlook:
-
Attachments not supported
-
Emails go to spam or junk folders
-
Recipients’ names or email addresses are not showing
-
Outlook profile not properly configured
-
Incorrect or missing recipient data
What to Know Before Mail Merging Emails?
Here is all to know before you start a mail merge in Outlook to ensure everything goes seamlessly:
-
Outlook should be set as the default email client; otherwise, mail merge won’t work. So, you must check that before getting started.
-
Send some test emails to yourself to check if the formatting, attachments, and personalization are correct.
-
It is less likely to see personalized emails go into junk folders. Still, it is good if you avoid using large attachments, excessive links, or spammy language.
Steps to Mail Merge Emails in Outlook
Mail Merge Emails in Outlook is a great way of sending personalized bulk emails efficiently. These are all the essential steps to mail merge emails in Outlook:
Step 1: Add your email content to Microsoft Word.
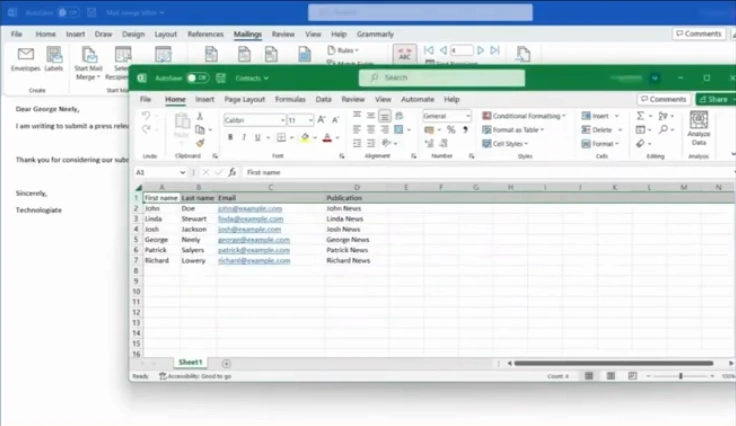
Step 2: Add your email details to the Excel spreadsheet.

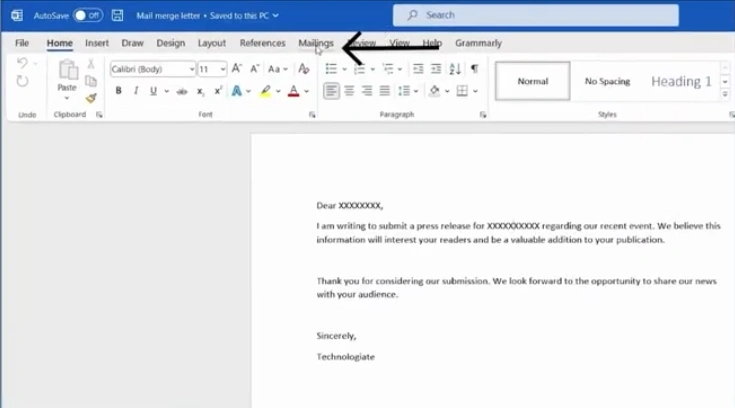
Step 3: Open your Microsoft Word document and click on Mailings.
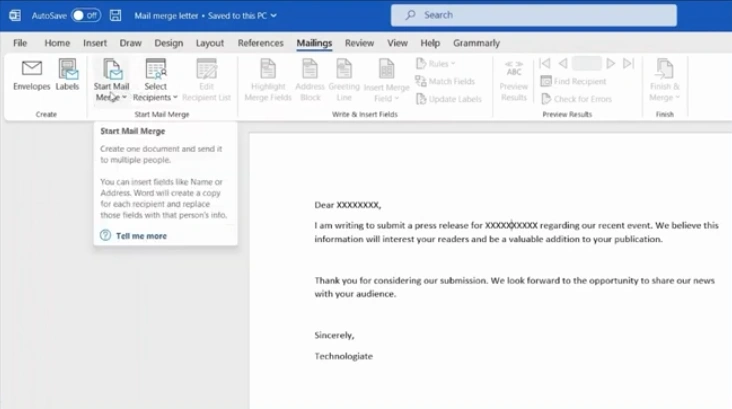
Step 4: Open Start Mail Merge and select Email Messages from the list.
Step 5: Open Select Recipients and select the Use an existing List option.
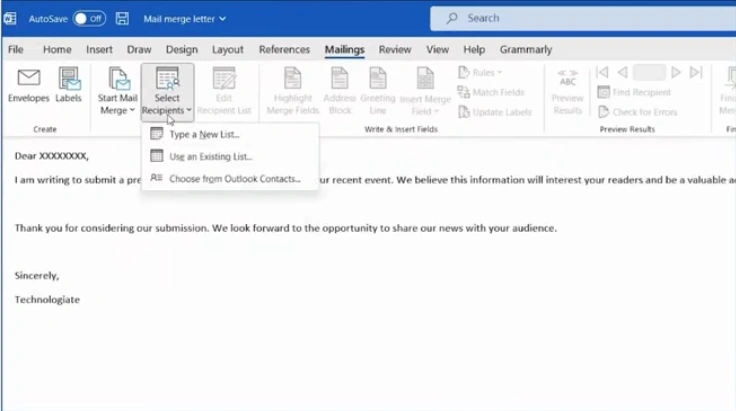
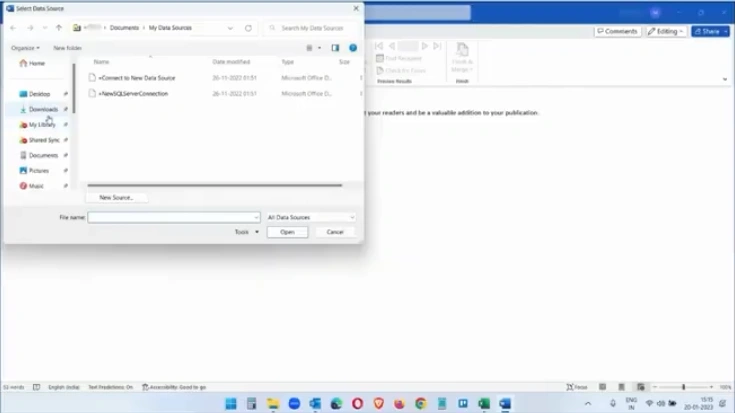
Step 6: Browse your file and open it.
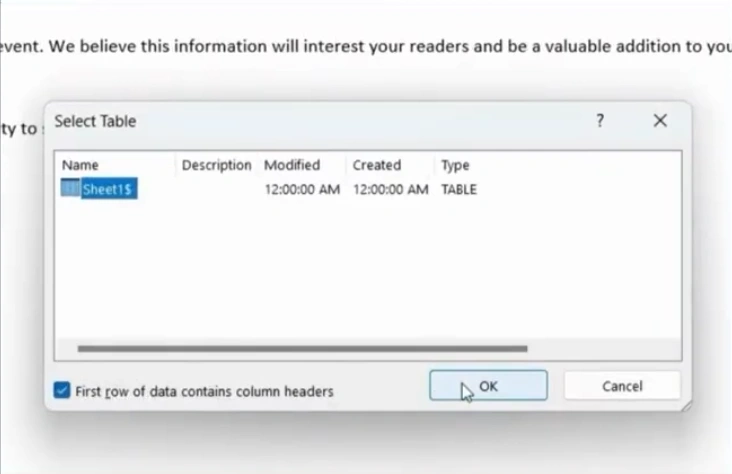
Step 7: Select the first row.
Step 8: Click on Insert Merge Field and use it to add the contact details.
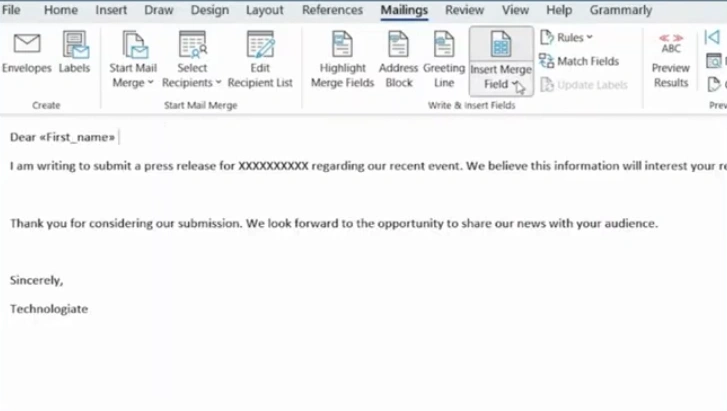
Step 9: Click on Preview Results to check the emails.
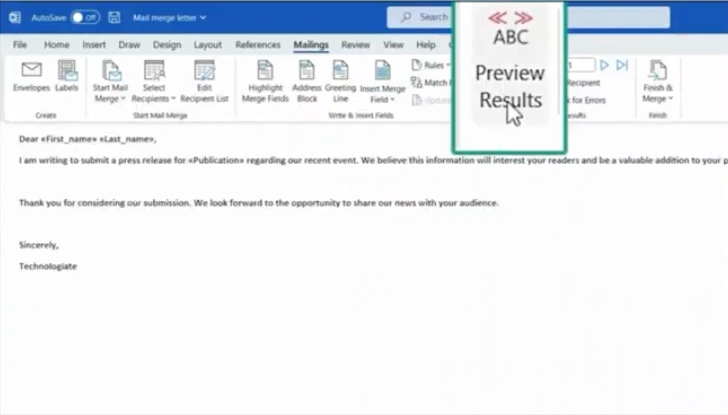
Step 10: Click on the arrow buttons to check the emails curated for different contacts.
![]()
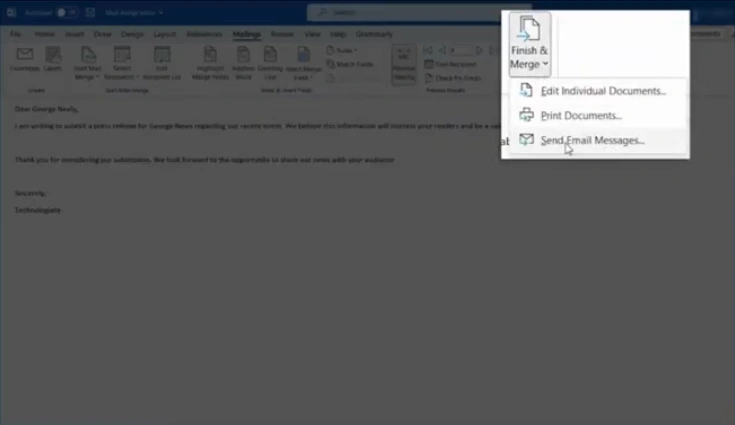
Step 11: Click on Finish & Merge and select Send Email Messages.
Step 12: In the Merge to Email window, click on “Email” in the To field.
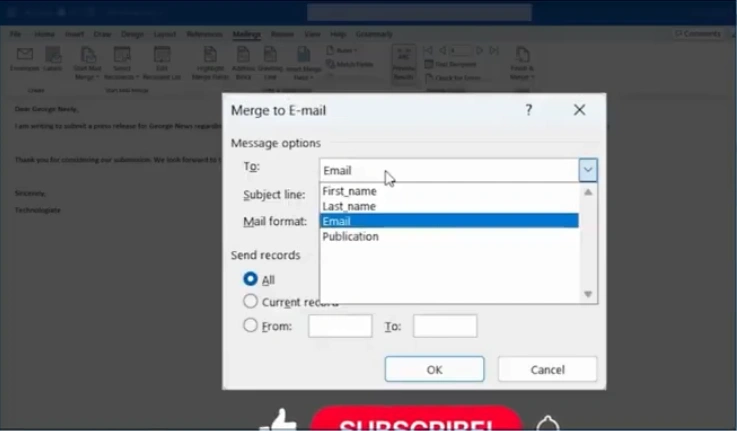
Step 13: Go back to the spreadsheet and select the email column.
Step 14: Provide a subject line.
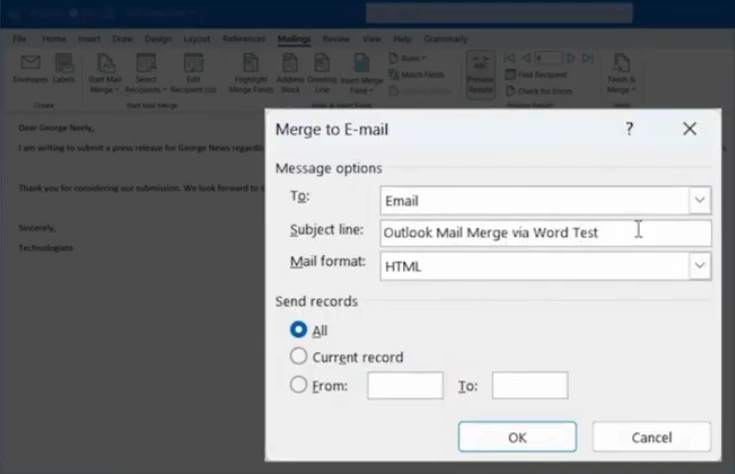
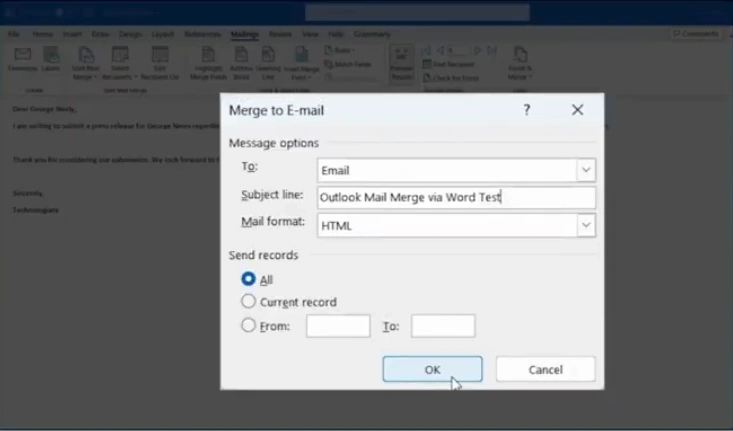
Step 15: Click on OK.
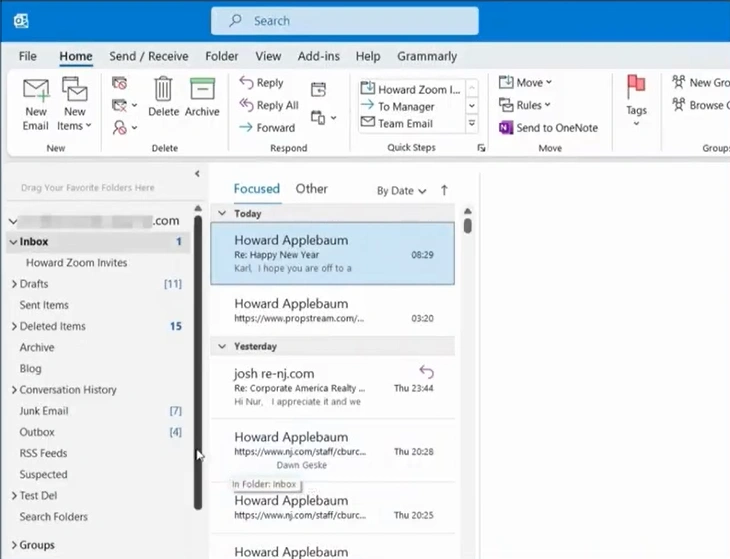
Step 16: Go to your Outlook and open the “Sent items” box to check the status of the sent email.
In Closure
That’s the correct way to do a mail merge in Outlook; it just takes a few steps. Just follow the method we have discussed above. Soon, you will be able to send bulk messages to multiple recipients with ease. You can free yourself from those hours of copying and pasting names, email addresses, and custom details into every email.
Address the potential issues that might arise during the process, like Outlook not being set as the default email client, emails going to spam or junk, and more.
 Verified Expert