How to Add a Bluehost Email to Gmail?
- 0
- 608

Your professional Bluehost email address for business is ready, but you still end up opening Gmail every morning, as it has become your habit.
Switching from inbox to inbox seems like a waste of time, so how about adding your Bluehost email to Gmail? It could be a great idea; you won’t have to open extra tabs anymore, and there won’t be any confusion. This way, you won’t miss any important messages.
After the integration of your Bluehost email, you can see it sitting neatly along with your regular messages. How to add a Bluehost email to Gmail? That may be the question running in your head right now. We have discussed a step-by-step process here, but before that, let’s look at some potential challenges that may show up during this integration.
Common Problems When Adding Bluehost Email to Gmail
While adding a Bluehost email to Gmail, you might face many potential problems, including:
-
Authentication errors
-
Wrong port numbers
-
Firewall or security blocks
-
IMAP or POP settings are not enabled
-
Insufficient mailbox storage
The Process to Add Bluehost Email to Gmail
Before you add your Bluehost email to Gmail, have all your login credentials handy. Also, clear mailbox space if required, and temporarily disable any conflicting security software. Follow the steps below to get started:
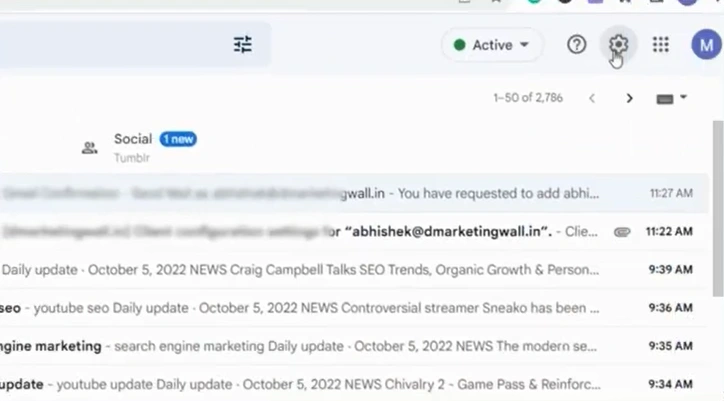
Step 1: Open Gmail.
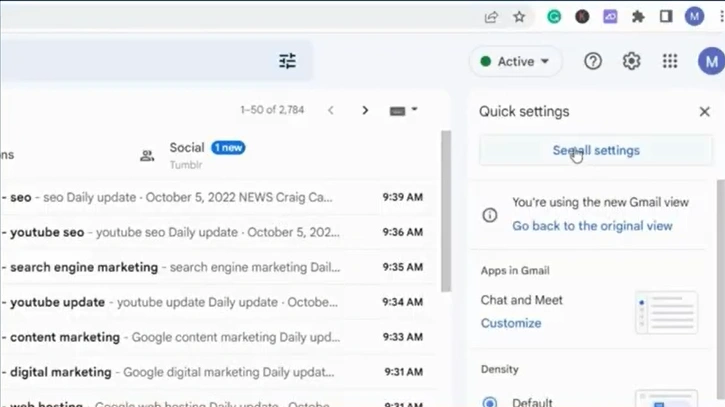
Step 2: Click on the Settings icon (to the right of the question mark).
![]()
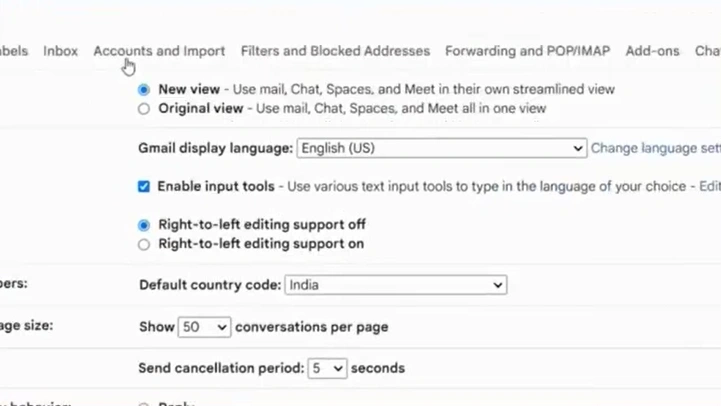
Step 3: Click on the “See all settings” option.
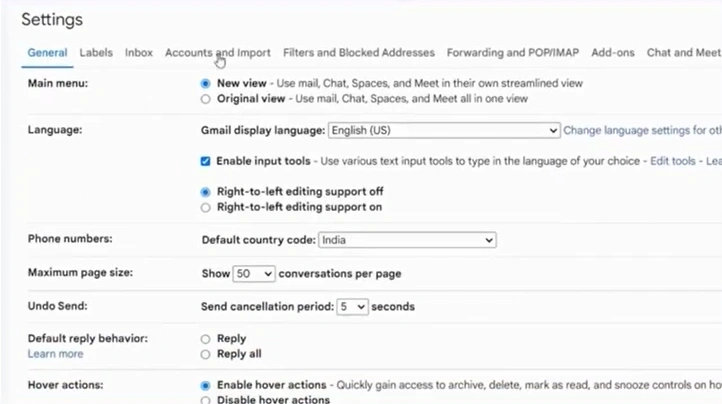
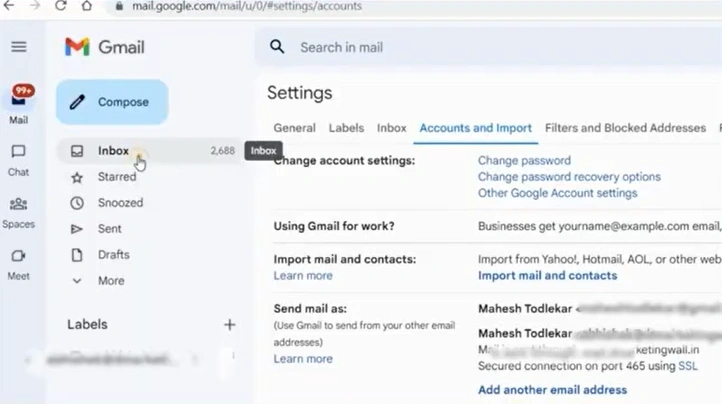
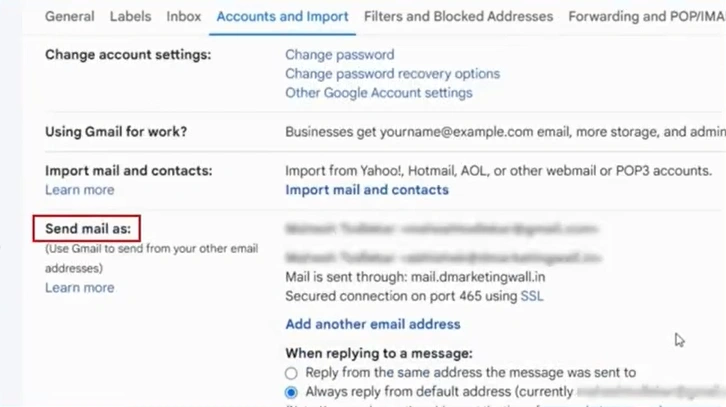
Step 4: Go to the Accounts and Import tab.
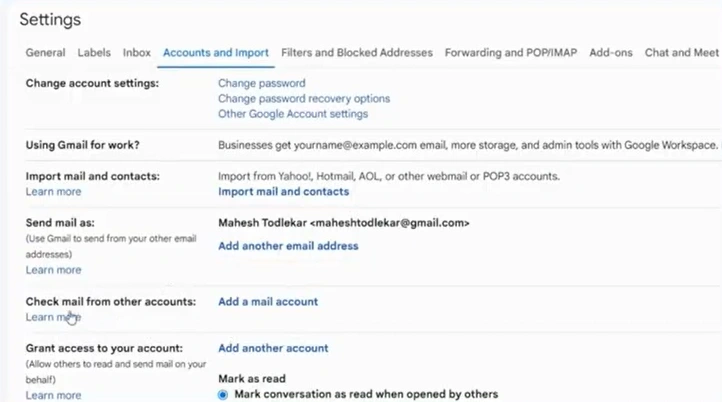
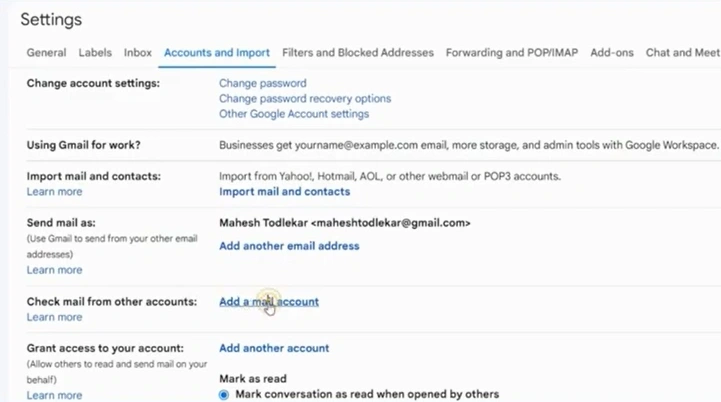
Step 5: After that, click “Add a mail account” next to the “Check mail from other accounts” section.
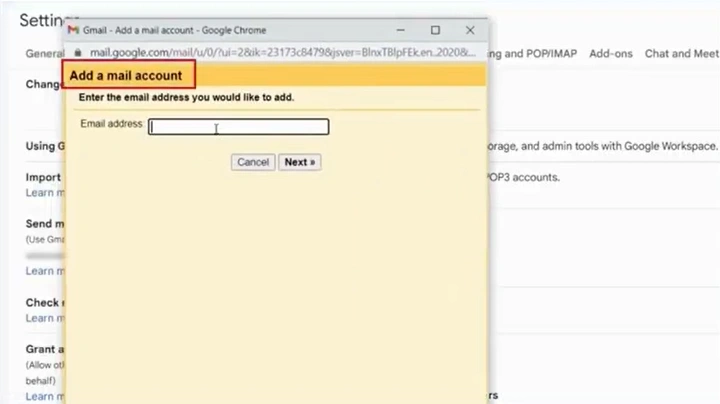
Step 6: A Gmail pop-up titled “Add a mail account” will show up.
Step 7: Enter the Bluehost email address you want to add, then click Next.
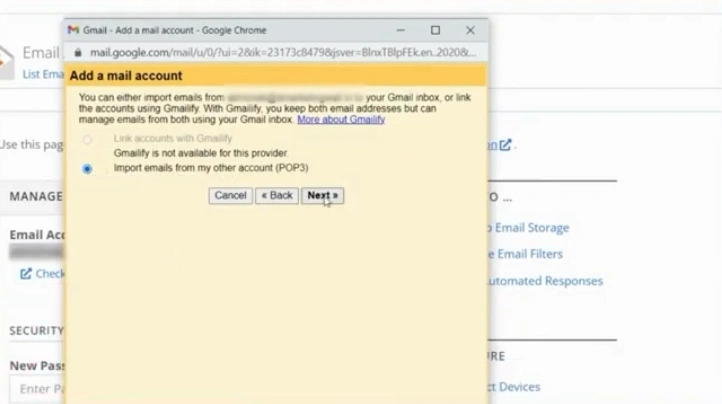
Step 8: Select the radio button next to Import emails from my other account (POP3).
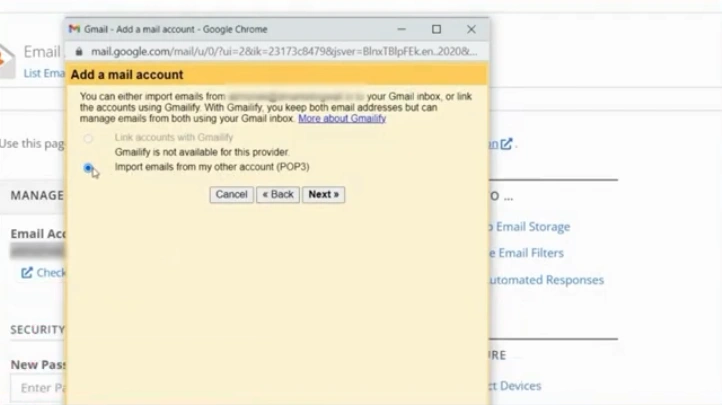
Step 9: Click on Next.
Step 10: Enter the Bluehost email address again in the Username field.
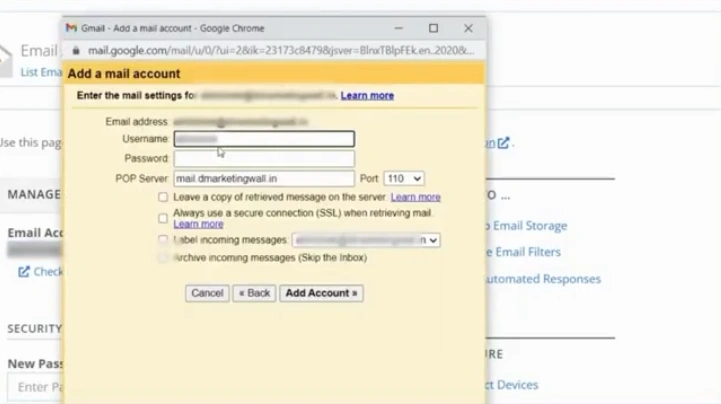
Step 11: Fill in your account password.

Step 12: Enter “mail.(your domain name)” in the POP server field.
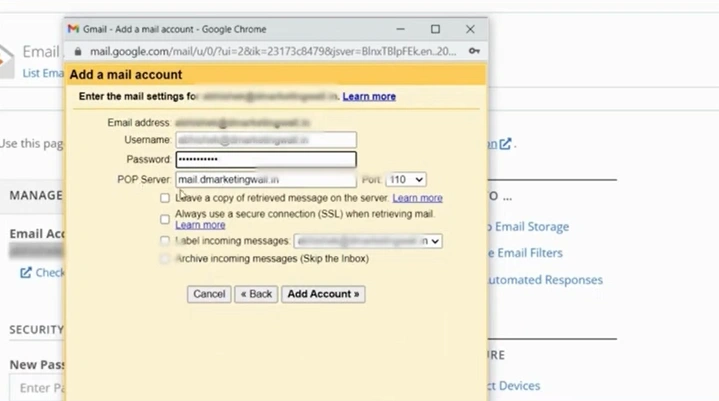
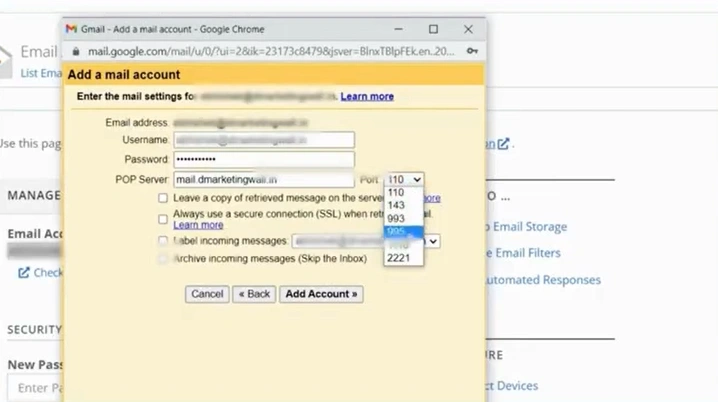
Step 13: Choose “995” for the Port.
Step 14: Check the “SSL” and “label incoming messages” option.
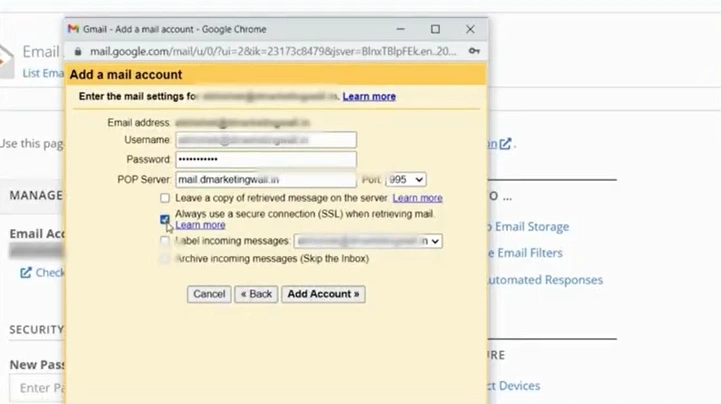
Step 15: Click “Add Account.”

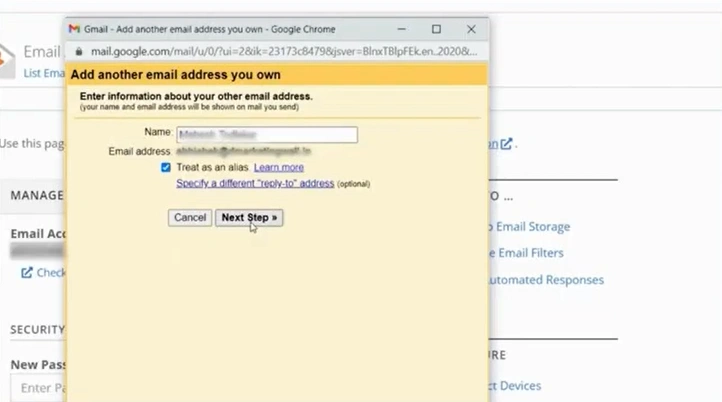
Step 16: Once you’ve added the email, click on the radio button next to “Yes, I want to be able to send mail as”

Step 17: Click on the Next button.

Step 18: Enter a name, and click on the “Next Step” button.
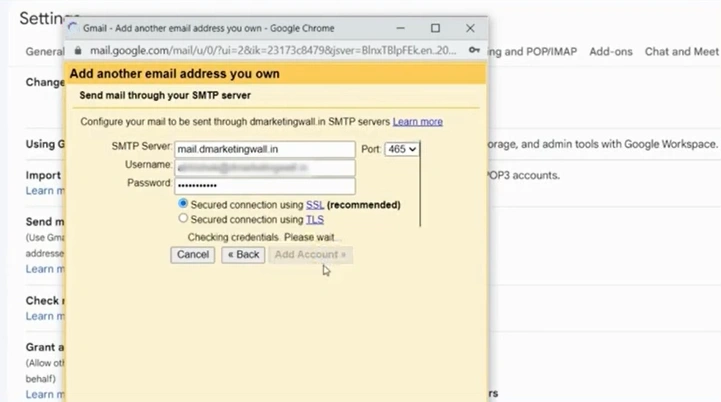
Step 19: The “Send mail through your SMTP server” window will appear.
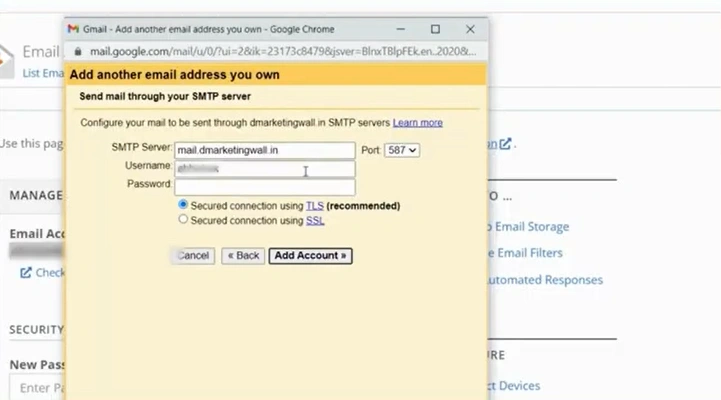
Step 20: Enter the same information in the Username and password field as before.
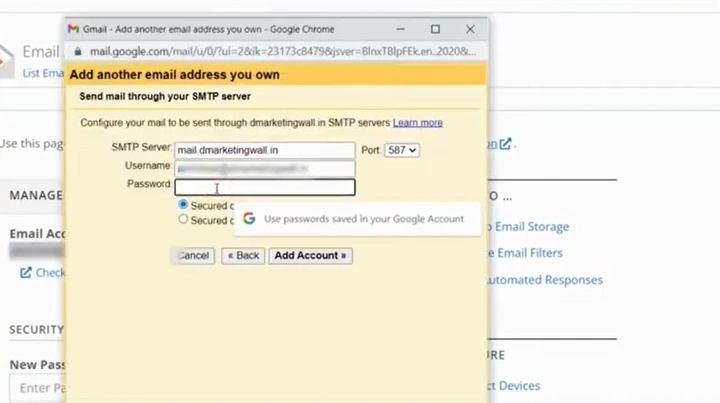
Step 21: In the SMTP server field, enter “mail.(your domain name).”
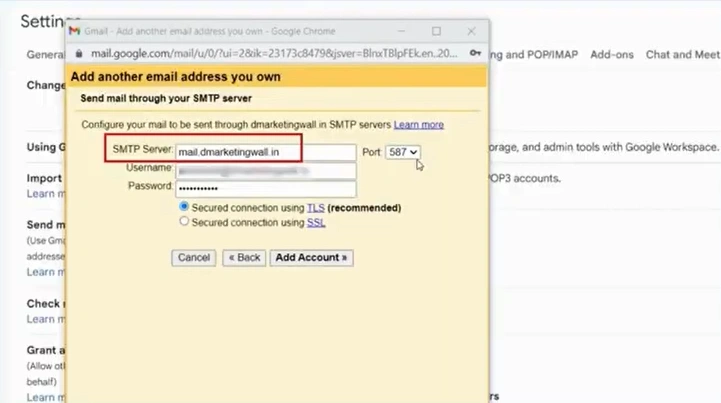
Step 22: Select “465” for the Port.
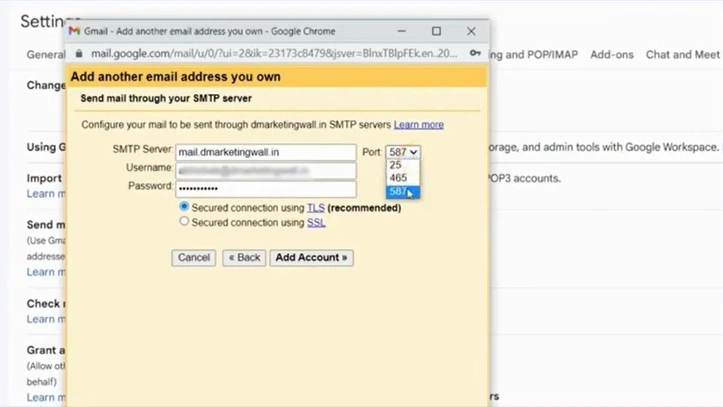
Step 23: Select the “Secured connection using SSL” option.
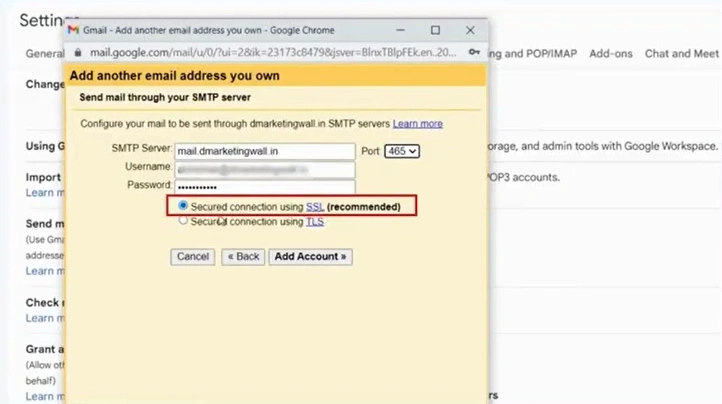
Step 24: Click the “Add Account” option.
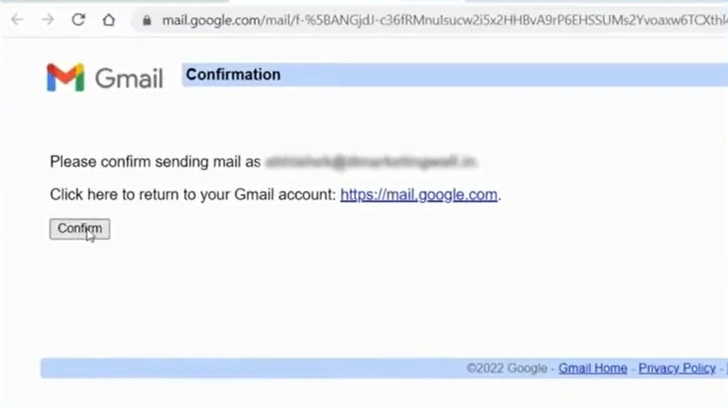
Step 25: A confirmation code or link will be sent to you by Gmail.
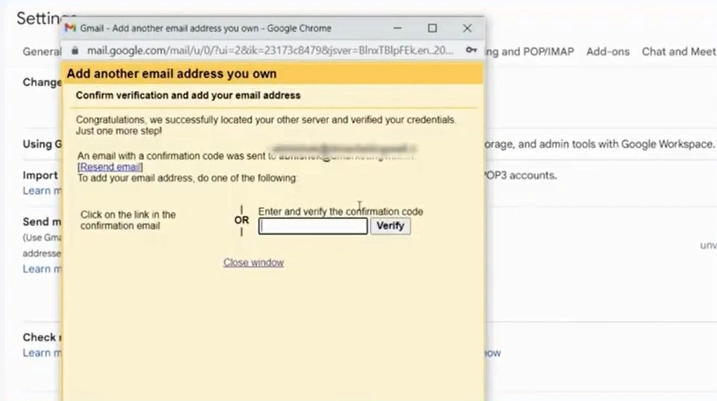
Step 26: Open your Gmail and check the verification email.
Step 27: Click the confirmation link.

Step 28: After you are redirected to the confirmation page, click Confirm.
Step 29: Go back to Settings, then click See all settings to confirm the email as the default.
Step 30: Open the Accounts and Import tab.
Step 31: Click the make default next to the email address you’ve added.
Also Read:- How to Setup Email on Bluehost?
To Sum Up
That’s what you need to do to set up your Bluehost email in Gmail. Have all your Bluehost emails in your Gmail inbox. This makes your everyday email tasks more convenient. This ensures you don’t miss any new Bluehost messages.
Follow the method we have outlined above and address the potential problems smartly whenever they show up. Clear up space in your inbox if required. Temporarily turn off the firewall or antivirus software during setup, then enable it again afterward.
Frequently Asked Questions (FAQs)
 Verified Expert