How to Set Up Domain Email With Bluehost?
- 0
- 649

Do you want to create a professional email matching your business name? You can do that by setting up a domain email with Bluehost. Imagine having a website named yourbusiness.com and sending emails from info@yourbusiness.com or support@yourbusiness.com. That looks more professional and can help improve your business communication.
With a domain-based email address, your communication looks more trustworthy and professional. In this guide, we’ll discuss the steps to set up a domain email with Bluehost. But before we start with the actual process, let’s learn about the challenges or problems that may come along.
Problems When Setting up Domain Email With Bluehost
Here are some potential problems that you might face when trying to set up domain email with Bluehost:
-
Wrong email address or password
-
Domain not pointed to Bluehost
-
SSL or port mismatch
-
Missing or incorrect MX records
-
Local firewall or antivirus restrictions
Steps to Set Up Domain Email With Bluehost
Before you start the setup, check that your Bluehost plan includes email services. Also, confirm that your domain is registered and active. Here’s how you can successfully set up your domain email with Bluehost:
Step 1: Visit the official Bluehost site.

Step 2: You will see the “Pricing” tab at the top bar. Click on it.

Step 3: After that, click on the “Hosting” tab.
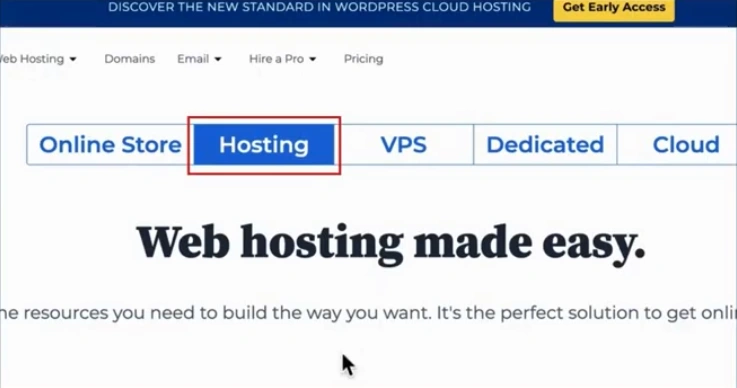
Step 4: You’ll be redirected to the Bluehost plans page.
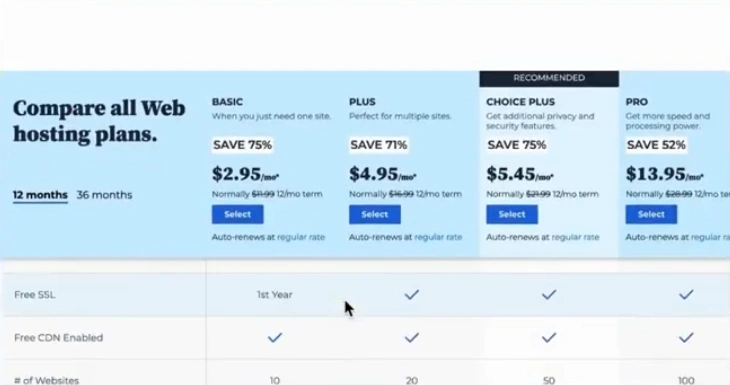
Step 5: Select your plan.

Step 6: Provide a domain name in the next step.
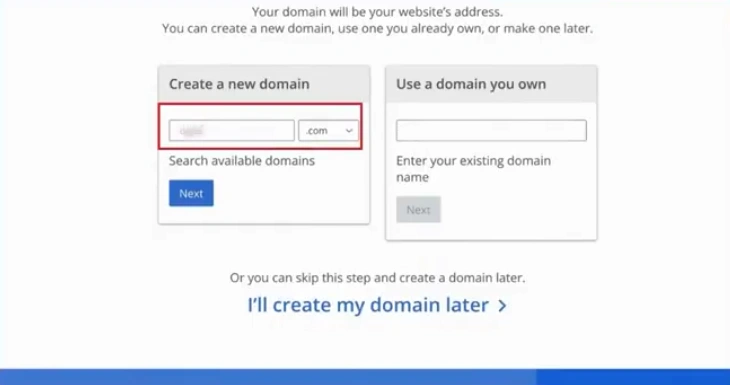
Step 7: Click the Next button.

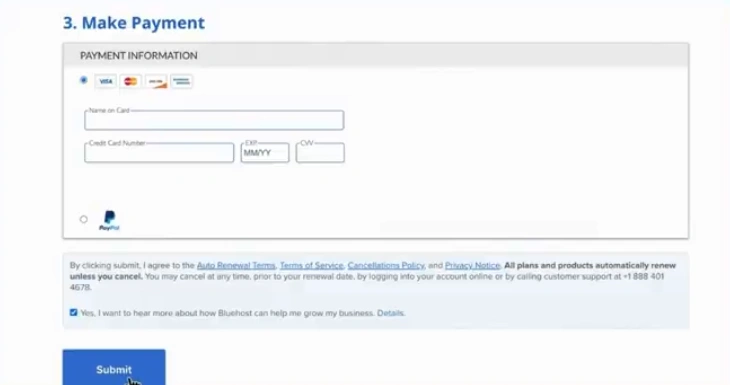
Step 8: Enter the required information and make the payment.
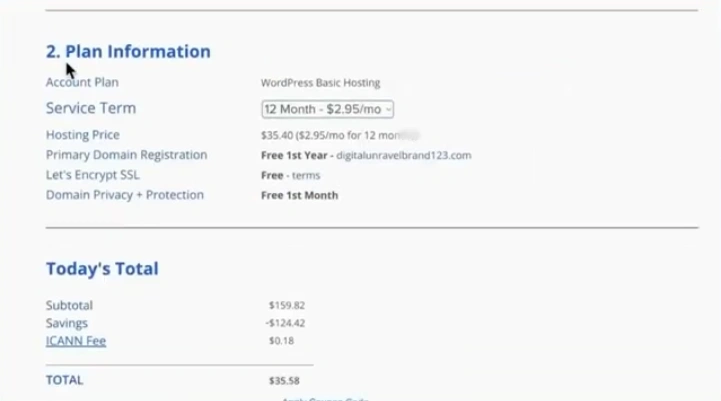
Step 9: Click on Submit.
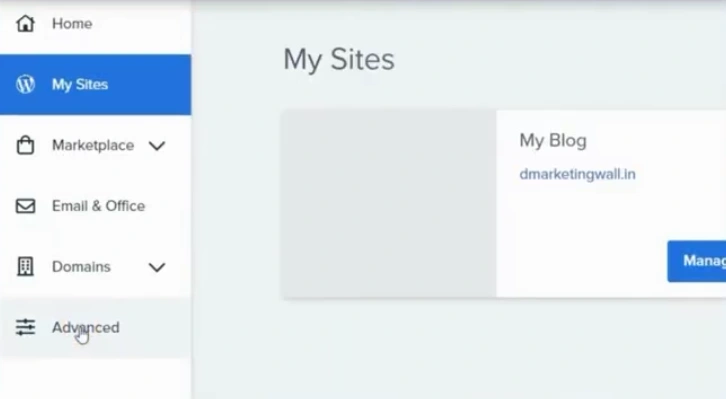
Step 10: Return to the Bluehost site and click on the Login option.

Step 11: Choose “Advanced” from the left panel.
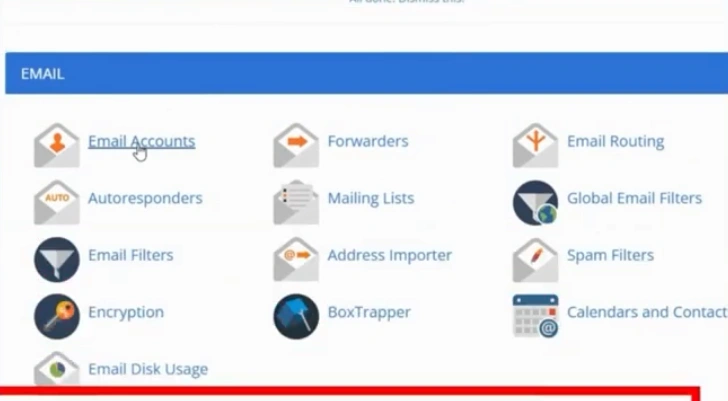
Step 12: Scroll down to the Email section.
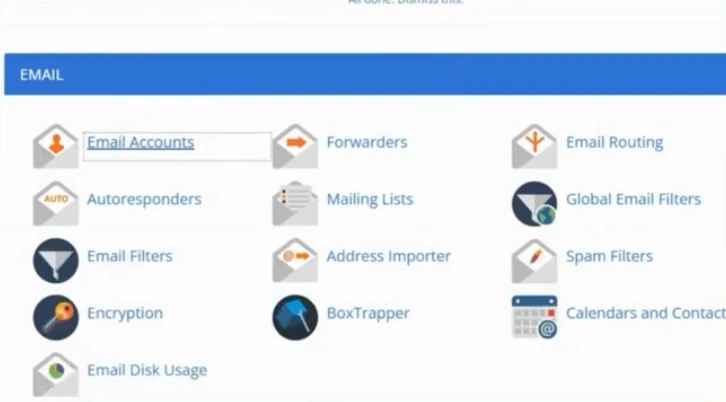
Step 13: Click “Email Accounts.”
Step 14: Click on Create.

Step 15: Enter your username in the “Create An Email Account” page.
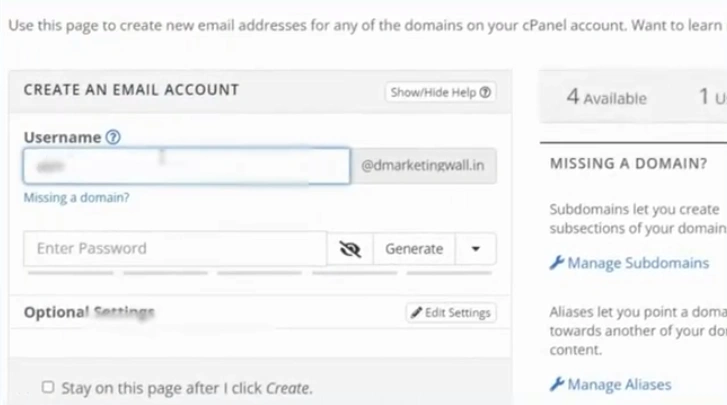
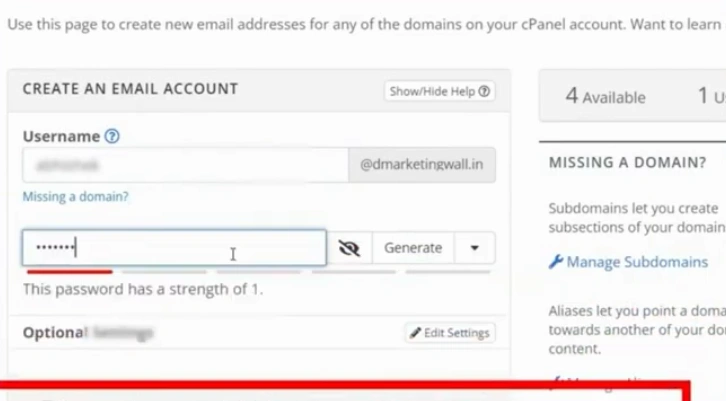
Step 16: Next, enter your email password.
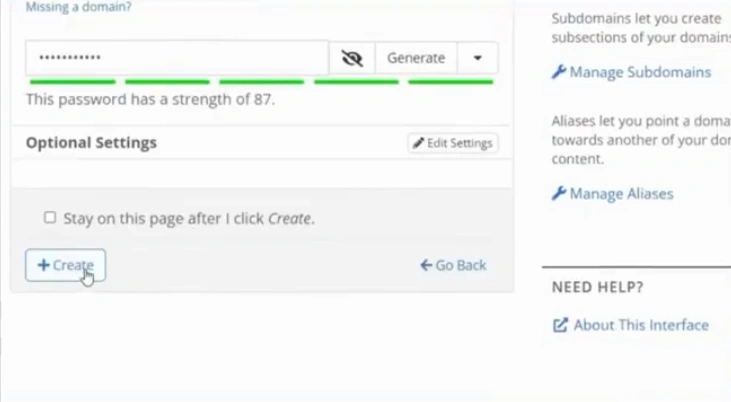
Step 17: Click on the Create button.
Step 18: You’ll be redirected to your email accounts.
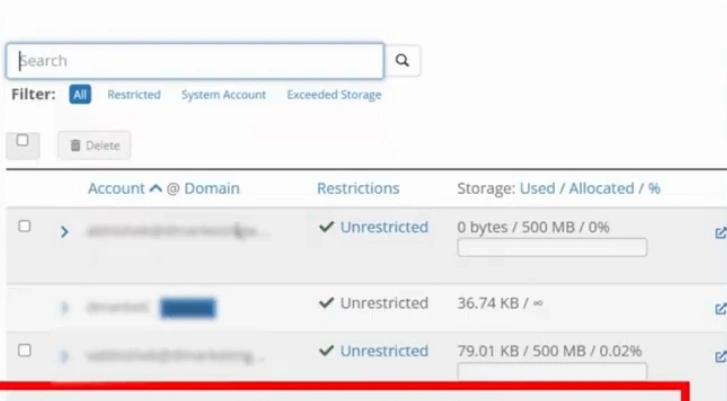
Step 19: From there, click Manage next to the email address you created.
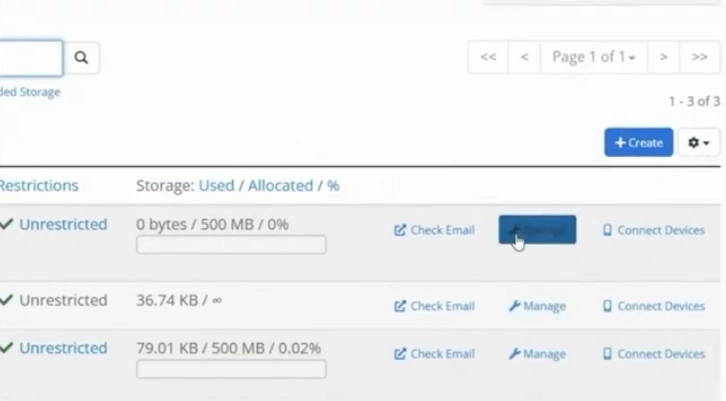
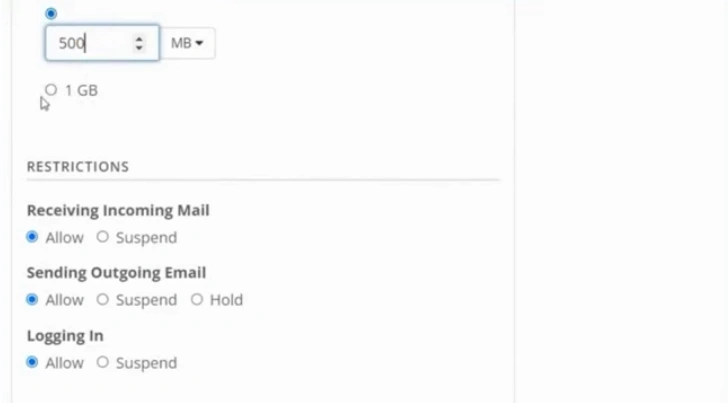
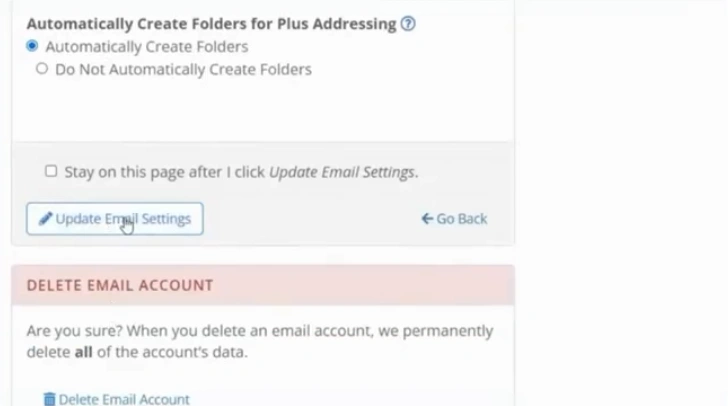
Step 20: You can now adjust your email account settings.
Step 21: Once you have changed the settings, click “Update Email Settings.”
Also Read:- How to Add a Disclaimer in Outlook?
To Conclude
That’s all we wanted to discuss with you about how you can set up a domain email with Bluehost. Simply follow the instructions above, and you can create a professional email for your business website easily. This can be a great start to building trust and credibility with recipients.
Frequently Asked Questions (FAQs)
 Verified Expert