Recover Lost/Deleted Emails in iCloud Account


Your important emails can be lost or deleted either by mistake or by any other settings-related issue. But, like all the other errors, it can be fixed easily. The iCloud has an integrated feature that allows you to recover deleted emails for one month. To recover your lost emails, you must sign in to your iCloud account on a browser. Then, head over to the Mail section and verify the Trash folder. If you can’t find your emails there, check your Archive folder. If you can’t find your emails, you can choose to restore your account using the Backup option. 


Causes of Lost or Deleted Emails in iCloud Account 

If your emails are lost or deleted, it doesn’t happen randomly. There are certain reasons behind it. Check them out here:


  • You mistakenly deleted the emails 

  • Your mailbox is corrupted 

  • The account has storage issues 

  • Dysfunction of the iCloud application 

  • Your backups are incomplete or out of date 


Solution 1: Check Your iCloud Trash Folder to Recover Deleted Emails

To check your Trash folder for recovering emails, follow the steps below. 


  1. Launch the account on your operating system.

  2. Then, navigate to the iCloud inbox. 

  3. After that, click on the Trash folder to check the deleted emails. 

  4. Now, choose the email you need to recover and then select the Move option.

  5. Next, select the mailbox or the folder to which you want to move your file. 

  6. Lastly, your email will be moved to the place you’ve chosen. 


Solution 2:  Leverage Your iCloud Website to Find Missing Emails

To find your missing emails, you can use the iCloud website. Check the steps here:


  1. Initially, go to an internet browser on your device. 

  2. Then, browse the icloud.com website. 

  3. Now, log in to your account with your Apple ID and password. 

  4. After that, click on the Mail icon to use your iCloud mailbox. 

  5. In the next step, check your folders in the mailbox, such as the Inbox, Trash folder, and Drafts, for missing emails. 

  6. If you find a missing email in the trash folder, choose it and hit the Move button. 

  7. Finally, select a folder to which you want to transfer your missing email, and the email will be sent to that location. 


Solution 3: Recover Emails From iCloud Backup

You can restore the missing emails from the iCloud backup. Check the steps here to do it:


  1. In the first step, head over to the Settings option on your iPhone. 

  2. Then, click on the General tab and select the Reset tab. 

  3. Now, select the Erase All Content and Settings option. 

  4. After that, select the Restore option from the iCloud backup on your apps and data screen. 

  5. Moving forward, sign in to your account and select a backup version if you prefer. 

  6. Allow the restore process to finish, and then your emails will be recovered with the important data. 


Solution 4: Use the Third-Party Data Software

You can also use third-party data software to restore your missing emails and data. Check out the steps here:


  1. First, download and install a data recovery software program on your device. 

  2. Then, open the program and choose the iCloud backup option. 

  3. After that, log in to your account and pick a relevant backup file. 

  4. Now, choose a file type you need to recover, like email files. 

  5. Next, scan all the backup email files you’ve selected for the lost emails. 

  6. Check the preview of backup files. 

  7. At last, select a location to save your recovered emails and start the recovery process. 

Frequently Asked Questions (FAQs)

Emails that are permanently lost or deleted can’t be recovered from the iCloud account. However, you can recover your lost emails from the Trash folder or with the help of third-party data recovery software.

The emails you archived will be present in the Archive folder. Those emails will not be deleted until you delete them manually. Hence, you should open that folder to locate all the lost emails.

Check the steps to download old emails in iCloud: 


  1. To start, navigate to icloud.com and then sign in to your account.

  2. Then, launch the iCloud Drive. 

  3. After that, find the file and choose it. 

  4. Now, hit the Download button at the top or double-click on the file to download it. 

Finally, you’ll receive the document under your Downloads folder.

Latest Blogs

  • Jul 03, 2025
  • By Zavric Thorne

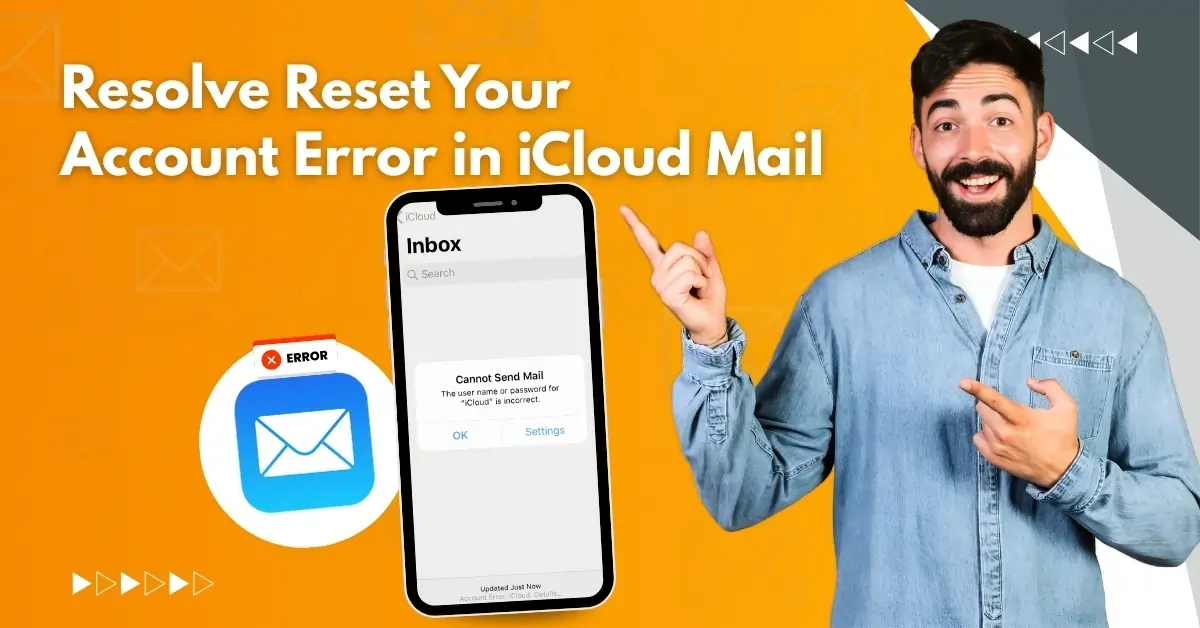
Resolve Reset Your Account Error in iCloud Mail

A week ago, as I arrived home from work, I remembered that I had to review emails from a freelance client regarding his .... Read More
  • Jul 02, 2025
  • By Lyvera Solen

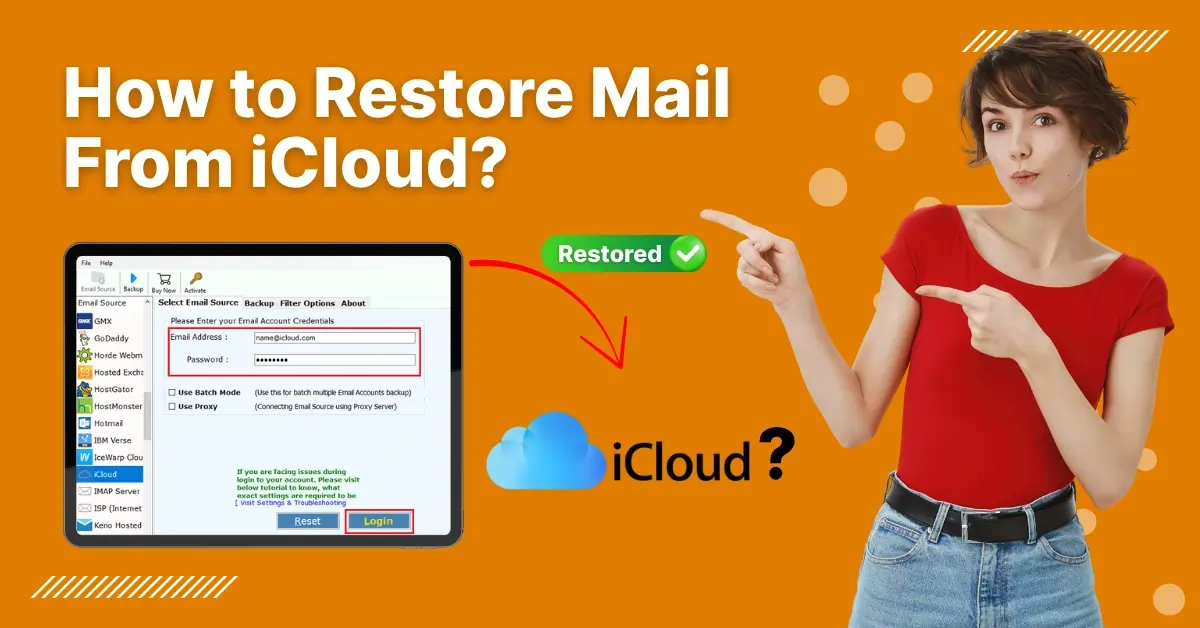
How to Restore Mail From iCloud?

I still remember that Friday afternoon when I opened my MacBook. What I noticed on the screen was that an important emai.... Read More
  • Jun 14, 2025
  • By Zavric Thorne

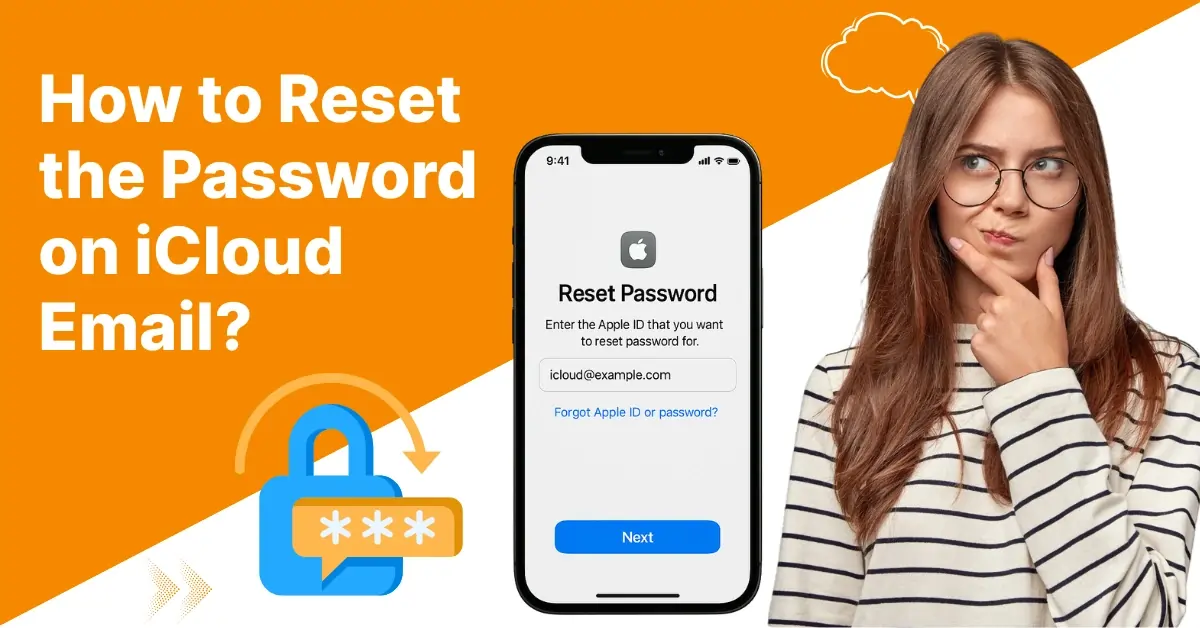
How to Reset the Password on iCloud Email?

iCloud email users may want to reset their account password for many reasons. The reasons can be linked to access, secur.... Read More
  • Jun 06, 2025
  • By Lyvera Solen

How to Unsend an Email iCloud?

Mistakes in emails, such as typos or missing attachments, are common, even when using iCloud. Fortunately, the 'Undo.... Read More
  • May 29, 2025
  • By Zavric Thorne

How to Log Into iCloud Email?

Getting access to your iCloud email account is crucial. It lets you stay connected, manage your Apple services, and keep.... Read More
  • May 28, 2025
  • By Zavric Thorne

How to Stop Junk Mail on iCloud?

Unwanted emails are a common concern for iCloud Mail users, causing distractions and confusion. Junk mail can make it di.... Read More
4.5/5

77 Votes

About Help Email Tales

Help Email Tales is an independent troubleshooting publisher. We are not affiliated with, endorsed by, or officially connected to any of the email providers referenced on this site — including Microsoft (Outlook), Apple (iCloud), Yahoo, AOL, Comcast (Xfinity), Google (Gmail / Workspace), GoDaddy, BT Group (BTinternet), or Samsung.

All guides are produced independently. Brand names and product names are used for reference purposes only to identify the platforms the guides apply to.

Rate Us!

4.5/5   77 - votes.
Back to Top